 Tweet
Tweet
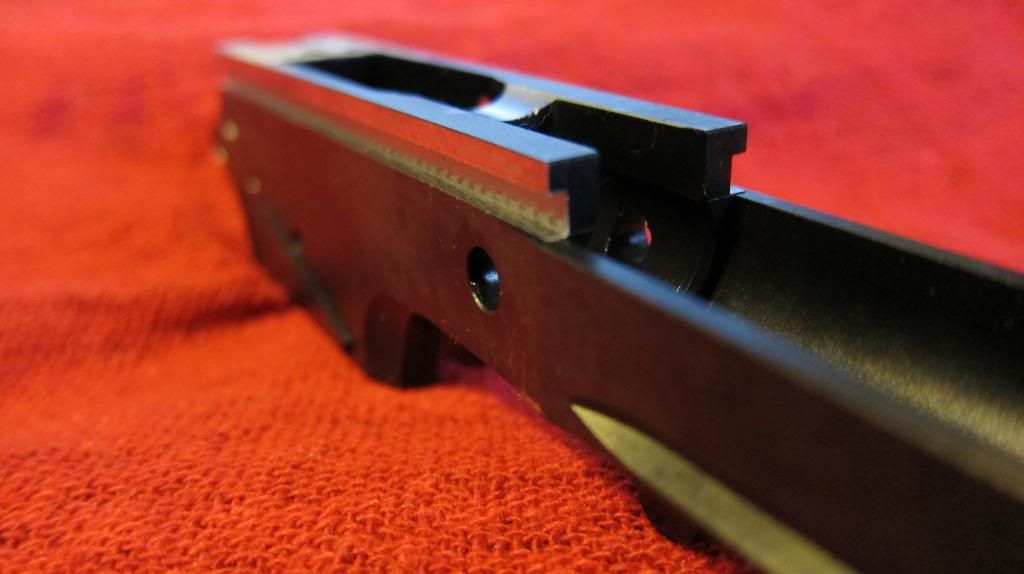
Looks like the only thing left to do is drill the ejector pin hole.
-
-
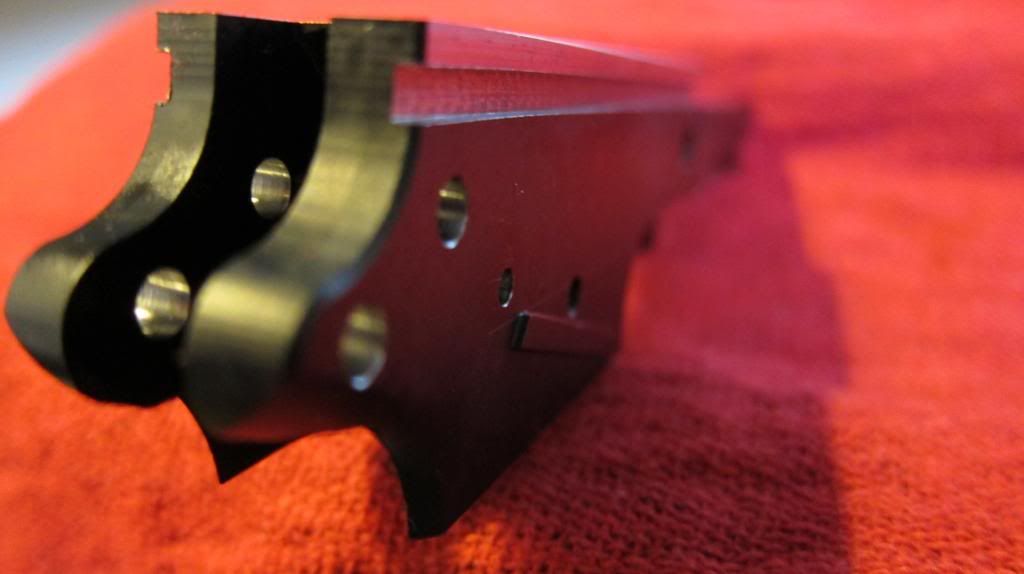
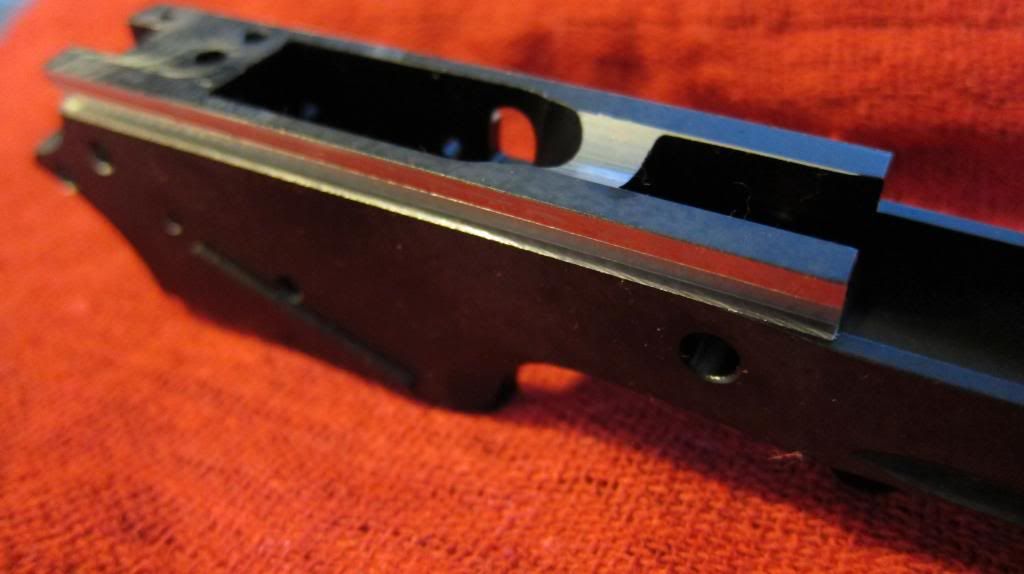
Why was the rear machined flat? Was it not square/flat?Comment
-
Not getting the warm and fuzzes after posting these pictures.
Left side...
 ...
...Comment
-
Ejector pin hole, I know some makes decide to loctite the ejector in place. You don't "have" to pin it ( though strongly recommend it) I found the front ejector hole was not deep enough though and had to drill down a couple thousandths.Comment
-
Probably was not perfectly parallel in the vice, you didn't indicate the frame in with a dial indicator did you?Comment
-
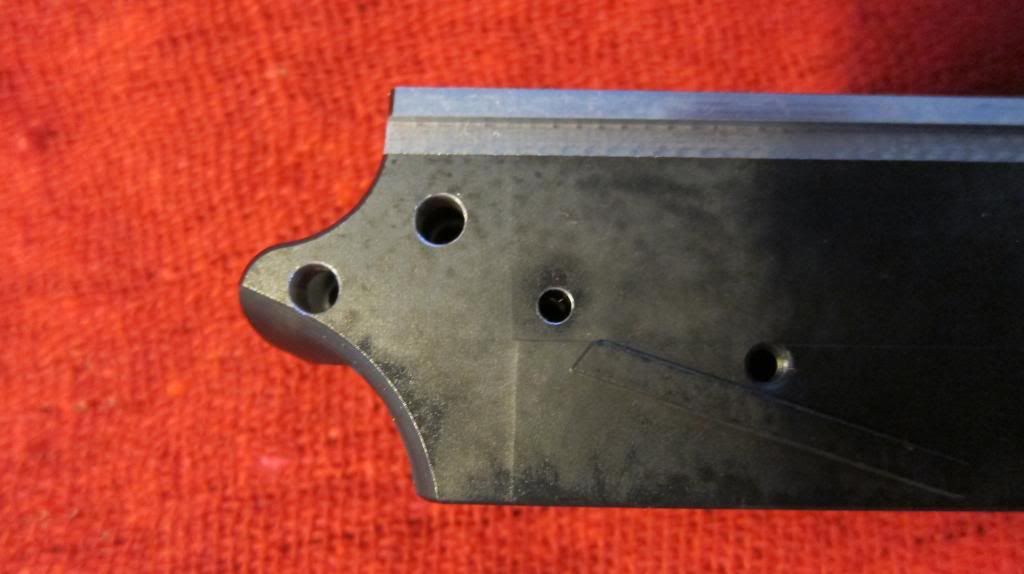
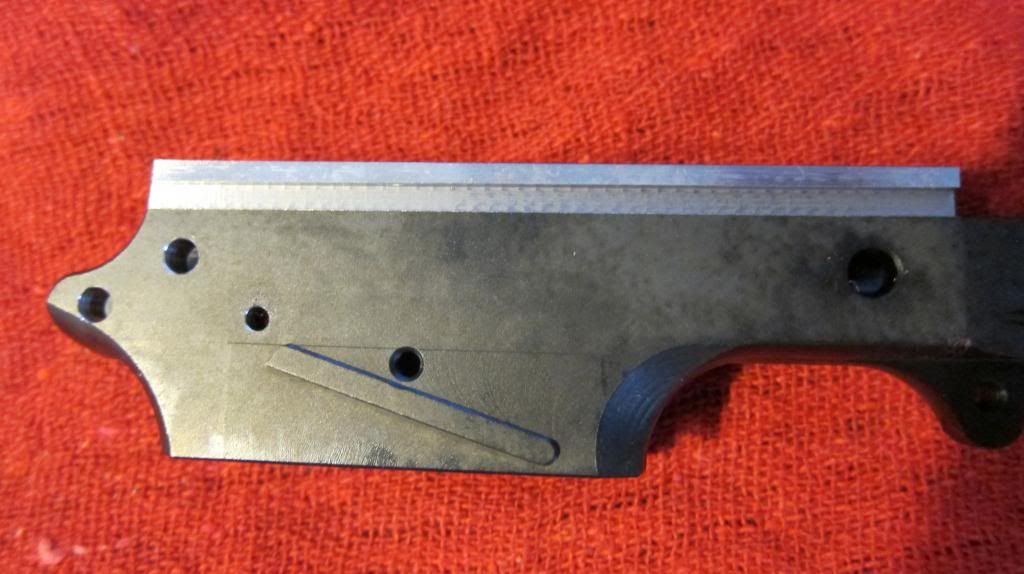
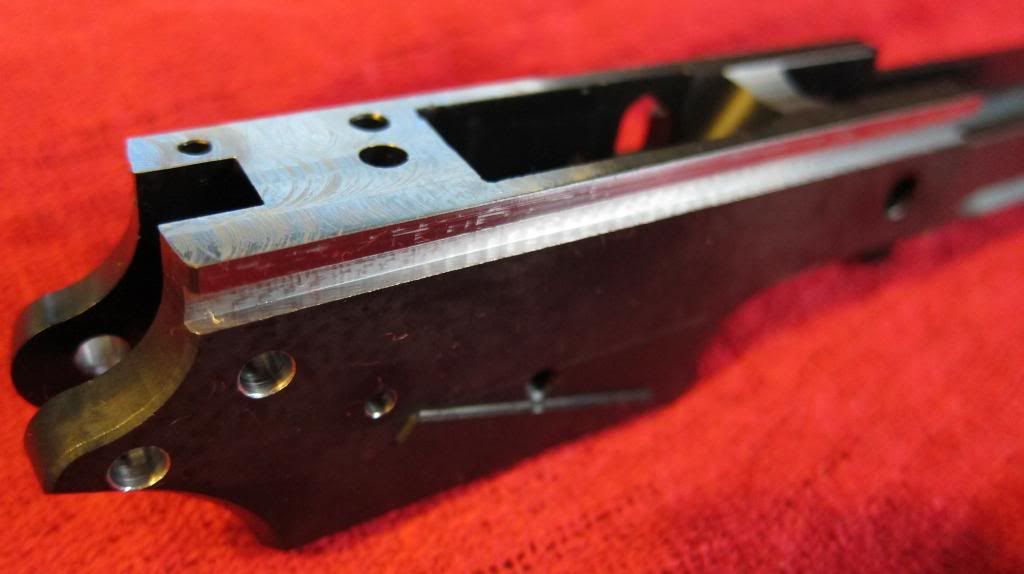
Be sure to add a radius on the front of the rails as well.
See the front of the rail in this photo...
Comment
-
Comment
-
Big cube sounds pretty sweet, say 6x6x6 with a setup on the top for the pin holes operations. Mill out the left and right sides on the bottom for clamps to hold to the table. Front could be for milling the rails/barrel bed/etc and setup the sides for other angle work.
I ordered Bull Hunters jig today, I'll let you know how it works out.Comment
-
Why?
They look ok to me.
The machining of the top of the rails looks fine, it's the only way to ensure the dimension from the top of the slot to the top of the rail is in spec.
If you indicate in the top surface, you won't need to make a cut on the top if your slot is cut at the right height but that's not very DIY friendly for CNC build parties.
That's the reason why I am planning to do all of mine manually, that will allow me to individually cut my frame to fit the intended slide.
Not everyone has the time or machine access to do that so the CNC build party is the next best option and far better than manual milling for a person that has never used a mill.Last edited by wash; 12-23-2012, 5:24 PM.Comment
-
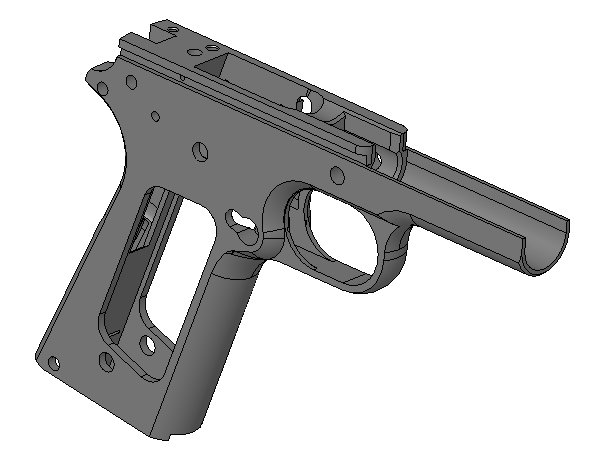
Couch-After I saw your kto build thread I ordered a jig from bullhunter. I have been working on fitting all the small parts of my kto frame first. Everything needed to be fitted. The grip safety did not fit in the frame and took almost a day of filing and sanding to get it to fit. The mag release took about 4 hours to fit. Had to file the bumps/humps in the mag well. I am going to get started on the barrel seat, msh slots, and rails in the next couple weeks. Because the kto (and from the looks the ares also) have a wider dust cover area, the rest of the frame will need a shim under it to keep it square on the jig. I though about shimming one side and milling away the thicker area and then flip it and do the other side caiuse I don't like the rail on the kto frame anyway. I want to first cut the rails and such and test fire it before I put more time into messing with the dust cover. I may also cut off the extended mag well. I don't like it either.Comment
-
Thinking more about it, I'll probably get a piece of flat ground steel plate larger than the cube and bolt the cube to the plate from underneath with 82 degree fasteners.
I'll have bolt holes and pins to bolt it to the table square and the steel flange will be perfect for clamping.Comment
-
Figured I'd either be milling the fixture for rail clearance or shimming the frame away from the fixture to clear the rail.
I'm glad a lot of it is oversize, much rather have that than undersize and leave gaps. That and I'm building it with mainly EGW parts which come oversize in just the right areas, it should all pretty much look like one single piece when finished!Comment

There are currently 3584 users online. 152 members and 3432 guests.
Most users ever online was 65,177 at 7:20 PM on 09-21-2024.


Comment