Unconfigured Ad Widget

Collapse

DIY Adjustable Scope Turrets

Collapse
X
 
  • Time
  • Show
Clear All
new posts
  • uscbigdawg
    Senior Member
    • Nov 2007
    • 1869

    DIY Adjustable Scope Turrets

    So...I have this OLD Sightron 2.5-7x32 scope that's perfect for 3-Gun. It has a double diamond reticle that are perfect for bracketing plates at 200 and 300 all day long. Problem? None for the most part, but after playing sniper/LR practical matches, I want an easily adjustable knob.

    So...fast forward to the last 3 days of trying to track down a Stoney Point knob that used to make for a Tasco/Simmons/Sightron that supposedly works as well as contacting Kenton Industries, but not a whole lot of luck on either front (although a guy on my shooting team is sending me a Tasco knob now...after I just finished everything; go figure).

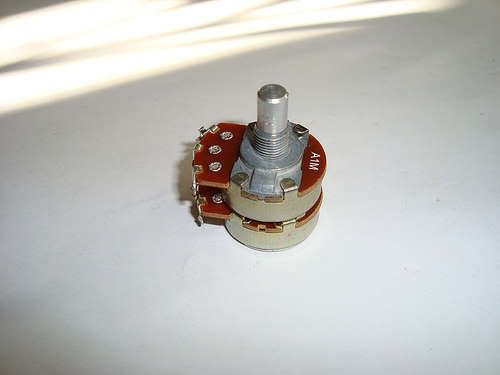
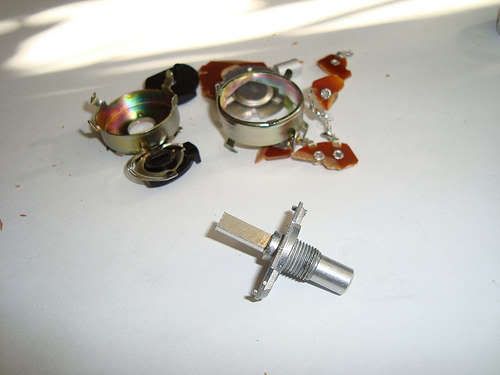
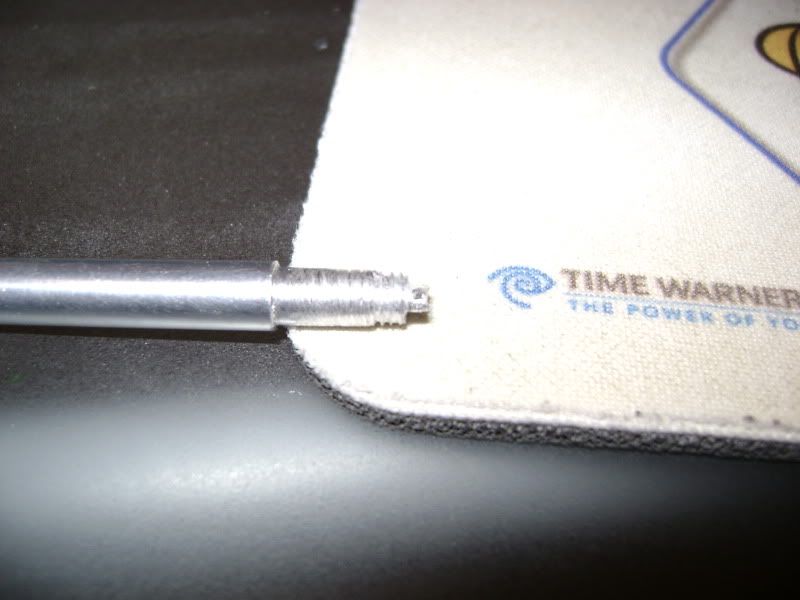
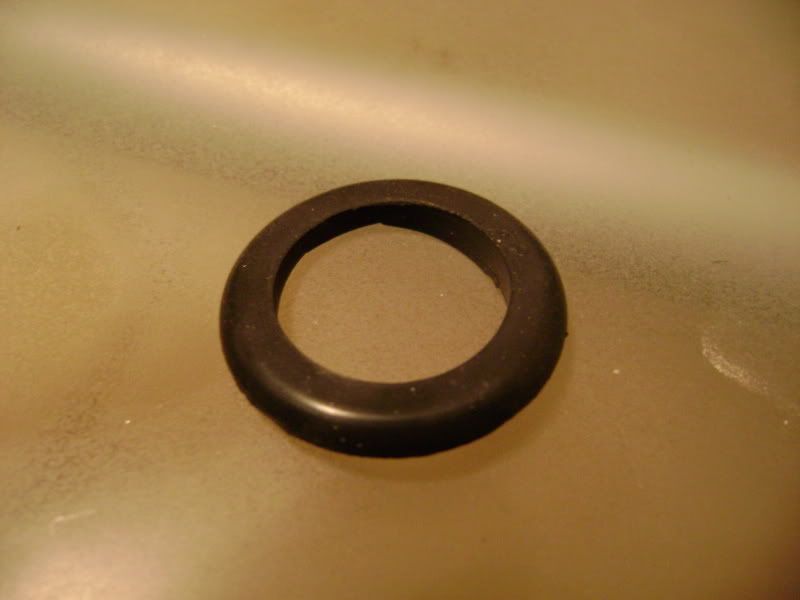
    The project began. Make my own. It can't be that hard, so like all good ideas, I started at Radio Shack, where I bought a Potentiometer and a simple knob. Disassembled the potentiometer to the body and shaft that was needed (note this a pic of the second one I'm trying to simplify the process, not the one I started with (future pics):


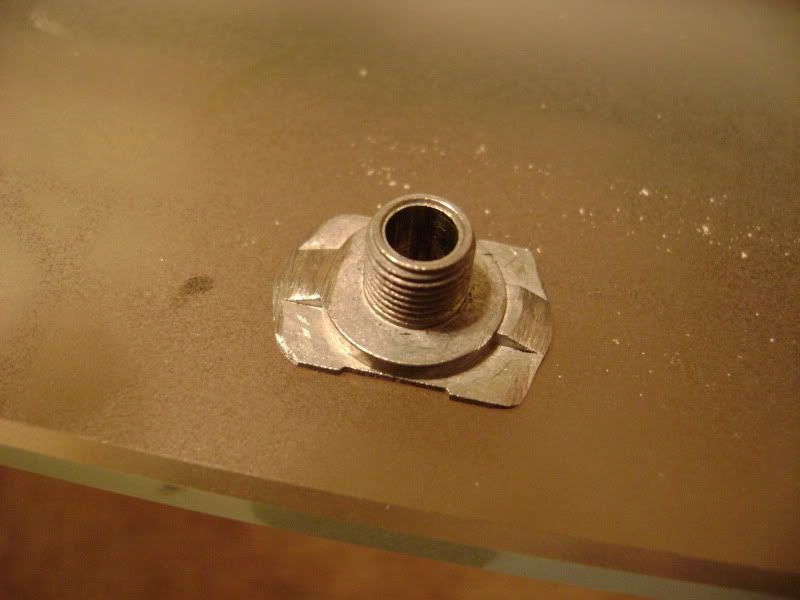
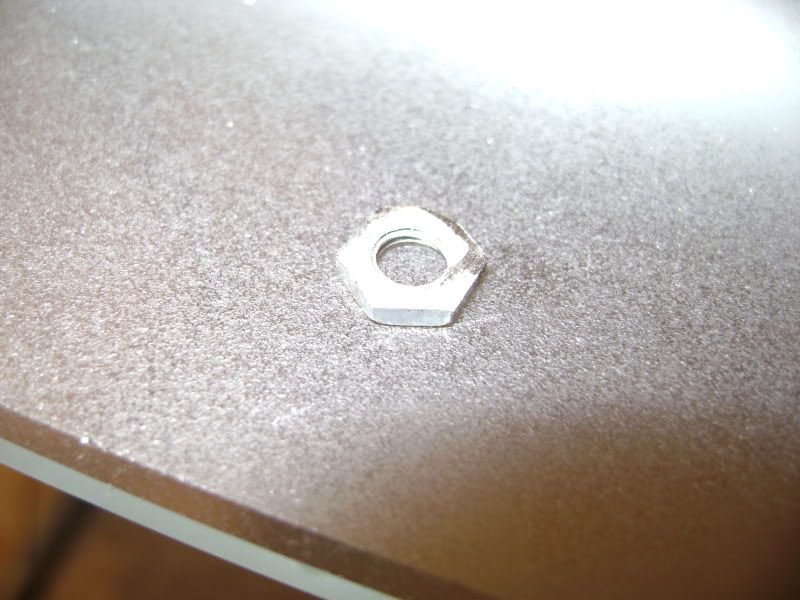
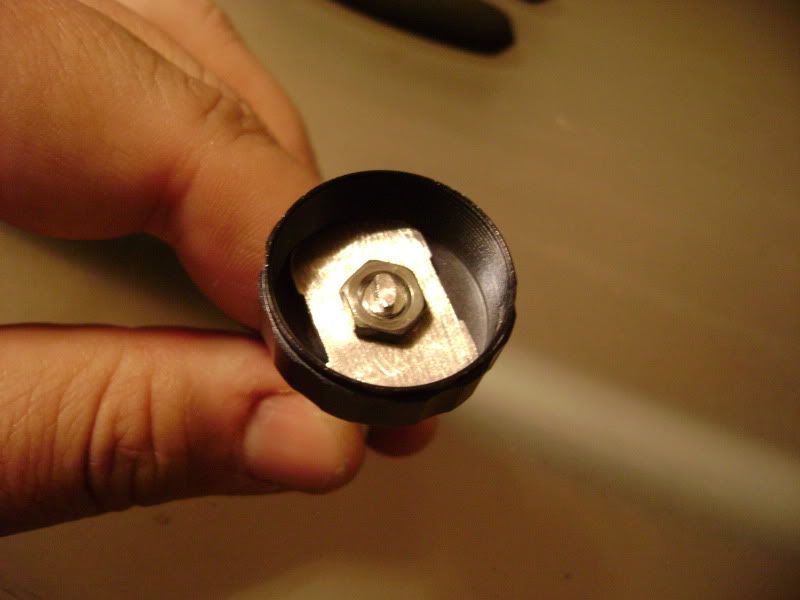
    From there, it was doing a little grinding on the body, to get it to:
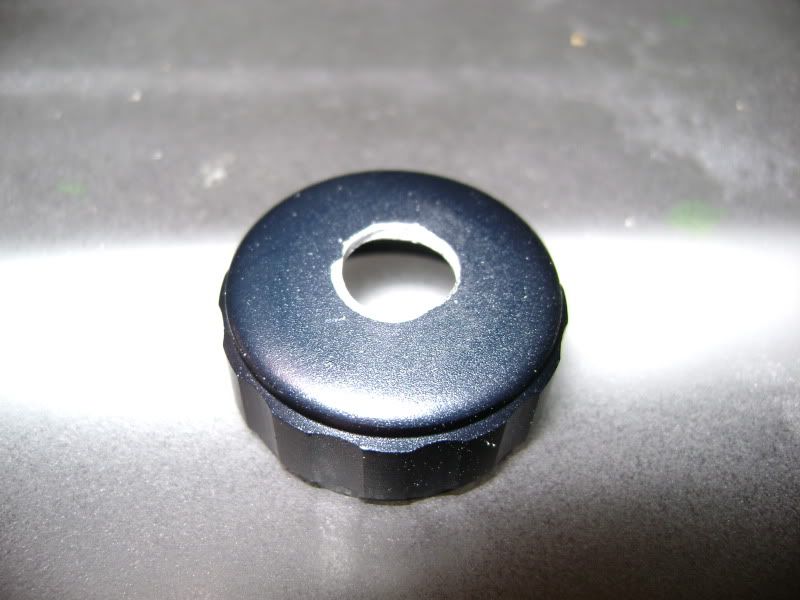
    - get it to fit within the scope cap
    - Flatten a "nub" on the bottom of it
    - Remove/smooth some extra "bumps" (all technical terms)


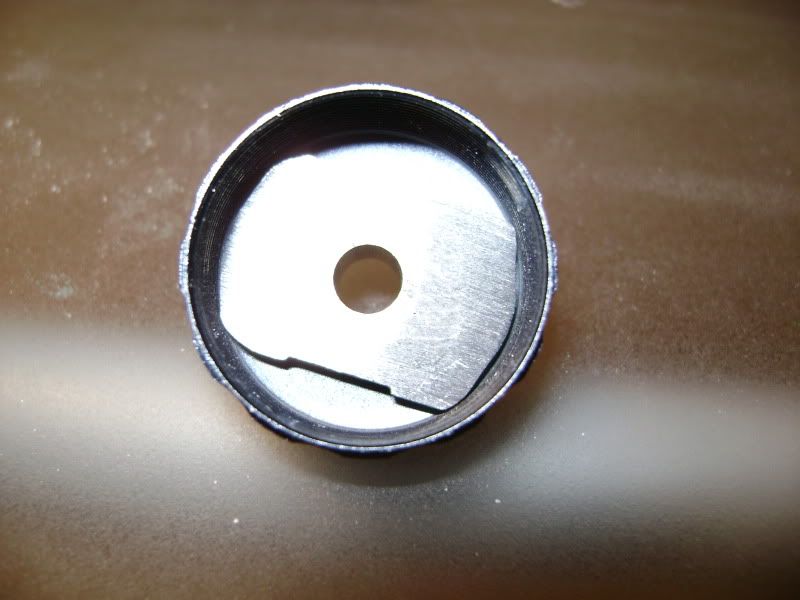
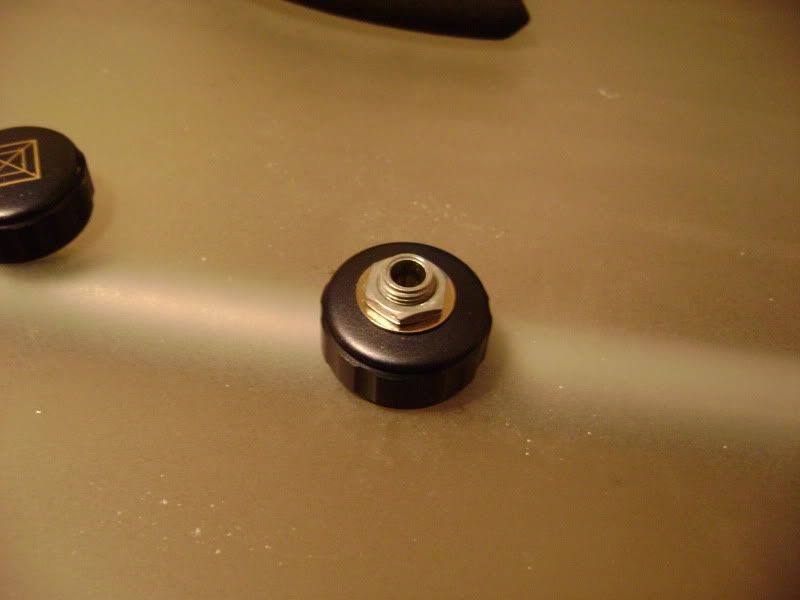
    *obviously this last pic is further down the line, but wanted to show everything fit.
    "Speed is a tactic!" - R.W.

    "Pressure is what you feel when you don't know what you're doing." - Chuck Knox

    "The callus on my finger is from my trigger, not the keyboard!" - Rob Leatham
  • #2
    uscbigdawg
    Senior Member
    • Nov 2007
    • 1869

    From here, the shaft of the potentiometer was filed to thin the blade to fit the "coin slot" on the scope turret until it fit easily, but still snug.


    After some hard-core thinking to simplify the next issue, in the end, it worked out. The shaft goes in perfectly, but in real use, how do you keep it from falling out? The shaft as it sits in the potentiometer has a tab at the end that locks it in, but that was removed during disassembly (and really wouldn't have been used anyways). So...remembering I bought a tap & die from the almighty Harbor Freight about a year ago, found the correct die, said a small prayer since I'd never done this before and cut threads for the shaft (barely seen in the pic above). A stop at Lowe's for the right sized nut was easy, but it was thick standard M5-0.8 nut and so, the gunsmith's friend (Dremel) came out and I flattened it.


    Now for the point of no return. Drilling the scope cap. This had to be done, so starting small & increasing or using a stepped bit, is your friend. Here's the cap post drilling and then the whole she-bam assembled:


    The nut on the top is from the potentiometer.

    So...given the thickness remaining of the nut and the shaft, there was some distance that needed to be made up. I'm not going to try and make a sleeve or anything of that nature and picked up a grommet (Lowe's) and cut it in half to make it thinner and make up the distance as well as provide a water-tight seal.

    "Speed is a tactic!" - R.W.

    "Pressure is what you feel when you don't know what you're doing." - Chuck Knox

    "The callus on my finger is from my trigger, not the keyboard!" - Rob Leatham

    Comment

    • #3
      uscbigdawg
      Senior Member
      • Nov 2007
      • 1869

      Assembly time (almost). To test if it all worked and to silence, any doubters, here's a video of the whole assembly working (click the link; I don't know why it's not playing in the thread):

      Working Knob

      Lastly, here's it on the scope. The shaft still needs to be cut to length and I have another knob that will be in place of the one that's there. It was used as it was a simple "dummy" for development. Note the grommet.

      New knob on Scope
      Last edited by uscbigdawg; 03-05-2011, 7:10 PM.
      "Speed is a tactic!" - R.W.

      "Pressure is what you feel when you don't know what you're doing." - Chuck Knox

      "The callus on my finger is from my trigger, not the keyboard!" - Rob Leatham

      Comment

      • #4
        uscbigdawg
        Senior Member
        • Nov 2007
        • 1869

        So here's the "final" product. I say final, 'cause if I keep, and I probably will, just to piss off "purists", I'll make a label to identify the tick marks and add a vertical line on the scope's body for alignment as well as work on the inside of the knob and on the body of the potentiometer to get the knob lower.

        Embrace the disco ball:

        Disco Ball Adjustable, Zombie Killer Knob

        Rich
        Last edited by uscbigdawg; 03-05-2011, 7:13 PM.
        "Speed is a tactic!" - R.W.

        "Pressure is what you feel when you don't know what you're doing." - Chuck Knox

        "The callus on my finger is from my trigger, not the keyboard!" - Rob Leatham

        Comment

        • #5
          LCE
          Member
          • May 2010
          • 120

          Nice...great job uscbigdawg
          I love Homebrew projects.

          Im planning on making some custom Fiber Optic sights for my FNP9. Taking measurements now.

          Comment

          • #6
            Sky_DiveR
            Veteran Member
            • Dec 2008
            • 3017

            Good job. If you find a knob that has a "skirt" or is recessed abit so it would sit down farther on the shaft, it would be just like a regular target knob. Just make a scribe or line for your zero.

            Comment

            Working...
            UA-8071174-1