 Tweet
Tweet
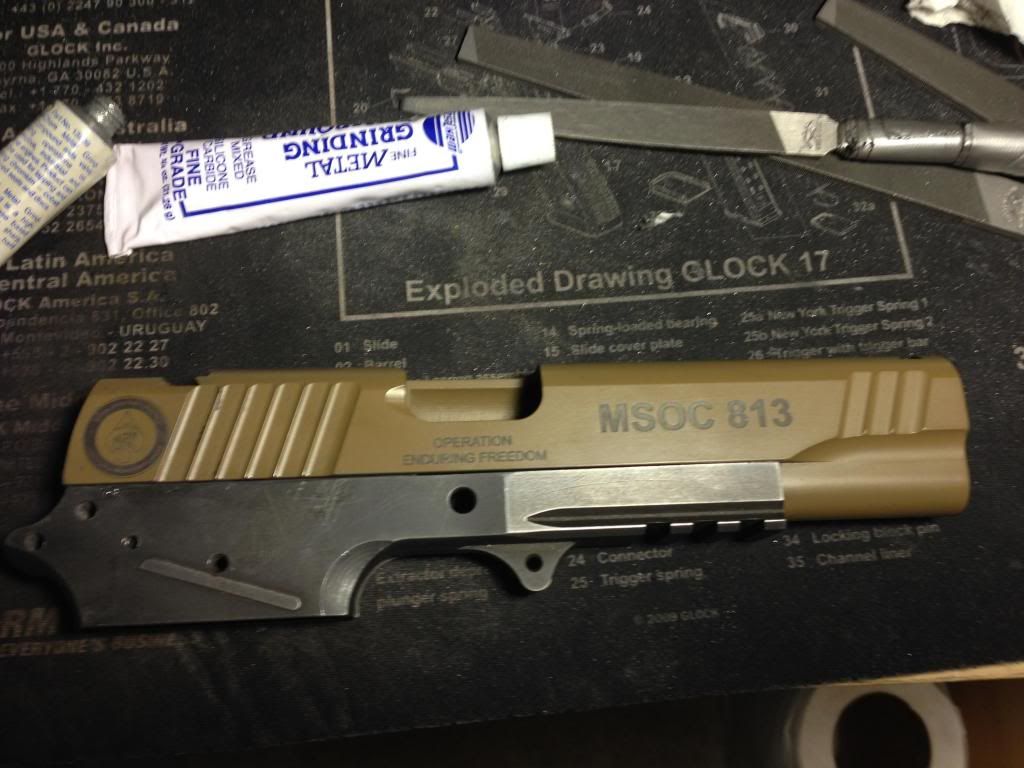
This tutorial is for those who do not have access to a mill to get the rails cut on their Rudius/1911 frame.
*Update* Barrel seat cut post #32
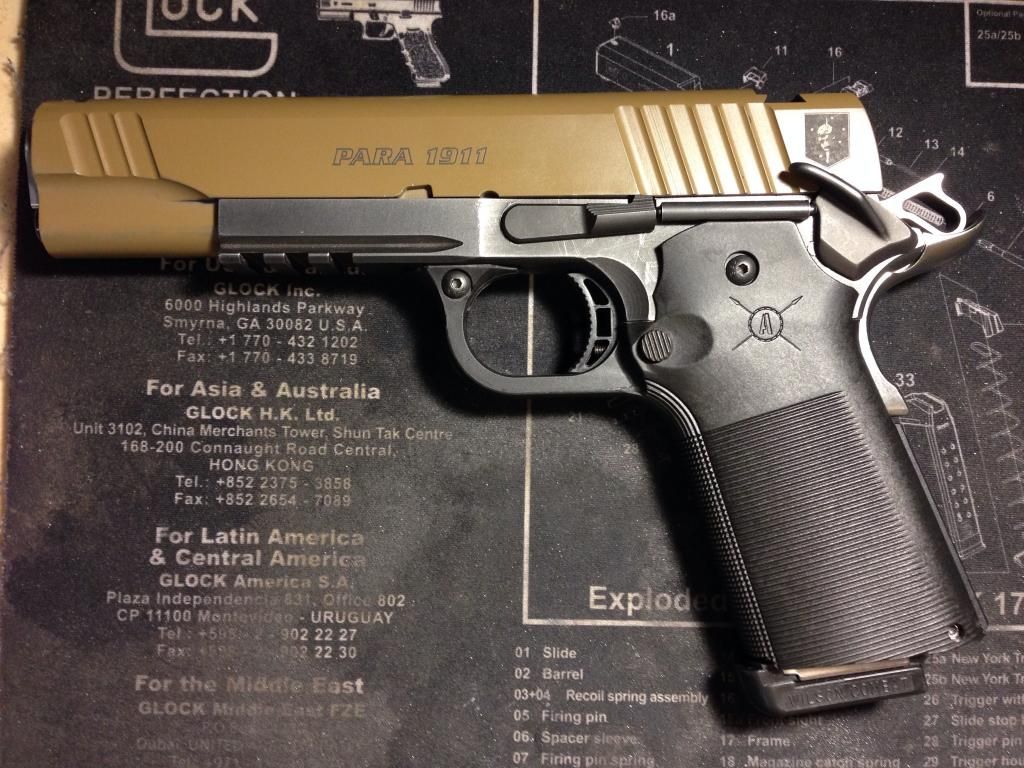
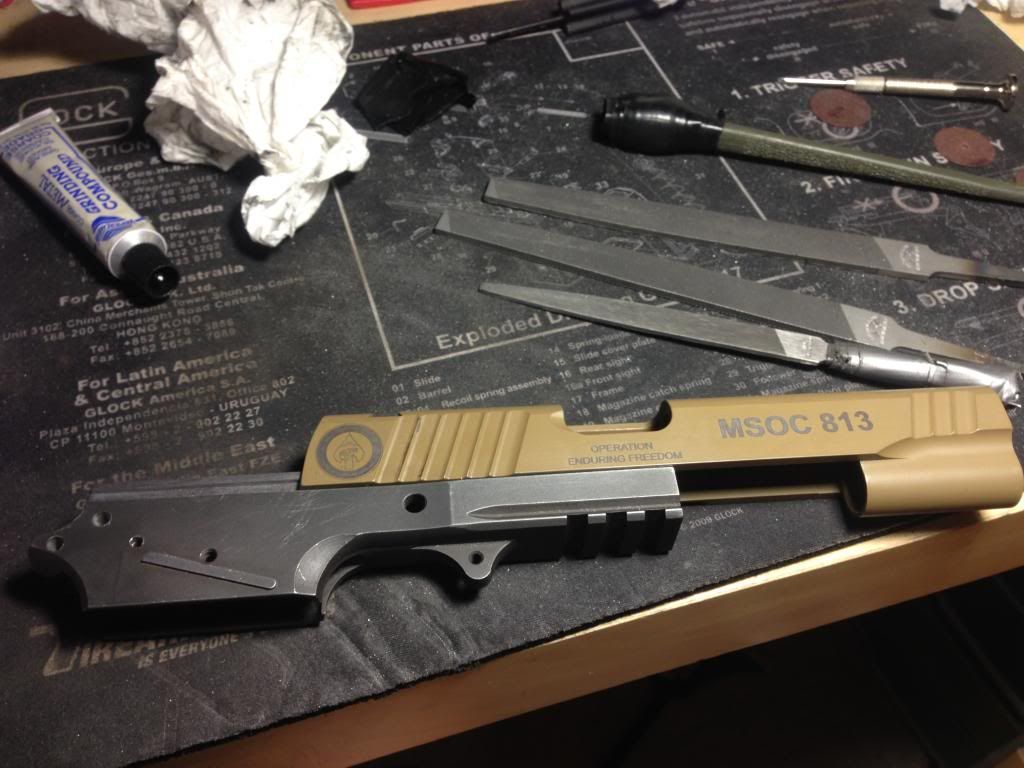
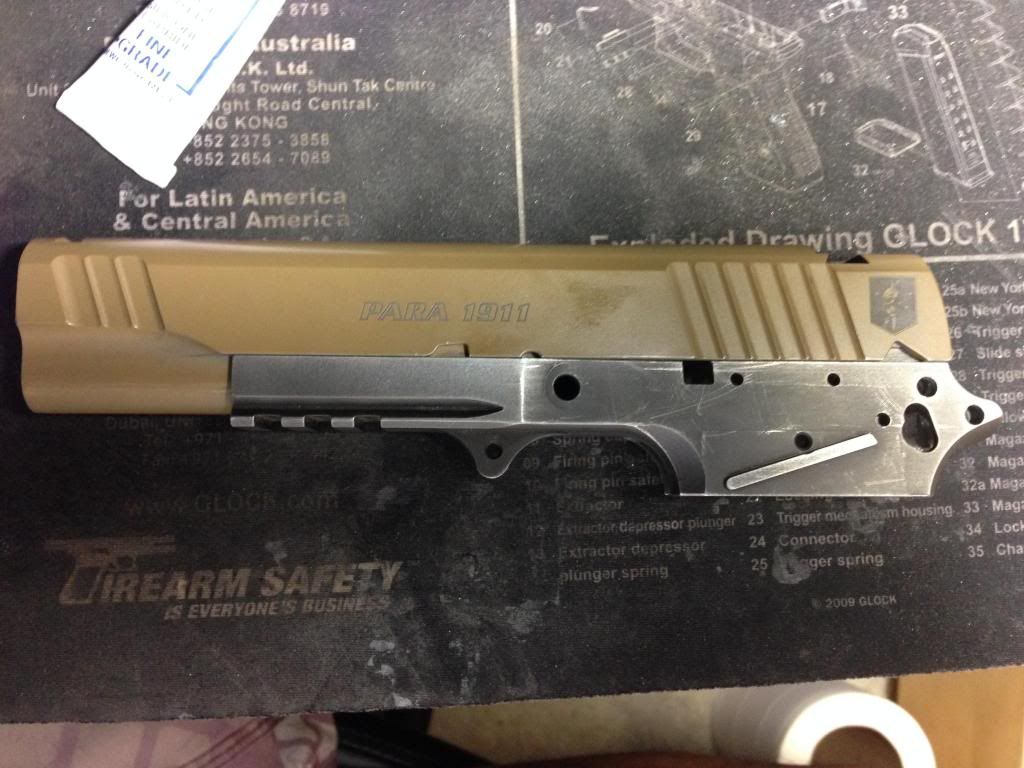
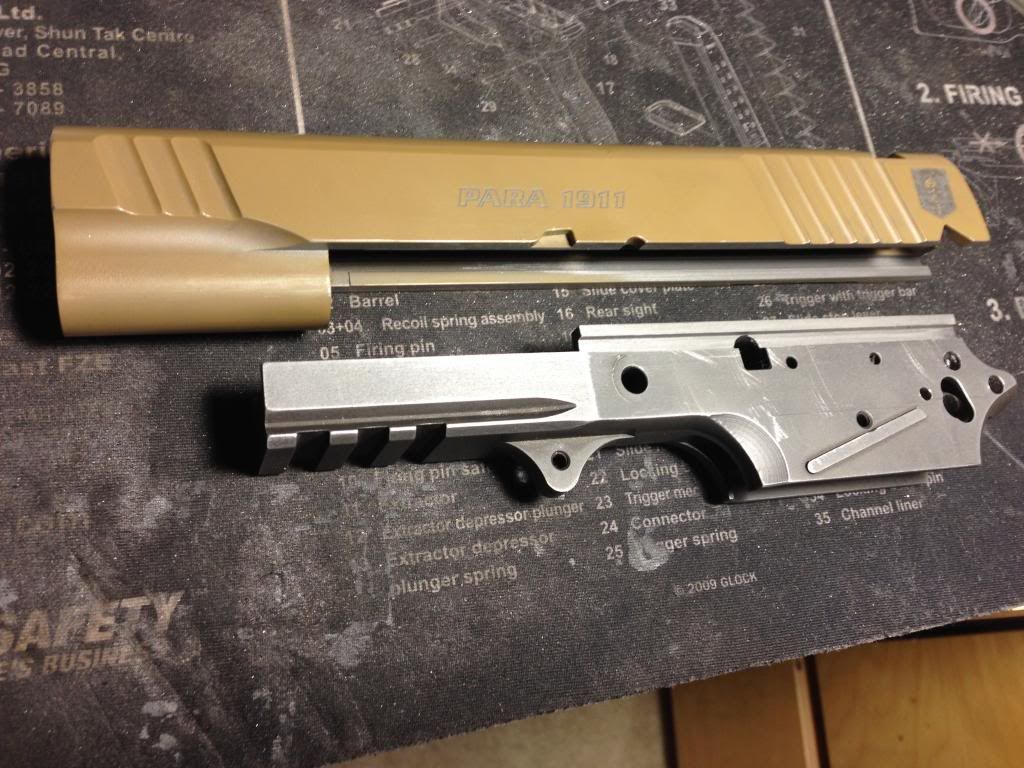
Completed minus night sights.
Ever since the whole “The era of 80% party is over,” I knew I was SOL on getting my Rudius frame done. I do not have any 1911 (gunsmith) experience so I did not know where to start. At first, I was going to just buy a file and start filing away, using the jig as a guide. After a few hours of filing, I barely scratched the surface. I also checked the file marks and they were way out of spec. So that is another reason to stop. After doing some research, I stumbled on this Dremel table. Then it hit me, I can use this along with a cutting disk to cut the rails. So I bought one.
Total time: 9.5hrs
Tools needed:
Dremel tool
Dremel Router Table - http://www.dremel.com/en-us/Attachme...l.aspx?pid=231
Cutting disk
File (The thickness of the file must be less than .119 http://www.mcmaster.com/#hand-files/=przvjc)
Lapping compound
Caliper
Gloves
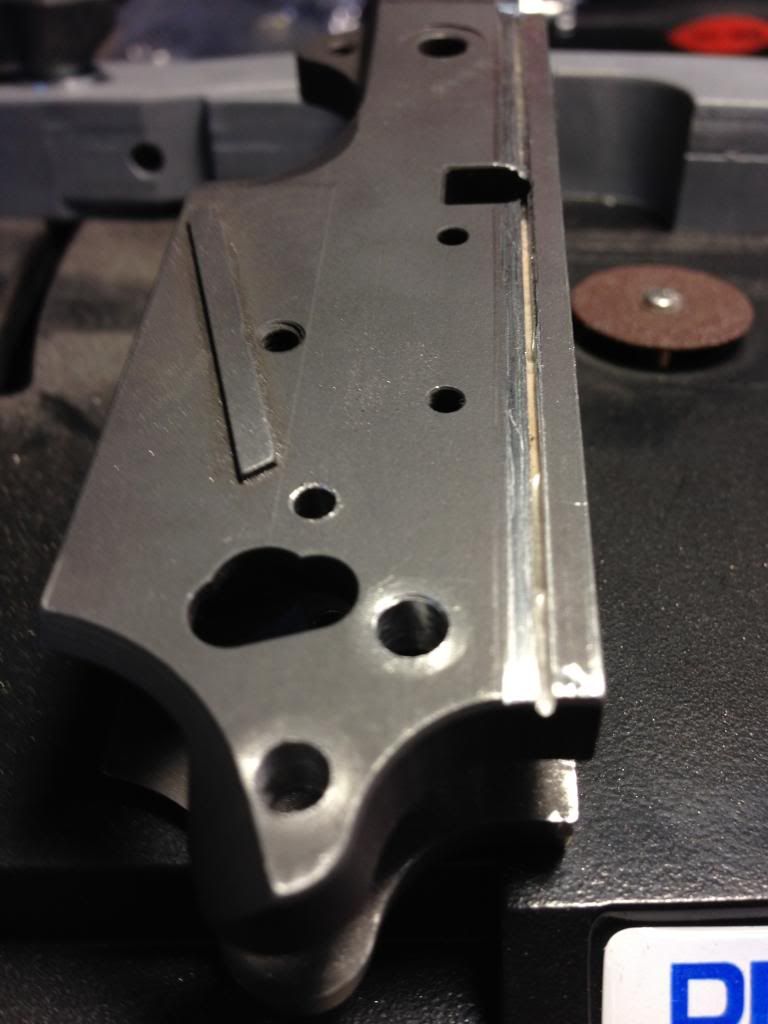
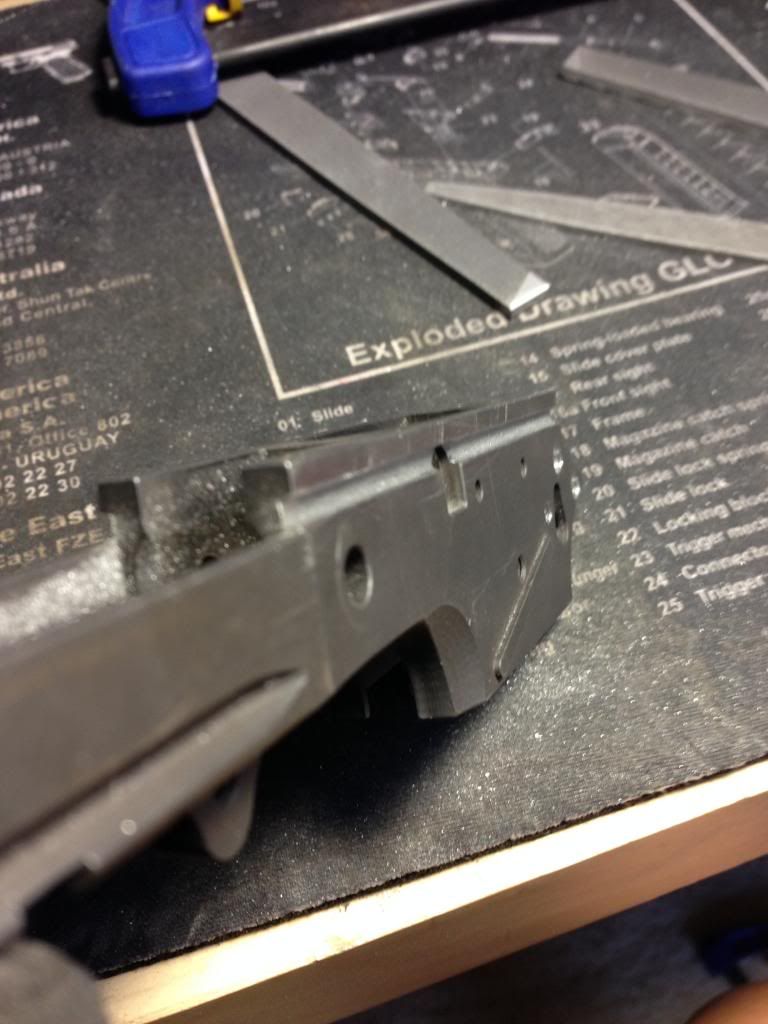
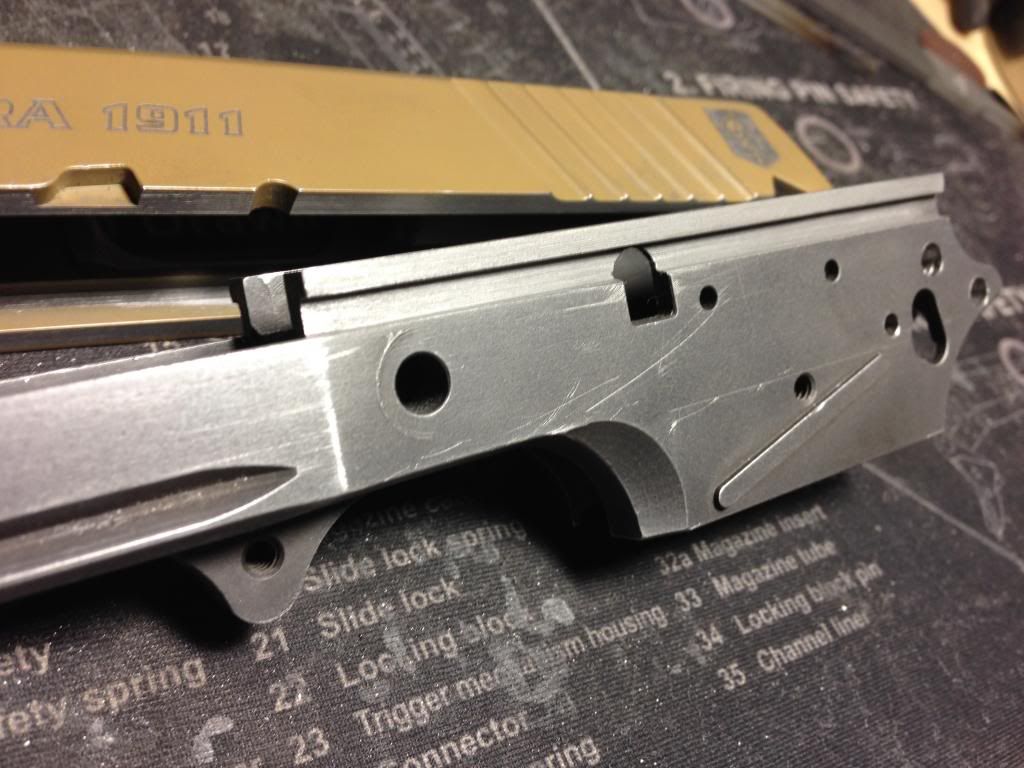
The first thing I did was to make guidelines. I did this by using the bottom part of the caliper to get the correct measurement. 0.100 for the top line and 0.219 for the bottom.
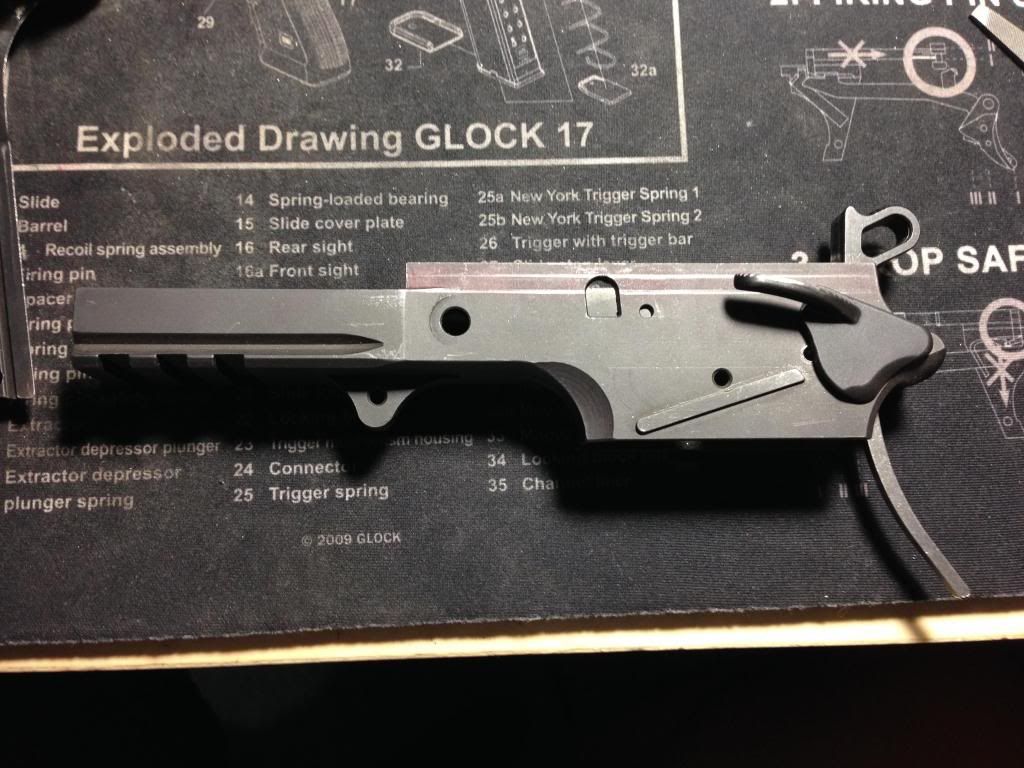
REMEMBER, WHEN YOU START CUTTING, YOU WANT TO CUT INSIDE THE LINES!!!
ALSO, DOUBLE CHECK ALL THE SCREWS ON THE TABLE. MAKE SURE THEY ARE ALL TIGHT!
MOST IMPORANTLY, MEASURE MEASURE MEASURE MEASURE MEASURE!!!
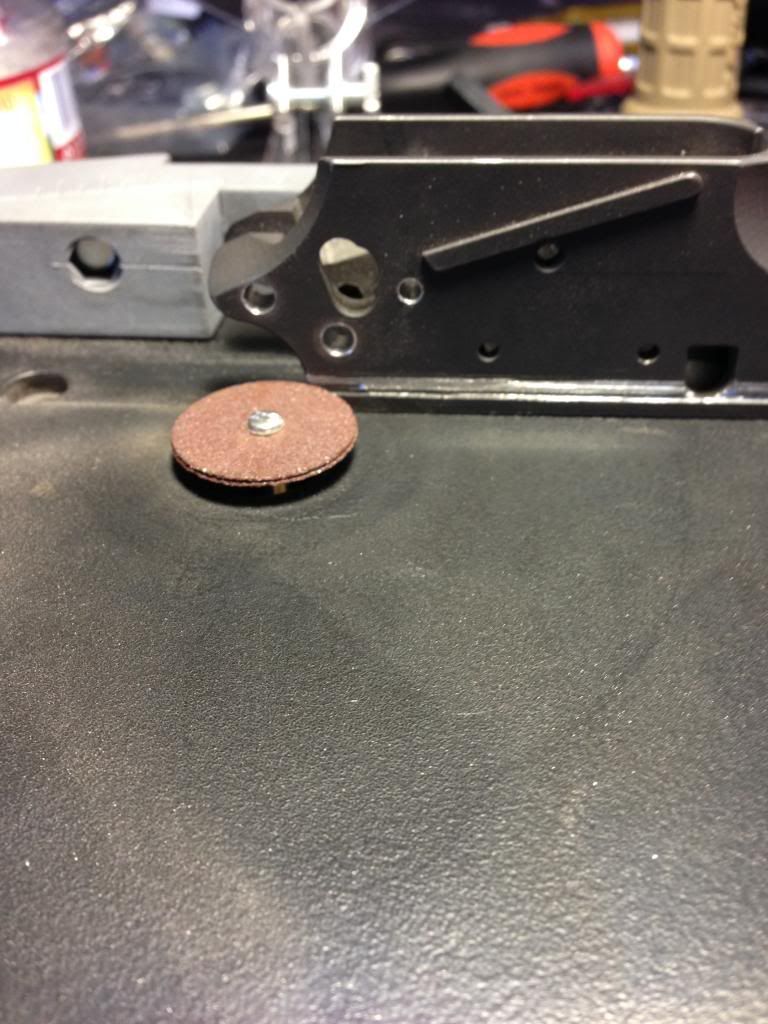
The Dremel tool attached to the table can move vertically. There is no way to checking the height so I just eyeballed it. Making sure the cutting disk is well above the line.
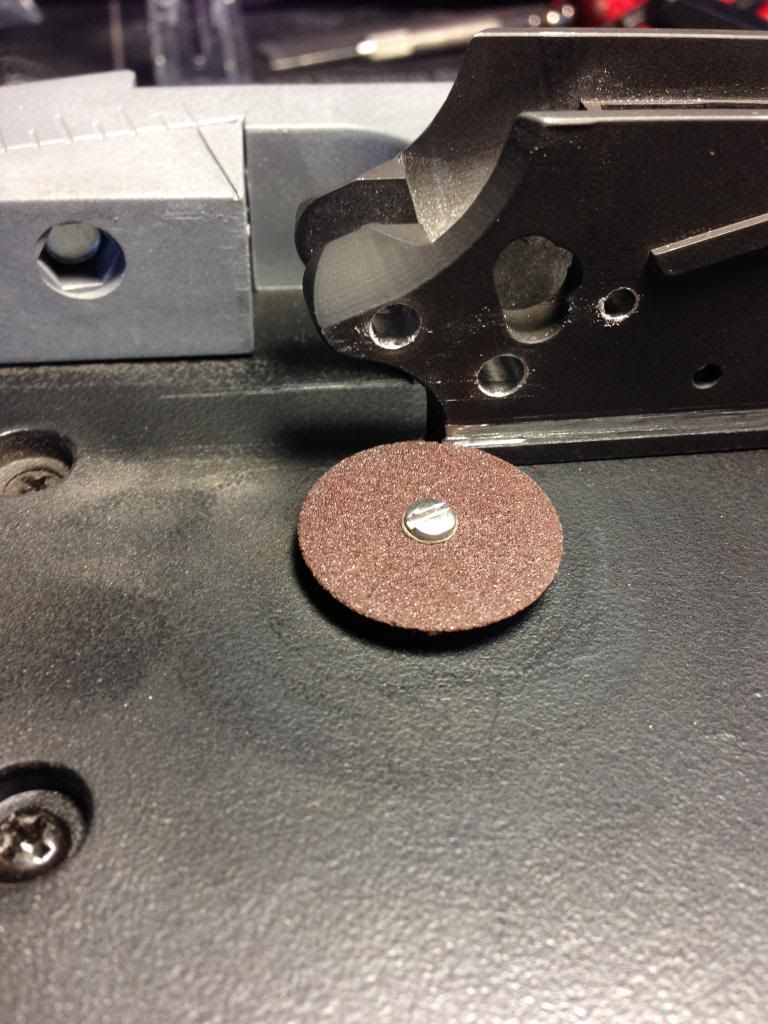
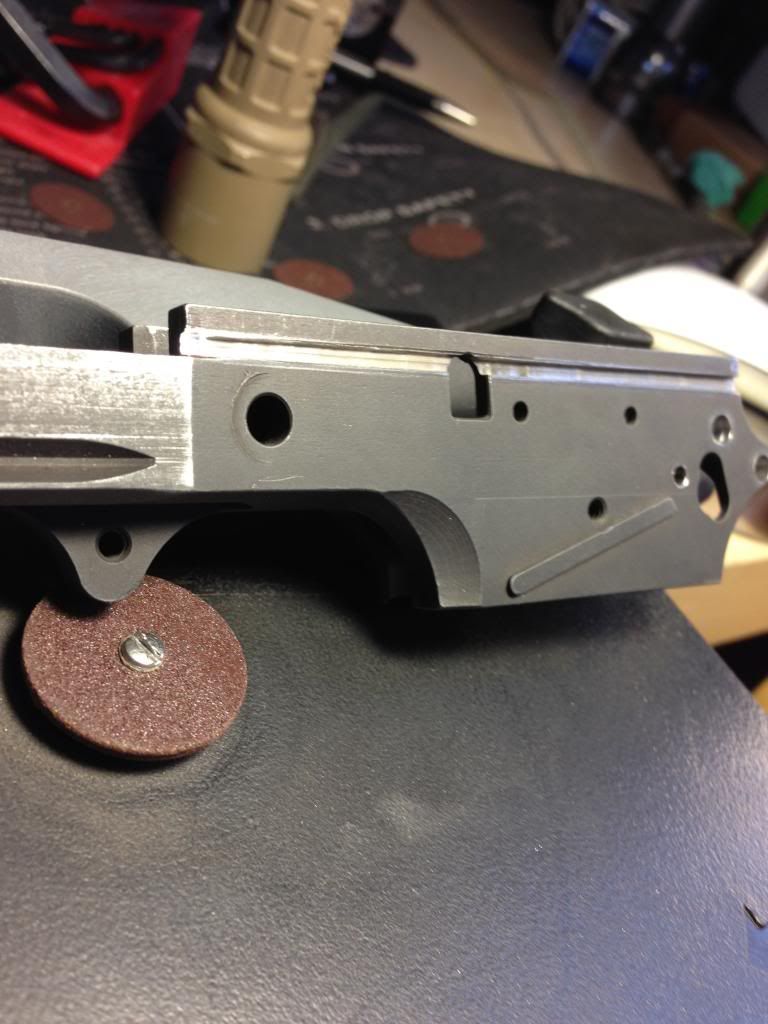
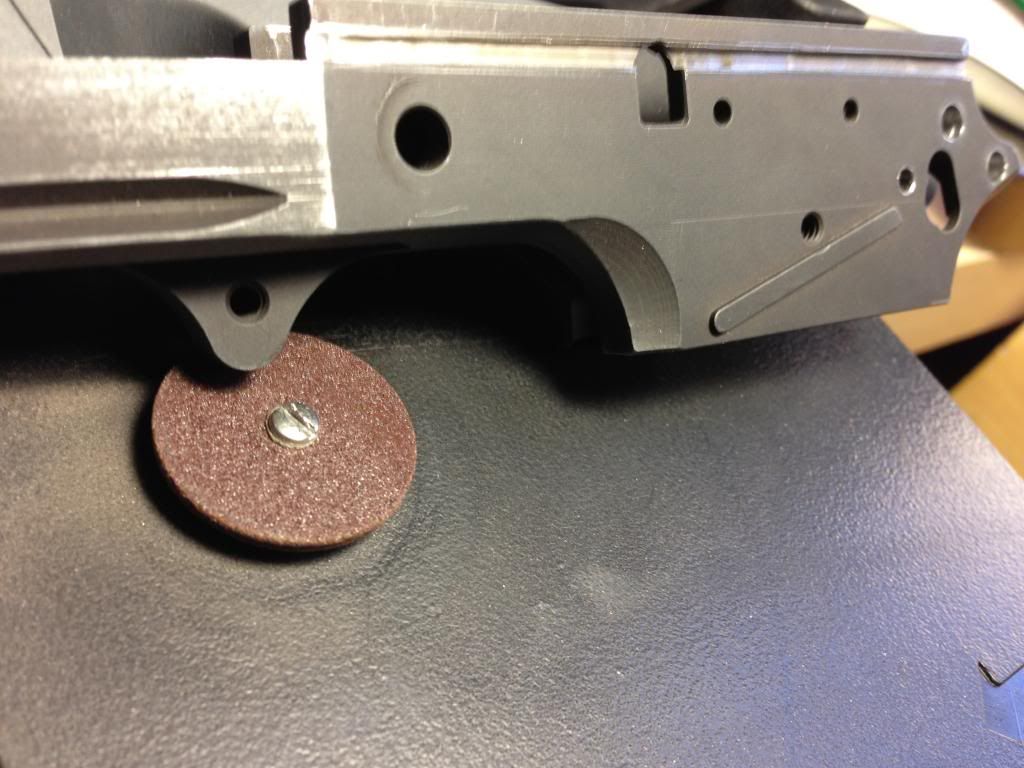
Here is a picture of the cut I made. Notice, I did not go deep.

The cut is still within spec.
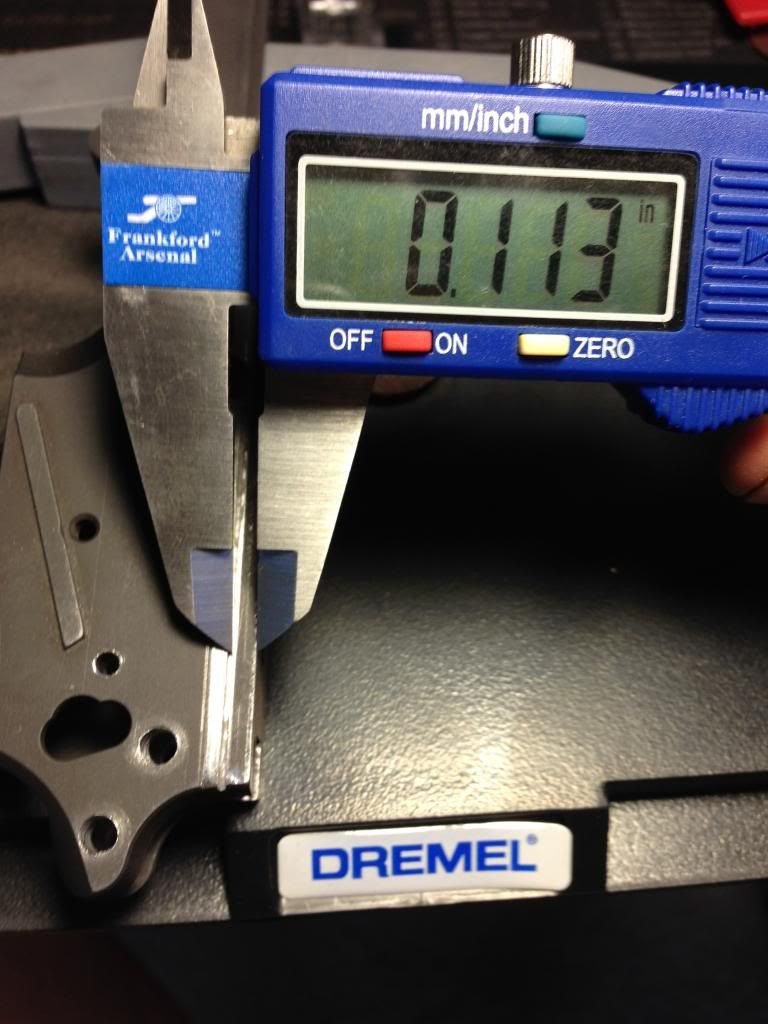
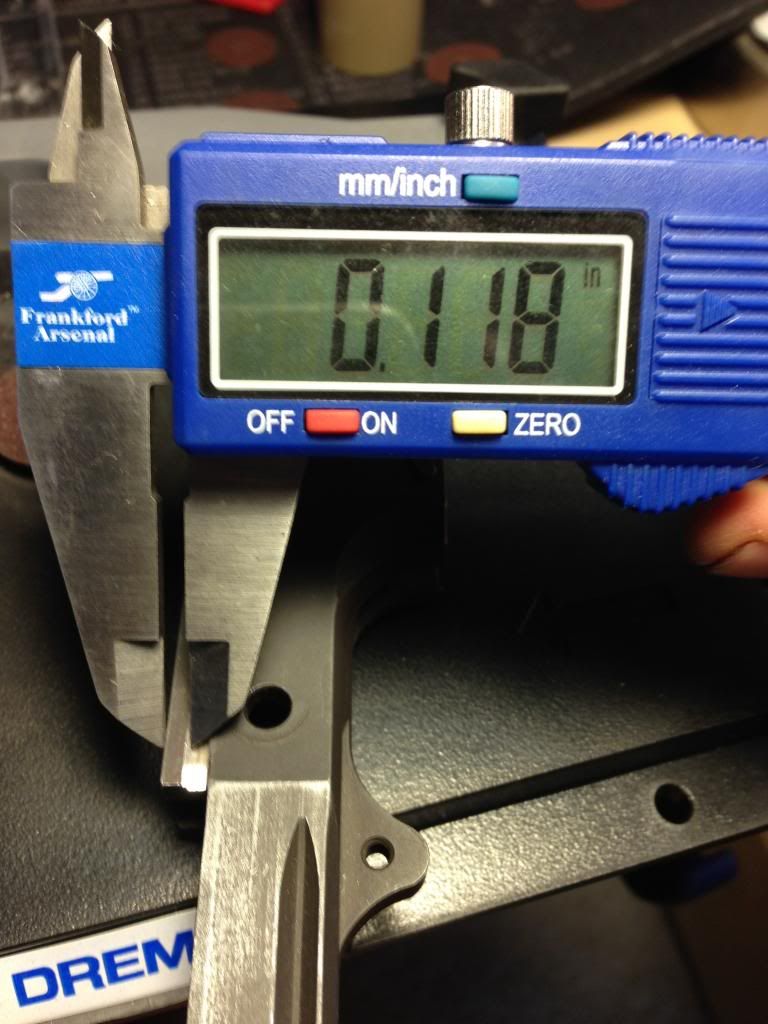
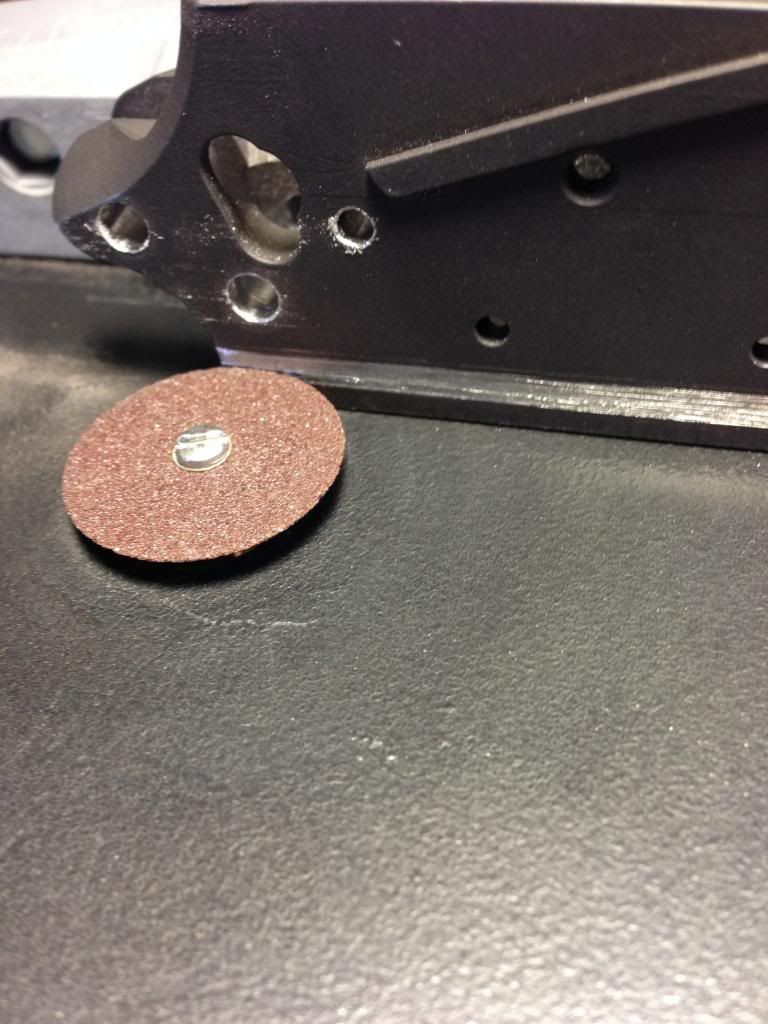
Since the measurement is within spec, we can go deeper.
*Update* Barrel seat cut post #32
Completed minus night sights.
Ever since the whole “The era of 80% party is over,” I knew I was SOL on getting my Rudius frame done. I do not have any 1911 (gunsmith) experience so I did not know where to start. At first, I was going to just buy a file and start filing away, using the jig as a guide. After a few hours of filing, I barely scratched the surface. I also checked the file marks and they were way out of spec. So that is another reason to stop. After doing some research, I stumbled on this Dremel table. Then it hit me, I can use this along with a cutting disk to cut the rails. So I bought one.
Total time: 9.5hrs
Tools needed:
Dremel tool
Dremel Router Table - http://www.dremel.com/en-us/Attachme...l.aspx?pid=231
Cutting disk
File (The thickness of the file must be less than .119 http://www.mcmaster.com/#hand-files/=przvjc)
Lapping compound
Caliper
Gloves
The first thing I did was to make guidelines. I did this by using the bottom part of the caliper to get the correct measurement. 0.100 for the top line and 0.219 for the bottom.
REMEMBER, WHEN YOU START CUTTING, YOU WANT TO CUT INSIDE THE LINES!!!
ALSO, DOUBLE CHECK ALL THE SCREWS ON THE TABLE. MAKE SURE THEY ARE ALL TIGHT!
MOST IMPORANTLY, MEASURE MEASURE MEASURE MEASURE MEASURE!!!
The Dremel tool attached to the table can move vertically. There is no way to checking the height so I just eyeballed it. Making sure the cutting disk is well above the line.
Here is a picture of the cut I made. Notice, I did not go deep.
The cut is still within spec.
Since the measurement is within spec, we can go deeper.


Comment