Unconfigured Ad Widget

Collapse

Modified/Custom Gun Safe Interior

Collapse
X
 
  • Time
  • Show
Clear All
new posts
  • target_shot
    Member
    • Jul 2015
    • 444

    Modified/Custom Gun Safe Interior

    THE PROBLEM & ANALYSIS
    • Maximize use of both the width and depth dimensions of the safe interior
    • Limit shelf supports that use floor space
    • Allow for upright storage of all firearms
    • Allow for easy identification and removal of each firearm
    • Maximize shelf space in unused area above firearms
    • Allow for an easy, user-configurable layout that can be changed in only a few minutes.
    • Be cost effective


    I came up with several solutions to this, however most of the options were very expensive and required outsourcing parts to be CNC machined. Eventually, I decided to use some scrap ClosetMaid-brand track shelving from an old closet, cut it to size, and use that as the supports for shelving since I also had the posts laying around. I also decided that I liked the idea of rifle rods for upright storage but did not like how flexible they were and also that Velcro wears down over time. I purchased 5mm (0.19 inch - will fit in the barrel of a .22 rifle) carbon fiber tube that I affixed, to one end, a 3D printed connector with a neodymium magnet in the top. I would put 26g sheet metal on the underside of the shelving that would serve to attach the rifle rod.

    THE PROJECT

    Design

    Additionally, from Amazon, I ordered
    • 5mm x 200mm carbon fiber extrusion
    • 10mm x 5mm neodymium magnet
    • LED lighting strips
    • Tan gaff tape (Pro Gaff-brand)
    • 3D Printer Filament


    Shelf Track InstallMaking ShelvesFinishing Shelves
    NRA Life Member
    Glock Armorer
    Colt Armorer
    FFL 03 + COE
  • #2
    target_shot
    Member
    • Jul 2015
    • 444

    Installing Rifle Attachment System

    Once the epoxy (or other finish) has dried and fully cured, you can begin attaching your under shelf rifle attachment system. I came up with a couple different ideas, but ultimately decided on using sheet metal under the shelves to attract magnetic rifle rods.

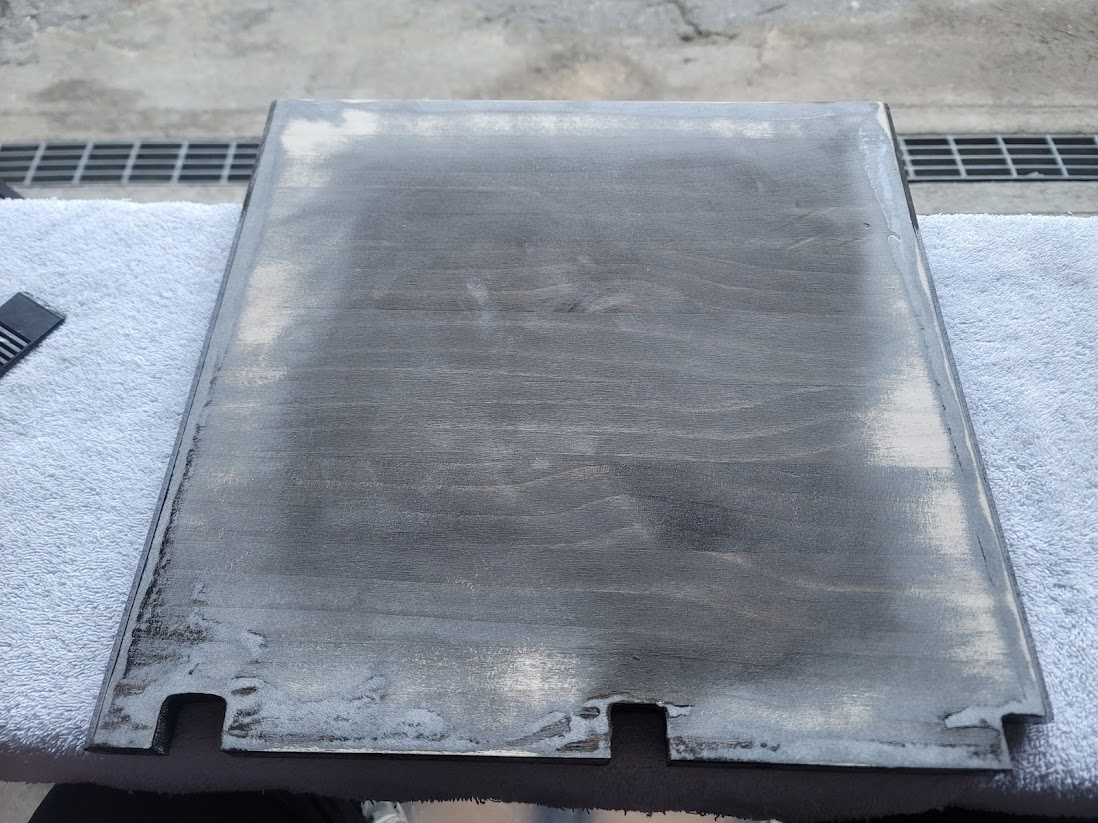
    From my local metal store I got sheet metal cut to the size of my shelves. I sanded the bottom of my shelves flat - removing or marring the stain is fine, because it will be covered by the metal.


    I sprayed the metal with primer and paint. I did 3 coats of primer and 3 coats of paint, because these are going to be wearing-surfaces. I waited the full cure time of the paint to make sure it was as strong as possible. I also primered the underside of the metal to prevent rust occurring from moisture in the wood being transferred to the metal.

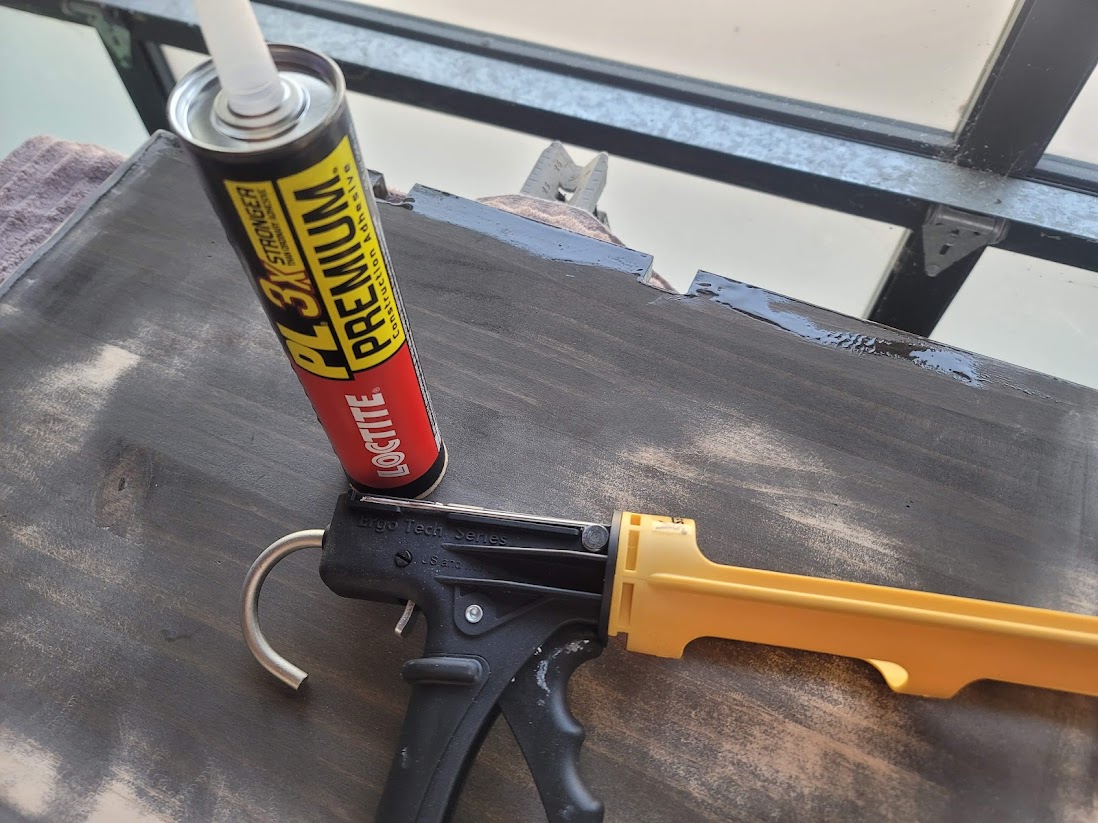
    I then used construction adhesive to secure the metal to the wood. Screws would work, but I prefer a totally flat surface.


    Rifle Rods

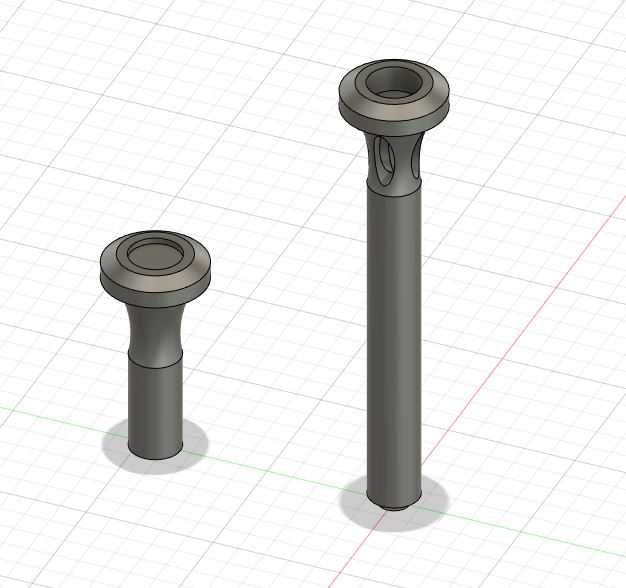
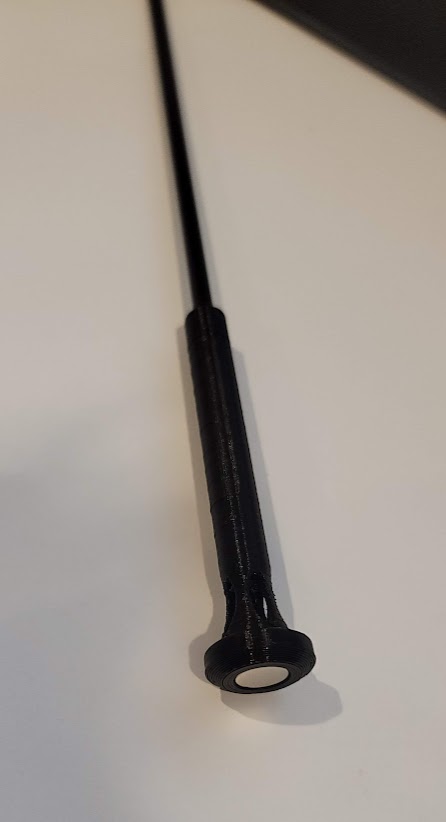
    To make the rifle rods, I purchased magnets and carbon fiber extrusions from Amazon. I created a connector in Fusion360 that would let me put a magnet in the top, and the carbon fiber extrusion in the bottom. The carbon fiber extrusion was 5mm in diameter, which is 0.19 inches and will fit in a .22lr. If you have a .17 HMR rifle, use 4mm extrusion.


    Assembly of these is easy, once printed and the support material is removed, use super glue to attach the rods and magnet.


    These can be made without the 3D printer, using a piece of wood and a hand drill with the right drill bits. I prefer 3D printing, not just because I have the tool, but because I make the length of the connector longer or shorter if I end up with a firearm in the future that needs a custom-designed solution.

    Final Assembly

    Last thing was to take the shelves, once the adhesive had dried, and install them in the safe. I used small screws run through the shelf supports to secure them, and then was able to arrange all my firearms inside.

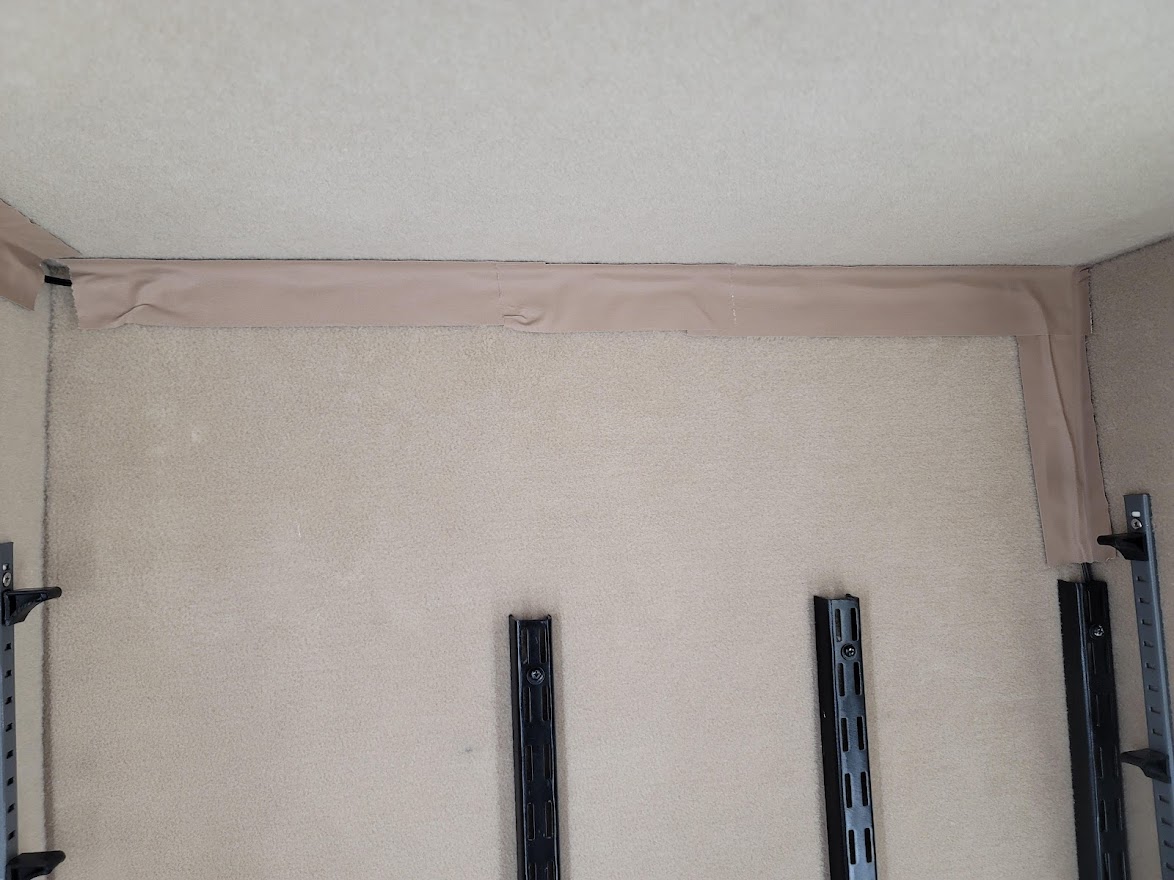
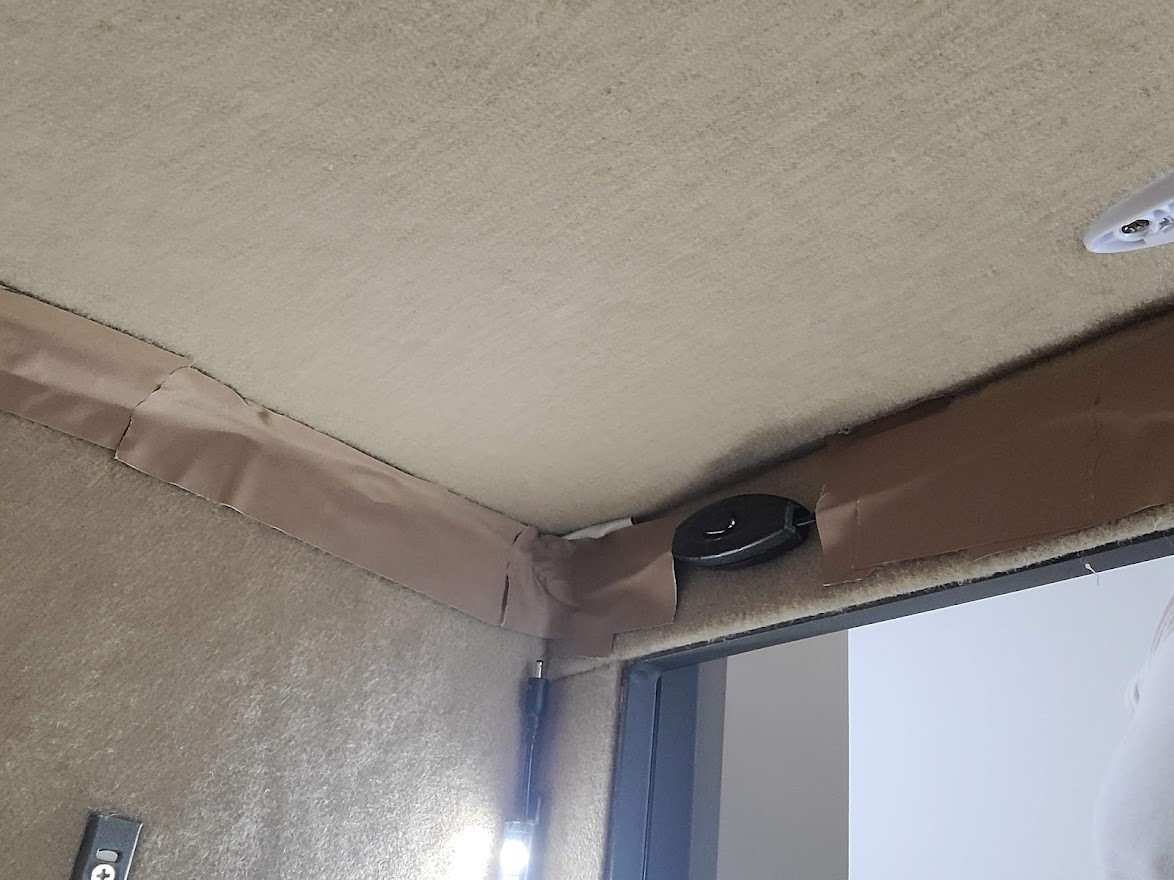
    I also decided that I wanted to install some lighting. Again on Amazon, I purchased a lighting kit that was equipped with corner-mount self adhesive lights and a flip switch that I was able to secure behind the upper lip of the safe. I secured and hid the wires with tan gaff tape (specifically Pro Gaff brand, which is very strong) that held them in place very well.


    Conclusion

    Hopefully this was able to help someone out. I was not able to find a project like this already on the internet, and wanted to make my contribution. If you have any questions, please feel free to ask below or send me a PM, I will do my best to help you out.

    NRA Life Member
    Glock Armorer
    Colt Armorer
    FFL 03 + COE

    Comment

    • #3
      billped
      Veteran Member
      • Oct 2009
      • 2504

      Fine work. Thanks for the post.
      Bill

      Comment

      • #4
        ja308
        I need a LIFE!!
        • Nov 2009
        • 12660

        Thanx for posting. How many hours do figure for the project ?

        Comment

        • #5
          target_shot
          Member
          • Jul 2015
          • 444

          Originally posted by ja308
          Thanx for posting. How many hours do figure for the project ?
          For active working time, maybe 15-20 hours?

          However, waiting for everything to dry/cure takes awhile.

          1st day was a full day to empty the safe, design the layout, make the home depot run, get everything cut to size, and get the spray paint on - then it cured overnight. I started the printer running to make the rifle rods, but that does not need anything other than uploading the program and hitting the "start" button.

          The next day was only a half day - I got the shelf track installed, shelves cut, and stain on which needed 24 hours to dry. I also put in the lights.

          3rd day was only a couple hours to set up for the epoxy, measure and pour the seal coat. This also took 24 hours to cure. The rifle rods were done, and I assembled them which only took a couple minuets.

          4th day was the flood coat, just took 30 mins to sand & re-apply with sporadic blowtorching after. Another 24 hours to cure.

          5th day was the final install, just 30 mins to empty the safe again, put the shelves in, screw them to the shelf supports, and put everything back in.
          NRA Life Member
          Glock Armorer
          Colt Armorer
          FFL 03 + COE

          Comment

          • #6
            golfish
            I need a LIFE!!
            • Mar 2013
            • 10123

            Well done sir
            It takes a lot of balls to play golf the way I do.
            Happiness is a warm gun.

            MLC, First 3

            Comment

            • #7
              subscriber
              Senior Member
              • Nov 2011
              • 929

              Clever

              Comment

              • #8
                racinjason233
                Senior Member
                • Apr 2015
                • 1456

                Beautiful work!
                Originally posted by smashycrashy
                Damn, you are right, I suck
                Originally posted by OleCuss
                I despise Trump.

                Comment

                • #9
                  Oldmandan
                  Veteran Member
                  • Dec 2012
                  • 2721

                  Looks very nice
                  "To preserve liberty, it is essential that the whole body of the people always possess arms, and be taught alike, especially when young, how to use them" - Richard Henry Lee

                  sigpic

                  Comment

                  • #10
                    croue
                    Senior Member
                    • Jan 2013
                    • 1255

                    Nice! Interesting choice to go with wooden shelves instead of felt or carpet.

                    Interested in how the gloss holds up over time.

                    C


                    Sent from my iPhone using Tapatalk

                    Comment

                    • #11
                      wilsonm
                      Member
                      • Jan 2020
                      • 158

                      Comment

                      • #12
                        Barang
                        CGN Contributor
                        • Aug 2013
                        • 12922

                        very nice! but where is the pic of the guns inside?

                        Comment

                        • #13
                          SilveradoColt21
                          CGN Contributor - Lifetime
                          • Sep 2021
                          • 2440

                          Wow lots of ingenuity going on here, great job there's nothing like the feeling of accomplishing something yourself
                          sigpic

                          Comment

                          • #14
                            damngato
                            CGN/CGSSA Contributor
                            CGN Contributor
                            • Apr 2012
                            • 3394

                            Looks great, well done!
                            Link for feedback -

                            https://www.calguns.net/calgunforum/...4#post28181454

                            WTB:
                            Off Roster CZs
                            Off Roster Sigs
                            Off Roster FNs
                            Pre-Lock S&Ws

                            Comment

                            • #15
                              target_shot
                              Member
                              • Jul 2015
                              • 444

                              Originally posted by Barang
                              very nice! but where is the pic of the guns inside?
                              I thought about it, but open forum and pics last forever.....trust me, I have doubled my useable space and everything is organized

                              Originally posted by croue
                              Nice! Interesting choice to go with wooden shelves instead of felt or carpet.

                              Interested in how the gloss holds up over time.

                              C


                              Sent from my iPhone using Tapatalk
                              Thanks! Yeah, I wanted the feel of "luxury car", and thought that the wood does well. I put the same finish on my reloading bench, and it has held up well. It will scratch with heavy use, but a blow dryer and wool buffing pad will polish all the scratches out.

                              Originally posted by damngato
                              Looks great, well done!
                              Originally posted by SilveradoColt21
                              Wow lots of ingenuity going on here, great job there's nothing like the feeling of accomplishing something yourself
                              Originally posted by Oldmandan
                              Looks very nice
                              Originally posted by racinjason233
                              Beautiful work!
                              Originally posted by subscriber
                              Clever
                              Originally posted by golfish
                              Well done sir
                              Originally posted by billped
                              Fine work. Thanks for the post.
                              Thanks for the support!
                              NRA Life Member
                              Glock Armorer
                              Colt Armorer
                              FFL 03 + COE

                              Comment

                              Working...
                              UA-8071174-1