 Tweet
Tweet
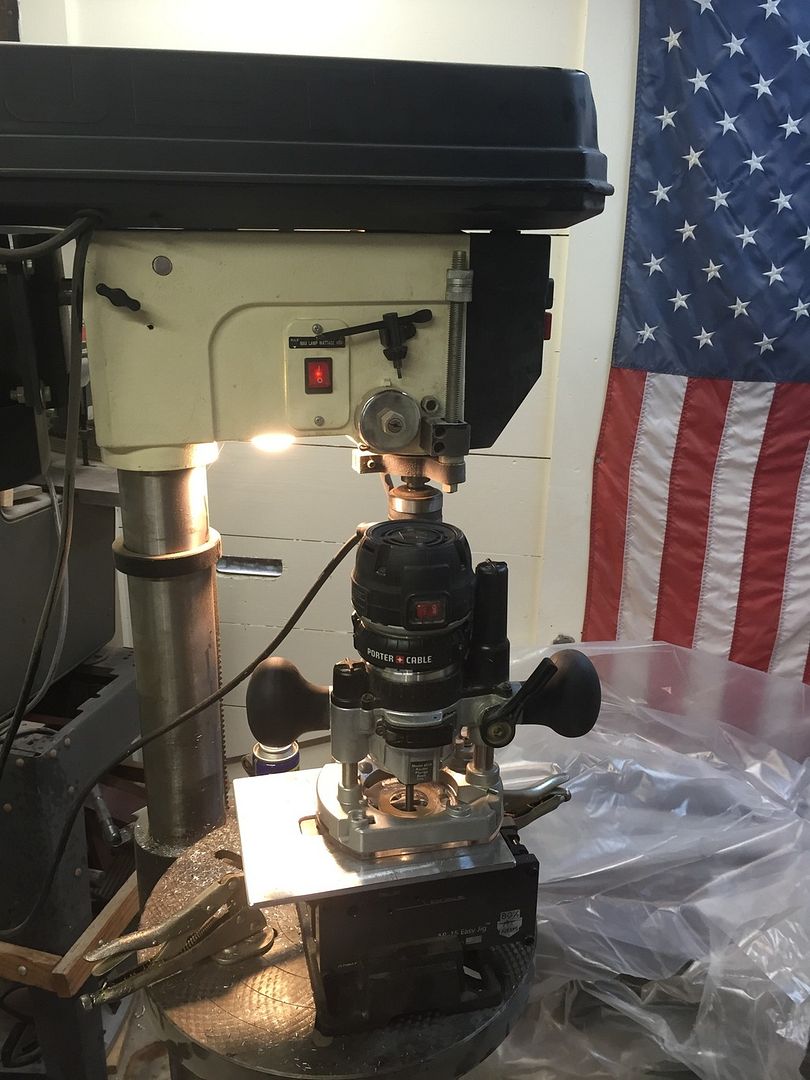
I have been wanting to give building an 80% AR a try for a while now. I looked at a lot of the jigs being made and I finally decided on the 80% easy jig. The simplicity of the jig and mid price range was what sold me on the jig. I ended up buying the jig from Righttobear.com as they were offering the Jig for $149.99 with free shipping and had the jig in stock. Right To Bear Arms shipped my order quickly and I received the jig in 2 days.
The Easy Jig came neatly packed and in a nice 80% arms package. All the items looked well made and come with a type 3 anodization. One thing that I was disappointing with was that the jig did not come with any instructions, rather a business card linking me to: http://80percentarms.com/pages/manuals. The link did not work and I had to search the 80% Arms website to try to find another manual and ended up with: https://cdn.shopify.com/s/files/1/02...essed.pdf?1329 which apeared to be a little bit outdated, but maybe this is their current manual.
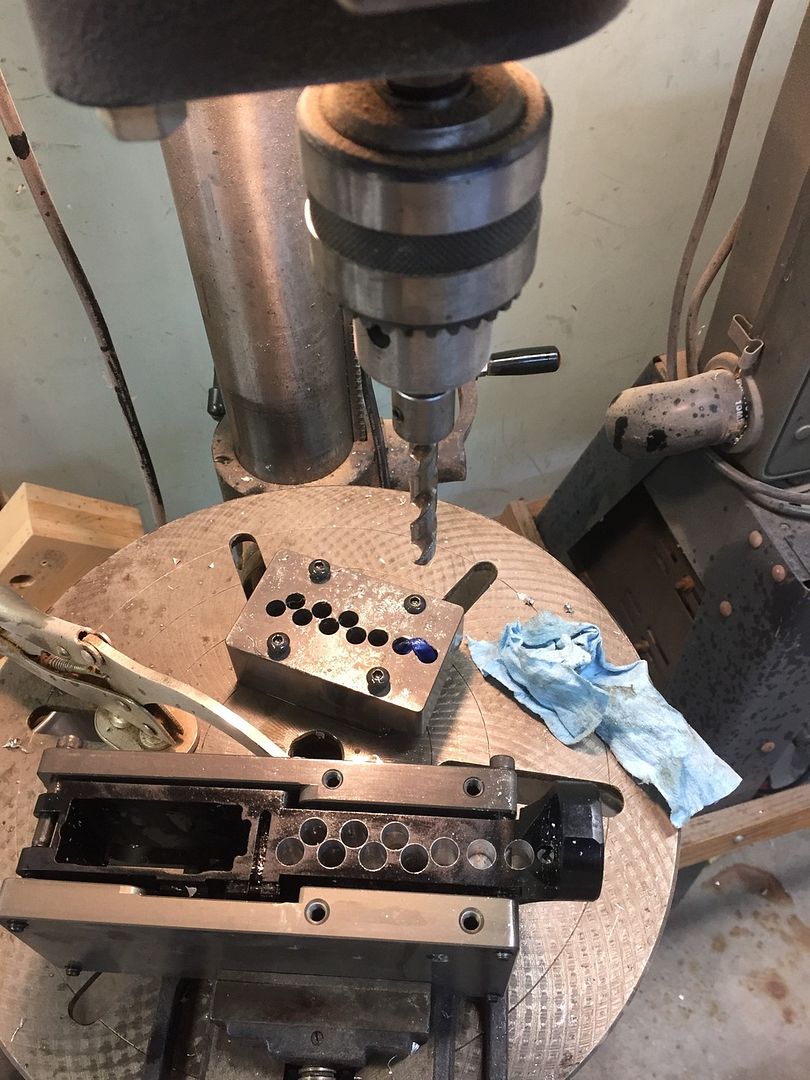
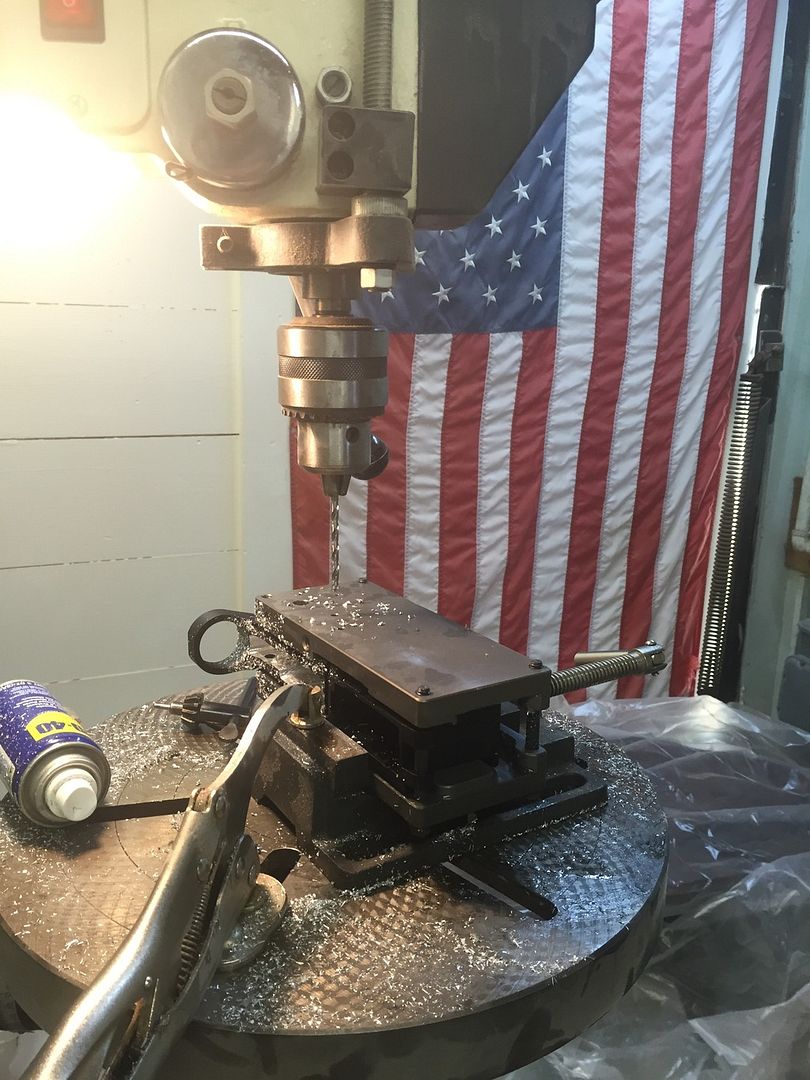
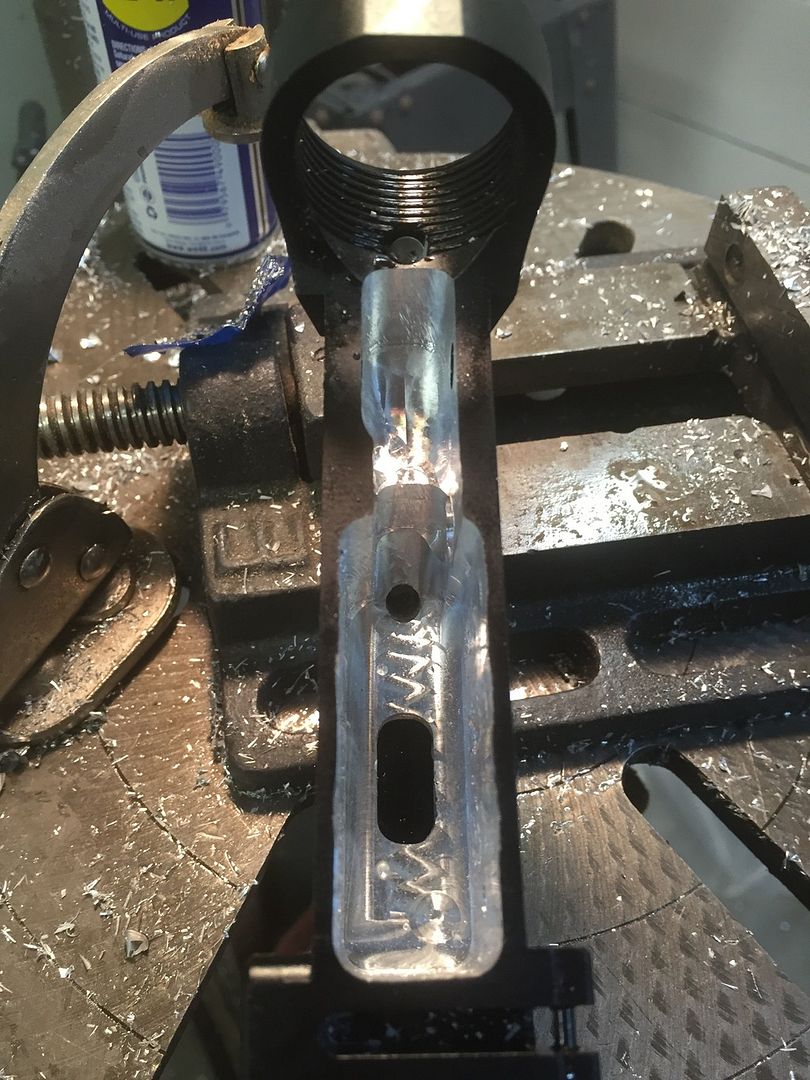
In the end the jig worked extremely well. If you try and take too much off with the endmill you will get a bit of chattering. I found that taking shallow passes and using lots of lubricant ( I used a combination of wd40 and a syringe with chainsaw bar oil) that the chattering could be brought down to a manageable amount. In the end the trigger pocket and and rear shelf were a bit rough on the sides, but still very serviceable. The outside of the lower came out extremely clean, with no scratching on the anodizing, and clean looking fire control group holes.
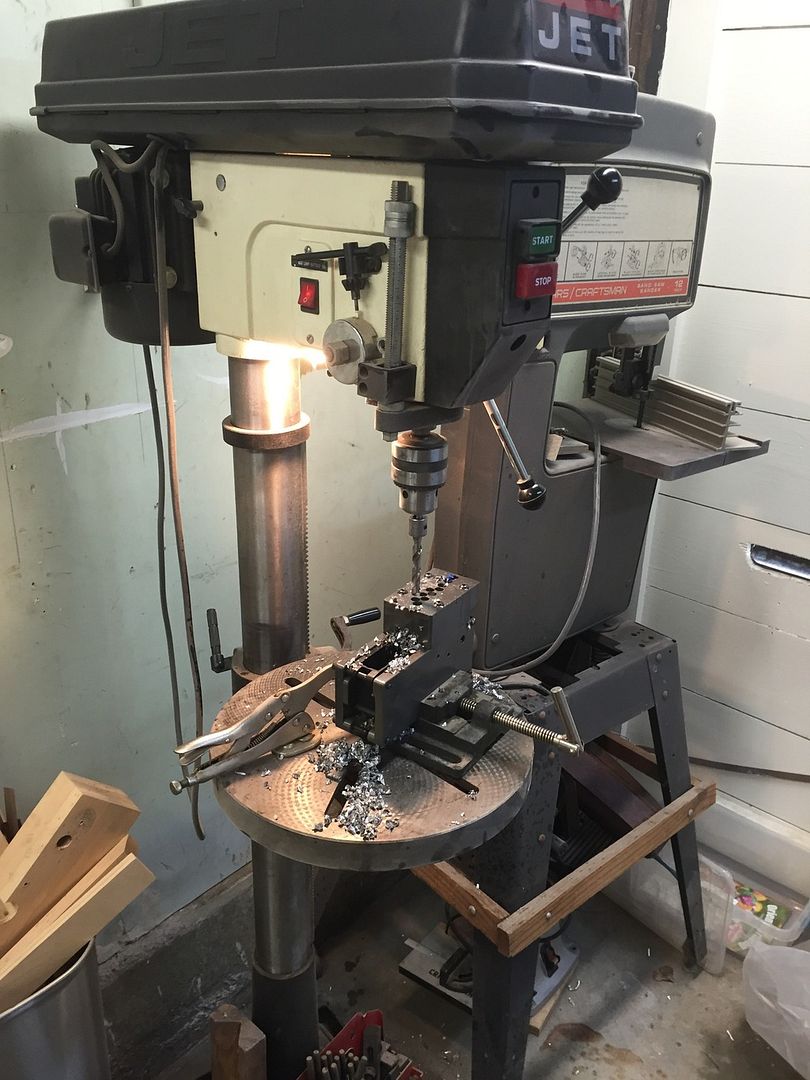
My only gripe with the 80% arms jig was the instructions. Expecting people to bring their computer into their shop to complete their 80% lower with oil and aluminum shavings flying everywhere is a recipe for disaster( I didn't dare bring my wife computer into my shop and printout out the instructions).
Over all the jig lived up to its name and was easy to use, and I would suggest it to those who are in the market.
The Easy Jig came neatly packed and in a nice 80% arms package. All the items looked well made and come with a type 3 anodization. One thing that I was disappointing with was that the jig did not come with any instructions, rather a business card linking me to: http://80percentarms.com/pages/manuals. The link did not work and I had to search the 80% Arms website to try to find another manual and ended up with: https://cdn.shopify.com/s/files/1/02...essed.pdf?1329 which apeared to be a little bit outdated, but maybe this is their current manual.
In the end the jig worked extremely well. If you try and take too much off with the endmill you will get a bit of chattering. I found that taking shallow passes and using lots of lubricant ( I used a combination of wd40 and a syringe with chainsaw bar oil) that the chattering could be brought down to a manageable amount. In the end the trigger pocket and and rear shelf were a bit rough on the sides, but still very serviceable. The outside of the lower came out extremely clean, with no scratching on the anodizing, and clean looking fire control group holes.


My only gripe with the 80% arms jig was the instructions. Expecting people to bring their computer into their shop to complete their 80% lower with oil and aluminum shavings flying everywhere is a recipe for disaster( I didn't dare bring my wife computer into my shop and printout out the instructions).
Over all the jig lived up to its name and was easy to use, and I would suggest it to those who are in the market.
 how long did it take?


Comment