Unconfigured Ad Widget

Collapse

Fixing misfires in a 41 mag python

Collapse
X
 
  • Time
  • Show
Clear All
new posts
  • D.R.E.
    Senior Member
    • Jan 2008
    • 891

    Fixing misfires in a 41 mag python

    [As always: this is just for entertainment purposes. If you do any of this to your gun it's going to get ruined! If you see a place where I'm ruining mine, point it out so no one else gets led astray!]

    I recently got a 41 mag python, which got dissected to see how Jack Huntington did the conversion (http://www.calguns.net/calgunforum/s...d.php?t=197384). It had a lot of enshake which got fixed (http://www.calguns.net/calgunforum/s...d.php?t=200502). And while it didn't blow up after shooting a couple hundred rounds (http://www.calguns.net/calgunforum/s...d.php?t=200817) it would also misfire about 1 round per cylinder.


    The misfires were with large pistol CCI primers. I got told to just use federal, but that's cheating, so spent some time this weekend attempting to fix things.

    The DA pull is around 6.2lbs, so it's possible that the mainspring is the problem. However, I've done colts that have a lighter pull and they've worked w/o issue, so the problem could be something else. Admittedly these other guns shoot 357, so perhaps the force needed to ignite small pistol primers is less than for large. However, I don't want to just blindly increase the mainspring as a way to mask any underlying issue.

    To spare you the dynamic tension, in the end I did wind up increasing the mainspring by about 4oz but a lot of stuff got fixed along the way, so perhaps it's interesting anyway.

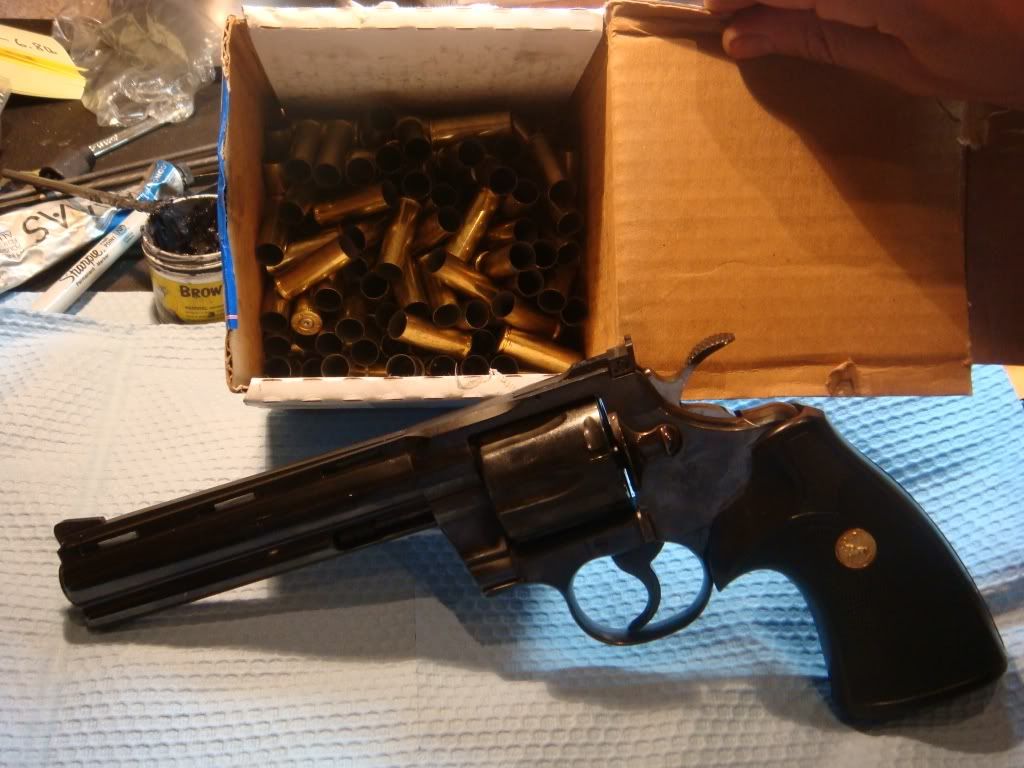
    Just for reference here's the gun after the endshake fix:
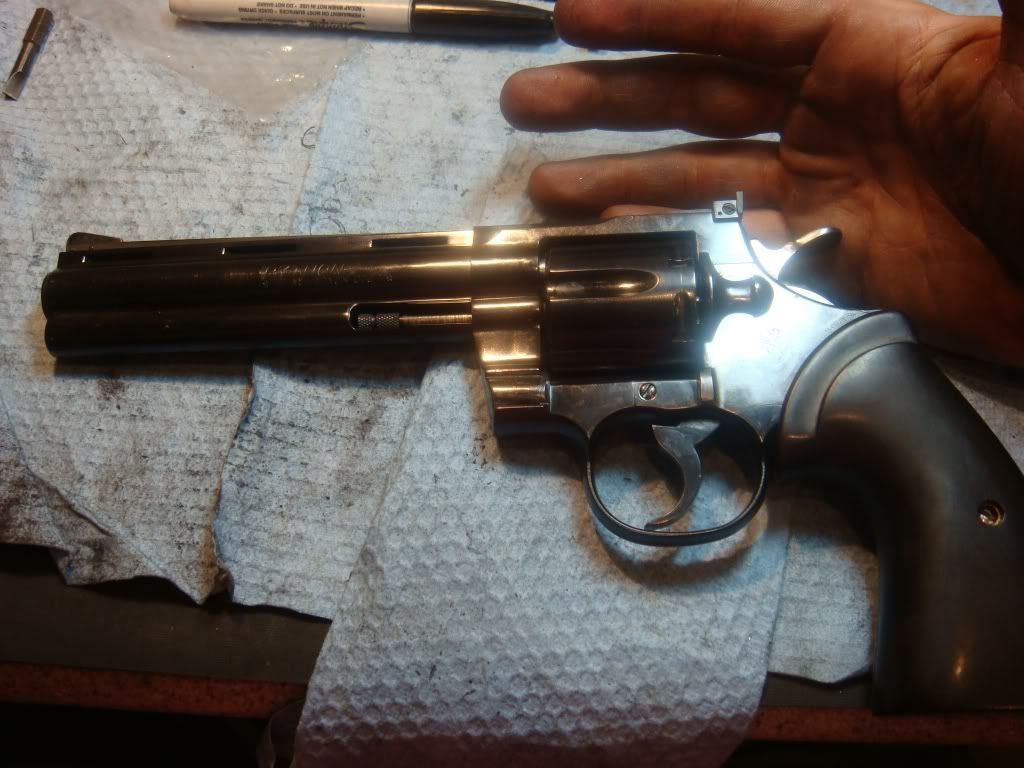

    A good colt smith gave a rundown of things to check for tracking down misfires, so we do some of those first.
    Last edited by D.R.E.; 07-14-2009, 4:13 AM.
    http://coltpython.blogspot.com/
  • #2
    D.R.E.
    Senior Member
    • Jan 2008
    • 891

    Checking for binding: I

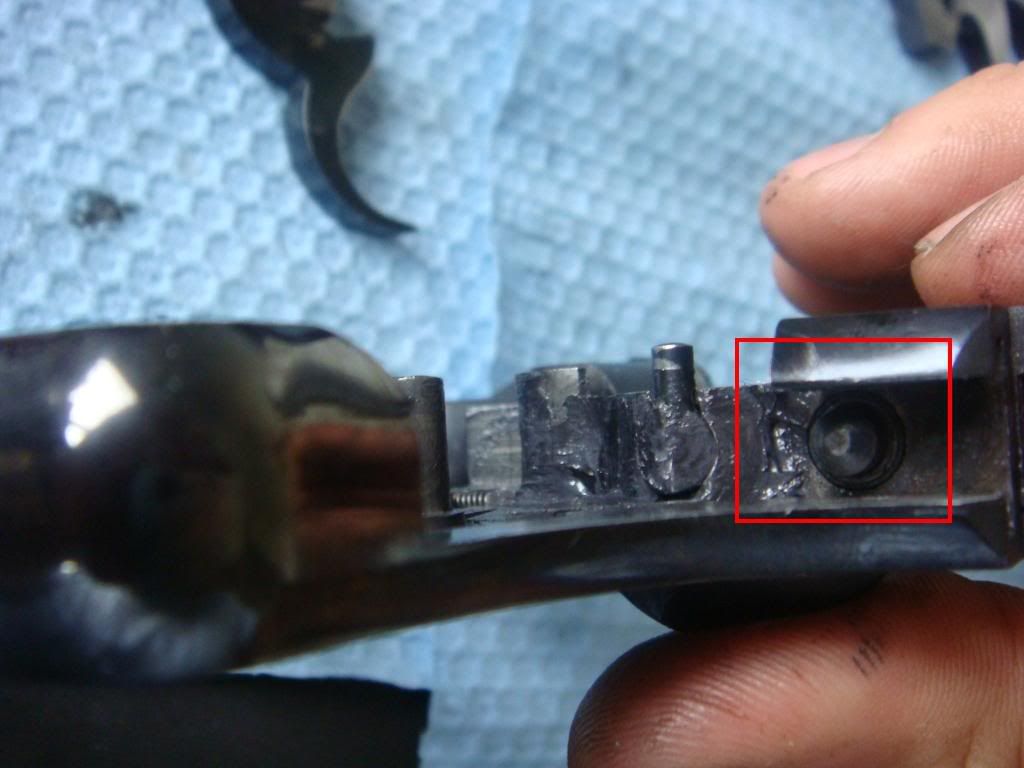
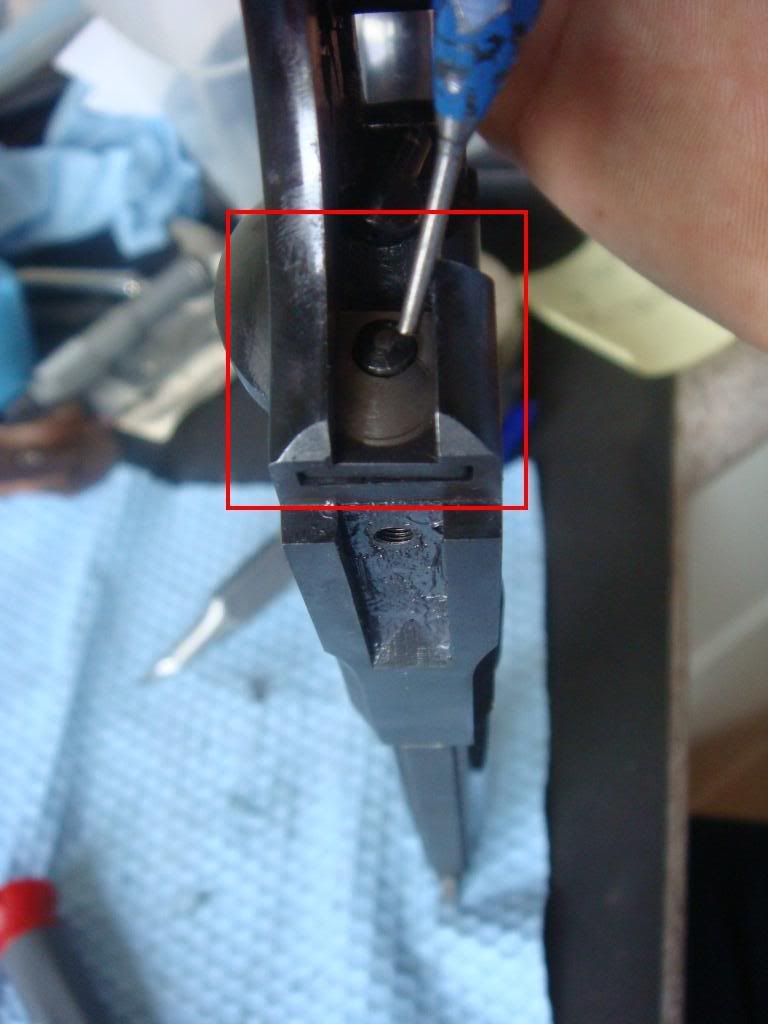
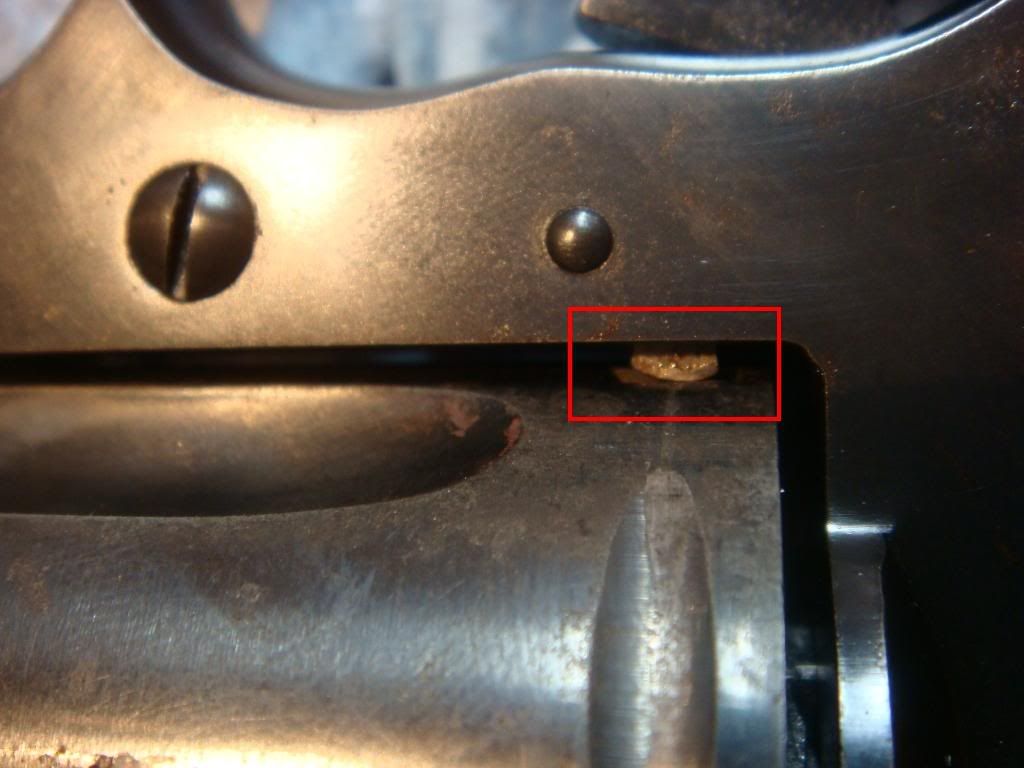
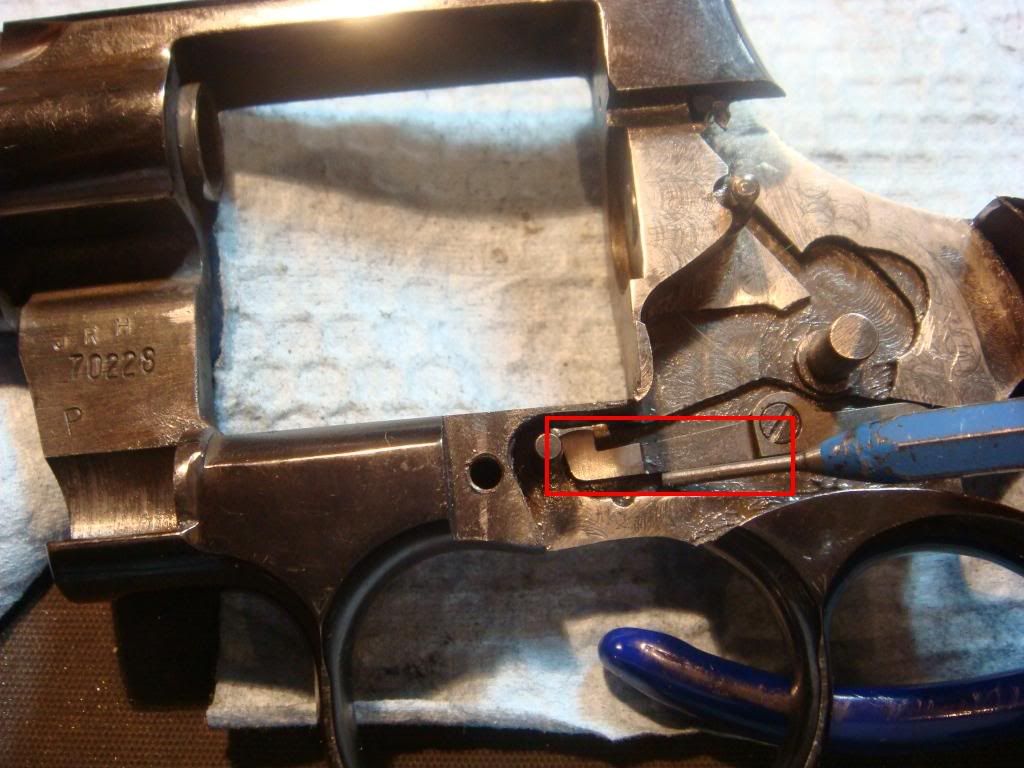
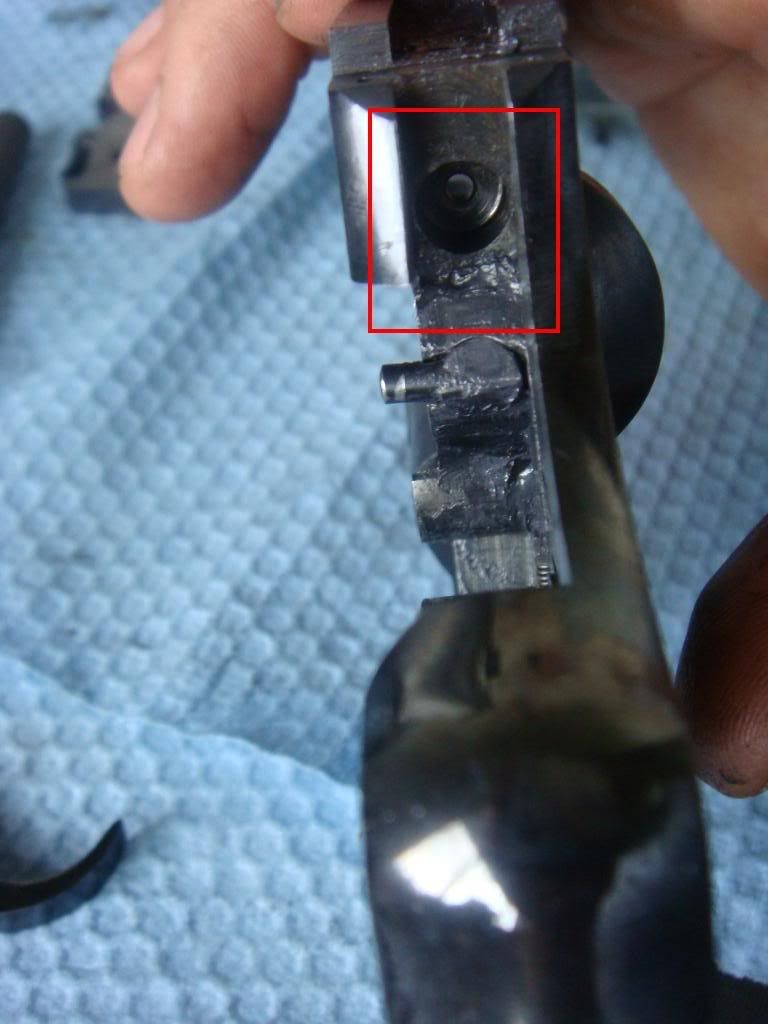
    First up: take the firing pin plate, pin, and spring out and check for different possible sources of binding. The rectangle gives the hole they came out of. Note the over enthusiastic use of moly grease --- I knew I was going to take the gun apart soon so slathered it on excessively:


    We clean things up, put the firing pin in and push it back and forth to make
    sure there is no binding:


    We then reinstall w/ the firing pin spring and check that it's not kinked up:


    Then make sure the hammer spring strut can move freely:


    Then check to see if the mainspring is catching on anything. (I spent time getting rid of burrs and high spots on the internals previously, so didn't think this would be an issue, but as has been said: "trust but verify"). We mark the sides w/ a sharpie so any rubbing will show up:


    We then put things back and run the action a bunch of times. Also checking that the mainspring isn't walking out from the frame:
    http://coltpython.blogspot.com/

    Comment

    • #3
      D.R.E.
      Senior Member
      • Jan 2008
      • 891

      Checking for binding: II

      There were two tiny rub marks and while it's doubtful they can cause an issue, since the side of the mainspring isn't crucial (as in: it doesn't have tolerances in the .001s) we take a few strokes of a file to it:


      We then take the internals out put the sideplate on and check that the hammer flops back and forth freely:


      Also checking with a little bit of lateral pressure that there's not a rub or burr that we catch:


      We then check that the safety bar isn't catching the hammer:
      Last edited by D.R.E.; 07-14-2009, 3:56 AM.
      http://coltpython.blogspot.com/

      Comment

      • #4
        D.R.E.
        Senior Member
        • Jan 2008
        • 891

        Checking for hammer bounce

        Finally, we check that the hammer isn't "bouncing" off the rebound. We did this right after the last range visit, but just to be sure we repeat.

        Pull the hammer back while keeping a finger on the rebound:


        Then release hammer and check for any impact. Hammer should not hit the rebound. If it does, this collision will absorb force intended for the firing pin. Often sporadic misfires result.

        Last edited by D.R.E.; 07-14-2009, 3:59 AM.
        http://coltpython.blogspot.com/

        Comment

        • #5
          D.R.E.
          Senior Member
          • Jan 2008
          • 891

          Checking for a too short hand

          Unfortunately for our diagnosis, none of these checks show up a problem. So we put everything back together and run some primed cases through to try to narrow things down and to check if perhaps the firing pin reassembly corrected a misconfiguration.

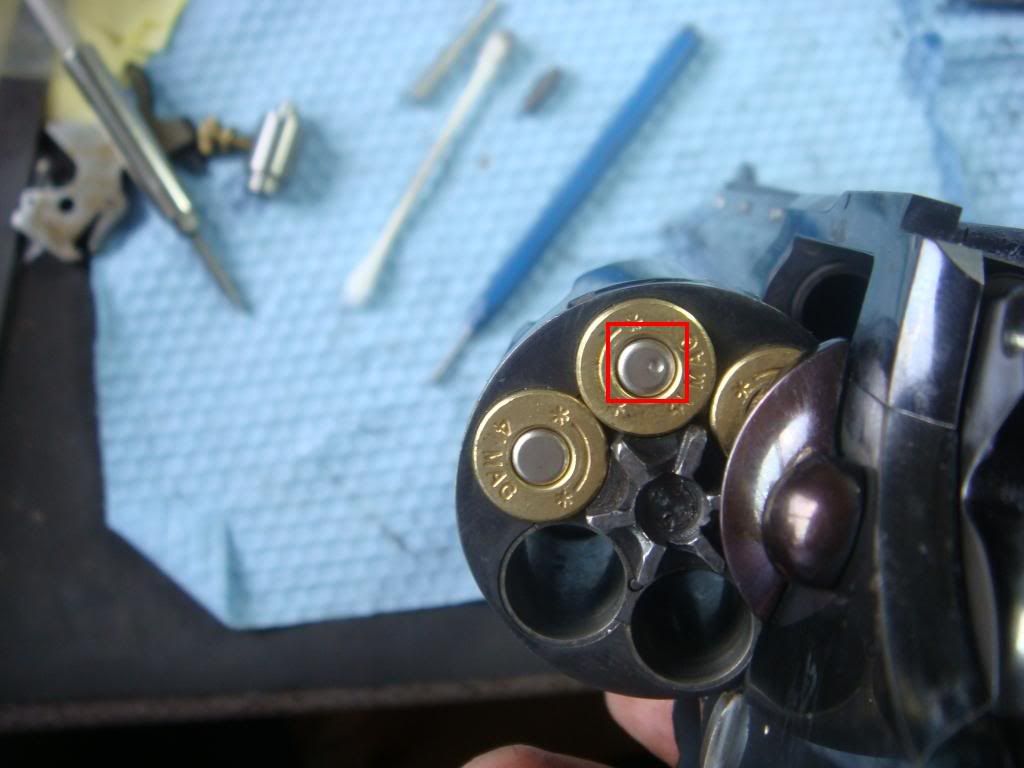
          Unfortunately, we still get misfires. Fortunately the misfired case is interesting: the firing pin indentation is way off center:


          I pulled the trigger extremely slowly, so one obvious potential cause is that a short hand is causing the cylinder to not rotate far enough so the pin is hitting way off center. Since it's a "center fire" cartridge, that's not really ideal.

          (If I'd pulled the trigger fast and we saw this mark it could be b/c the cylinder over-rotated b/c the bolt coming out of the frame was too short or the cylinder notch was too large, among other reasons. This gun also has a bolt problem, which we'll fix below.)

          I already knew the hand was short, but was putting off replacing it til later. Now that it could be the reason for the misfires, "later" becomes "now" and we get to it.

          I forgot to photograph doing the test to this python, so we show it for an old rusted(!) m357 that I just got (and will be fixing).

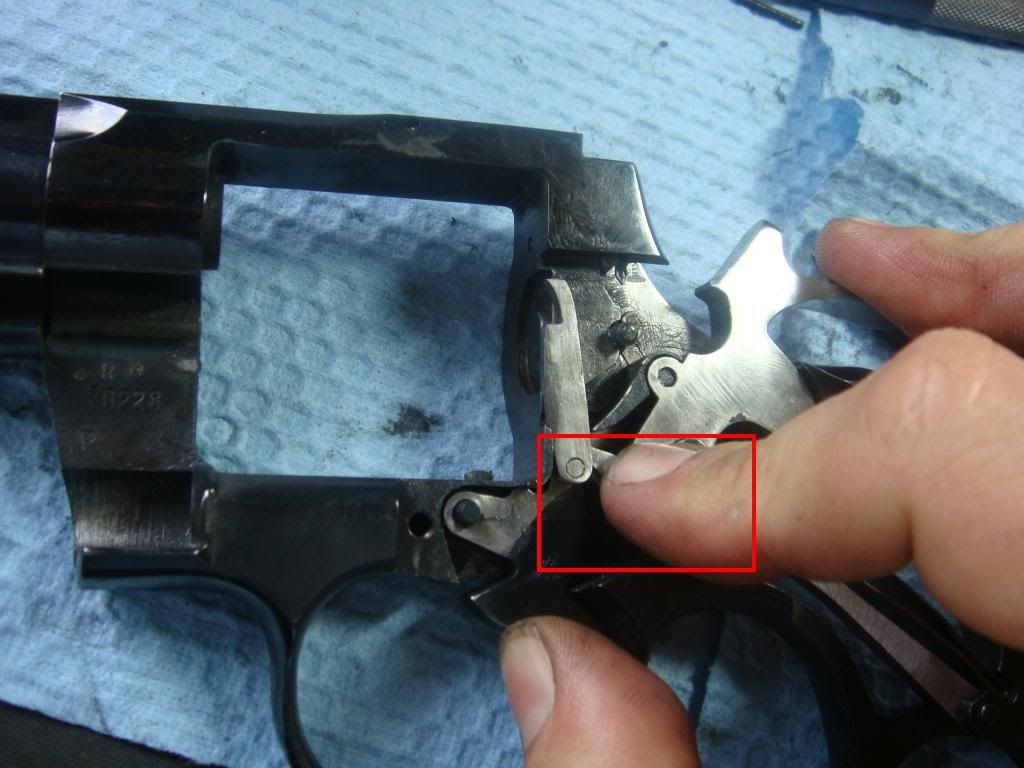
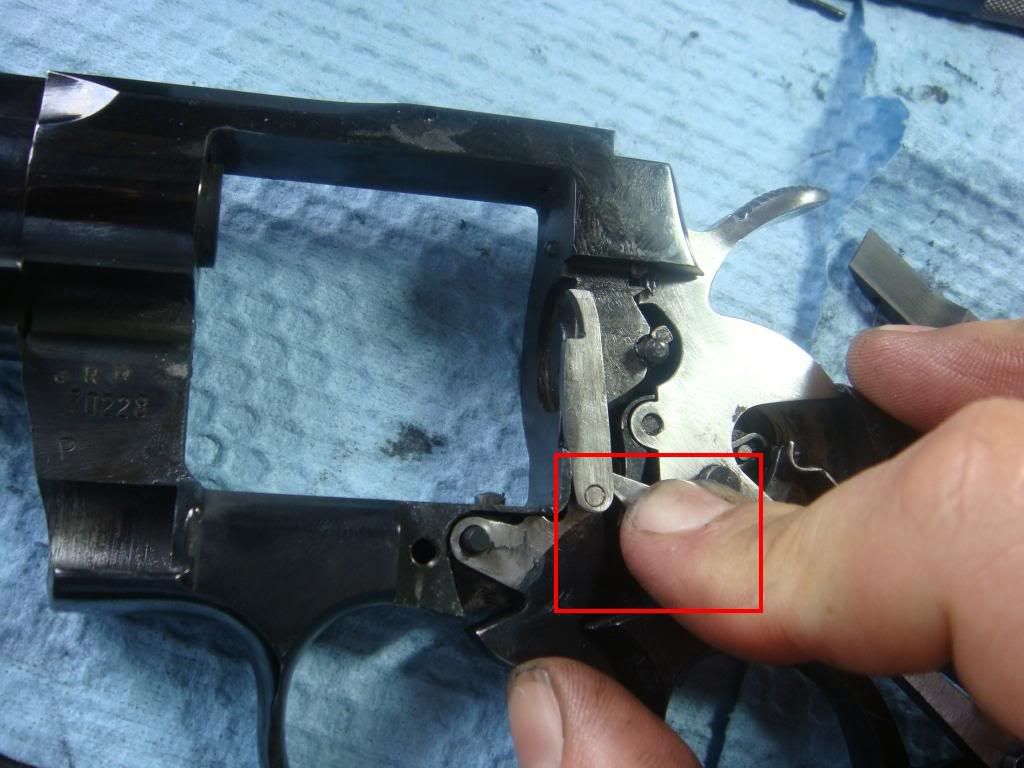
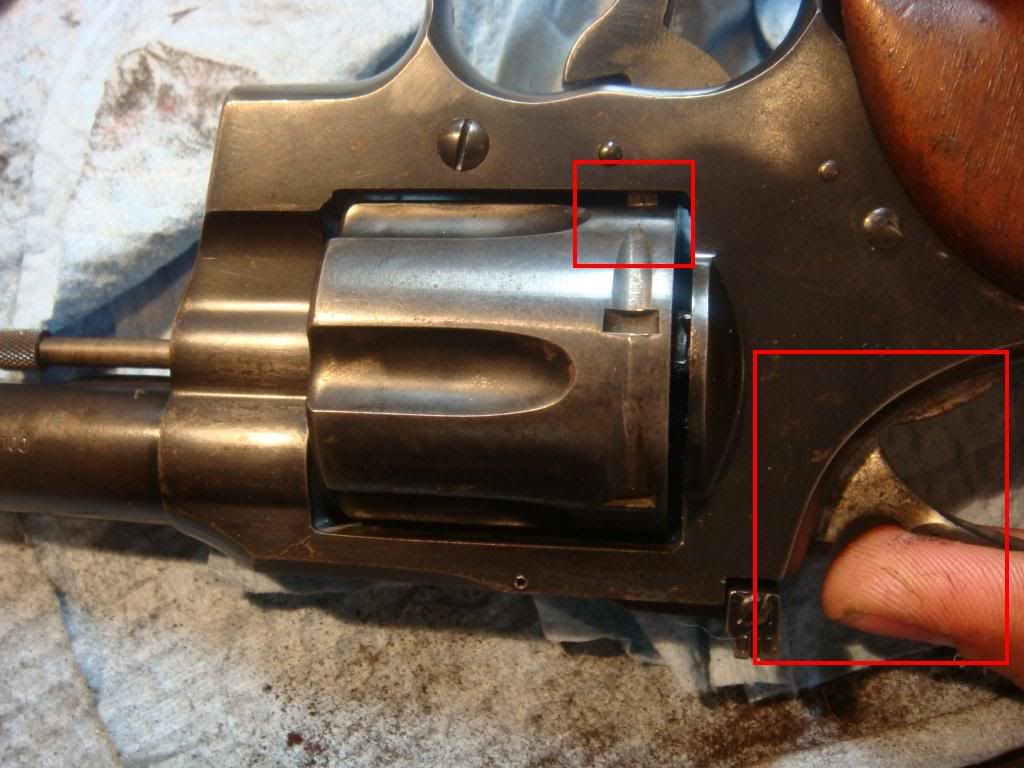
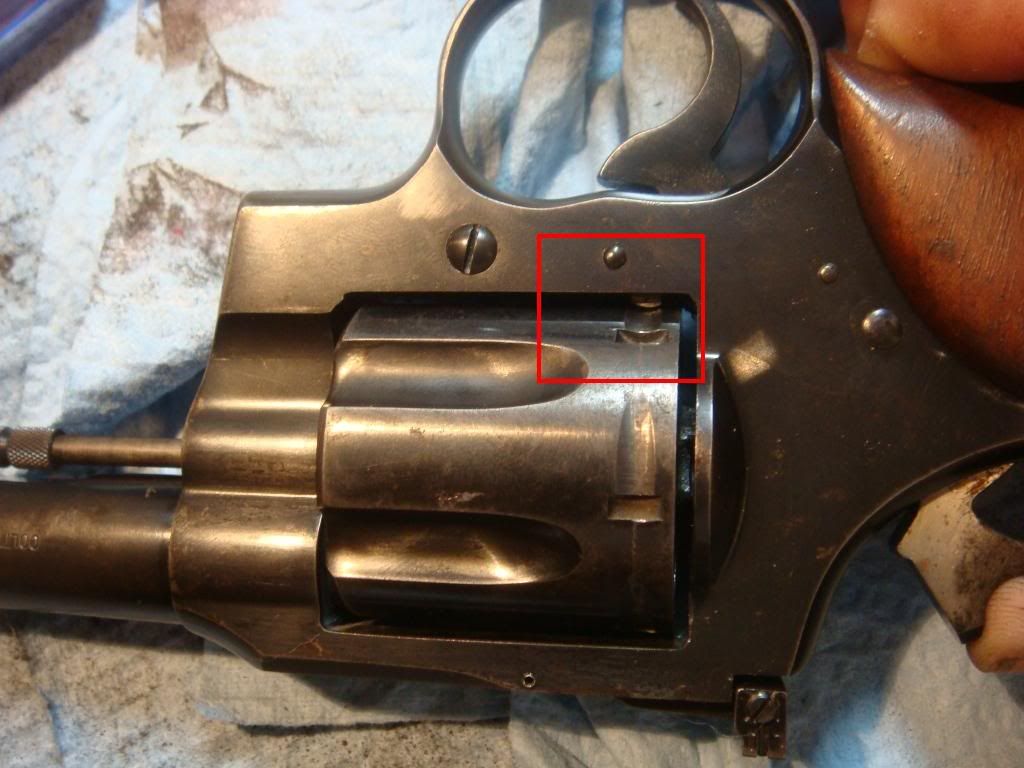
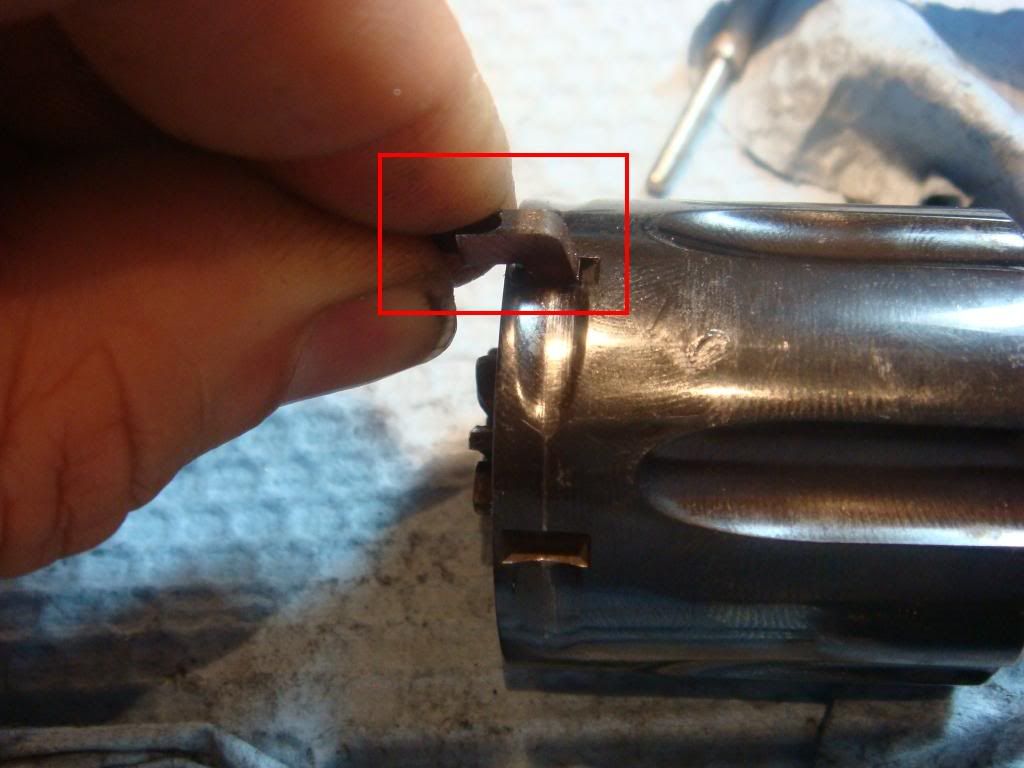
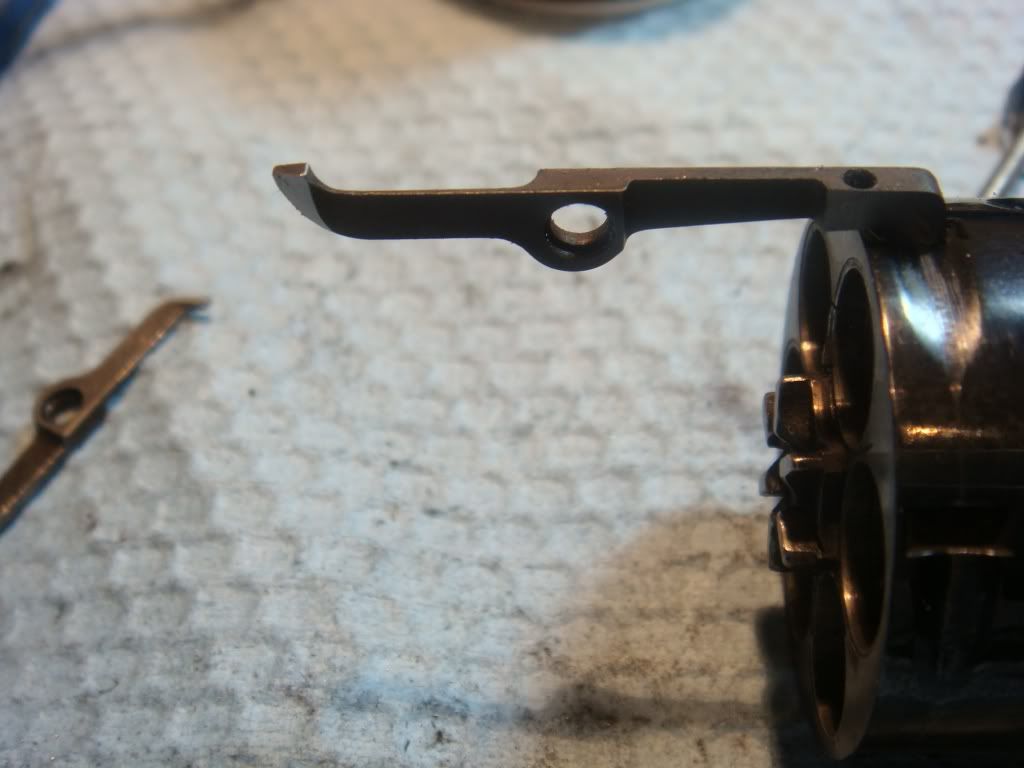
          Among other things, a hand with the right length will fully rotate the cylinder before the hammer is cocked. This is how you do the test. Beginning: bolt in the cylinder notch, hand about to cock hammer:
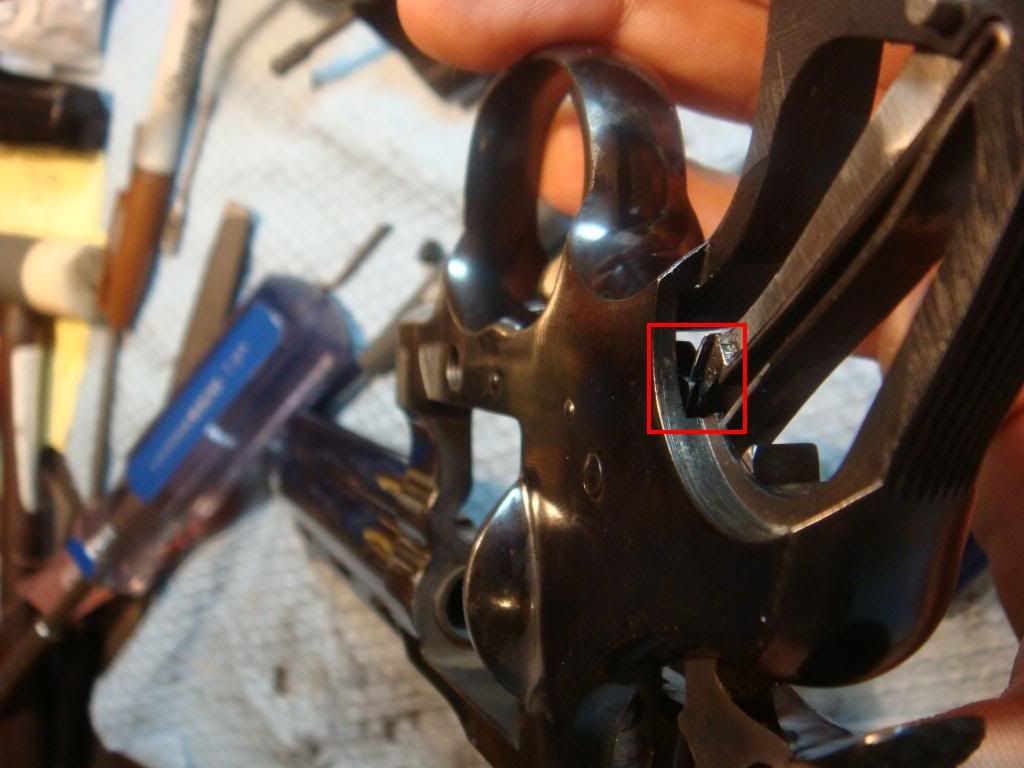

          Cocking, while watching bolt:


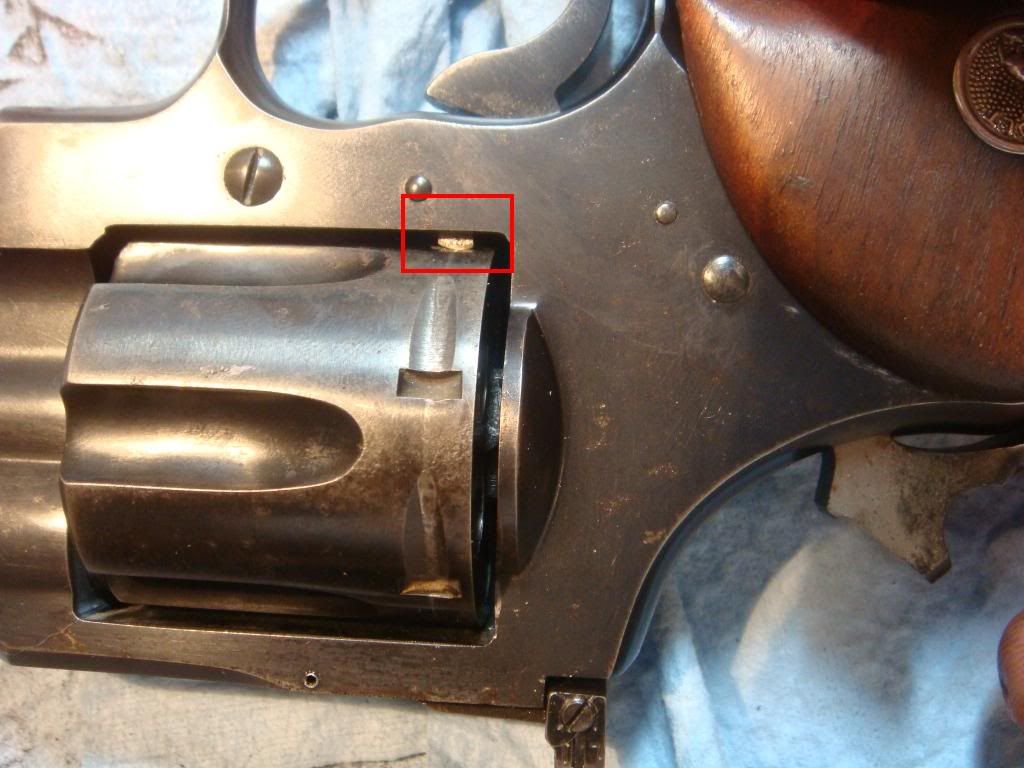
          This hand is very short: hammer is fully cocked, yet the bolt is still outside the notch:


          Closer:
          http://coltpython.blogspot.com/

          Comment

          • #6
            D.R.E.
            Senior Member
            • Jan 2008
            • 891

            Replacing the trigger

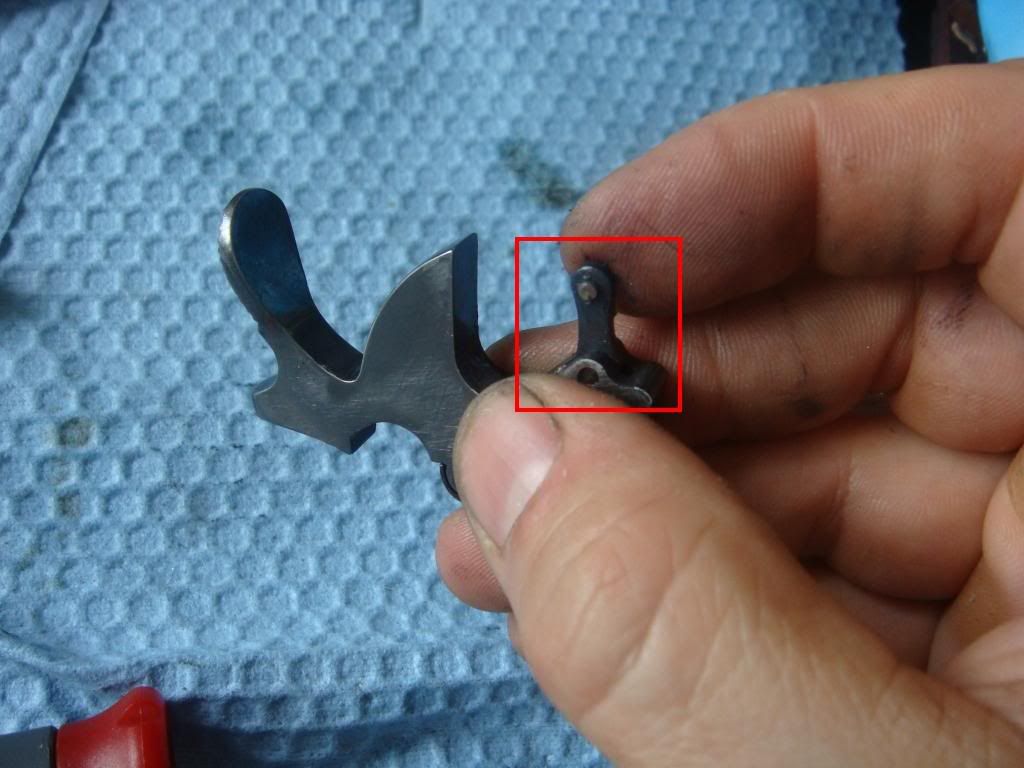
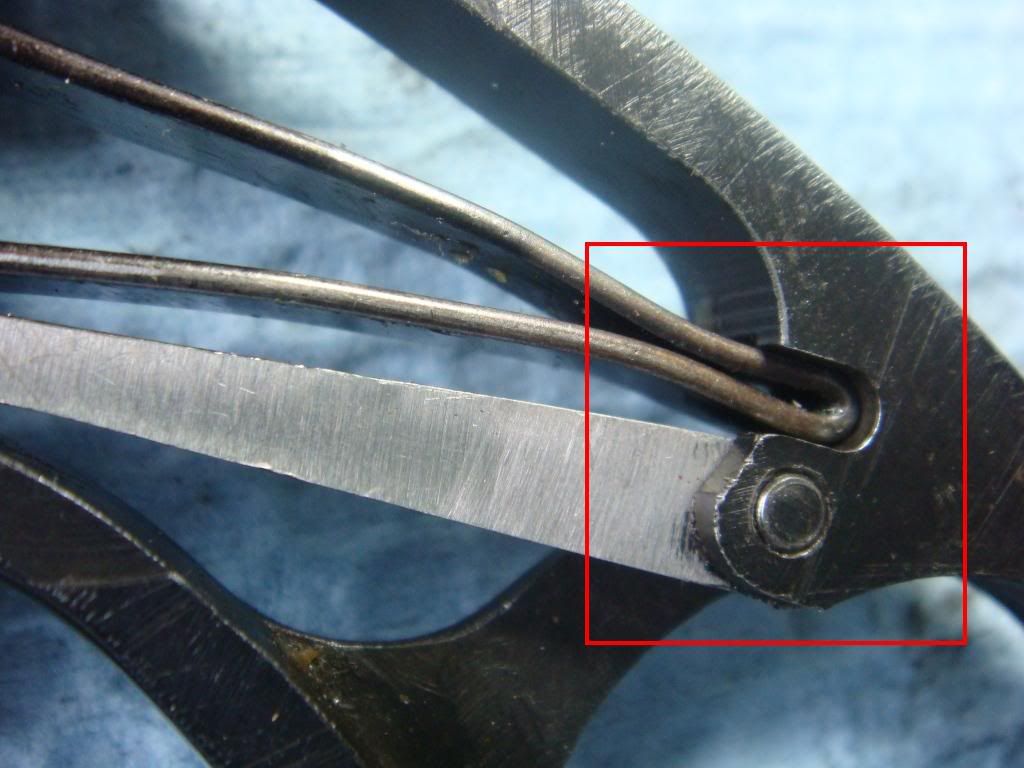
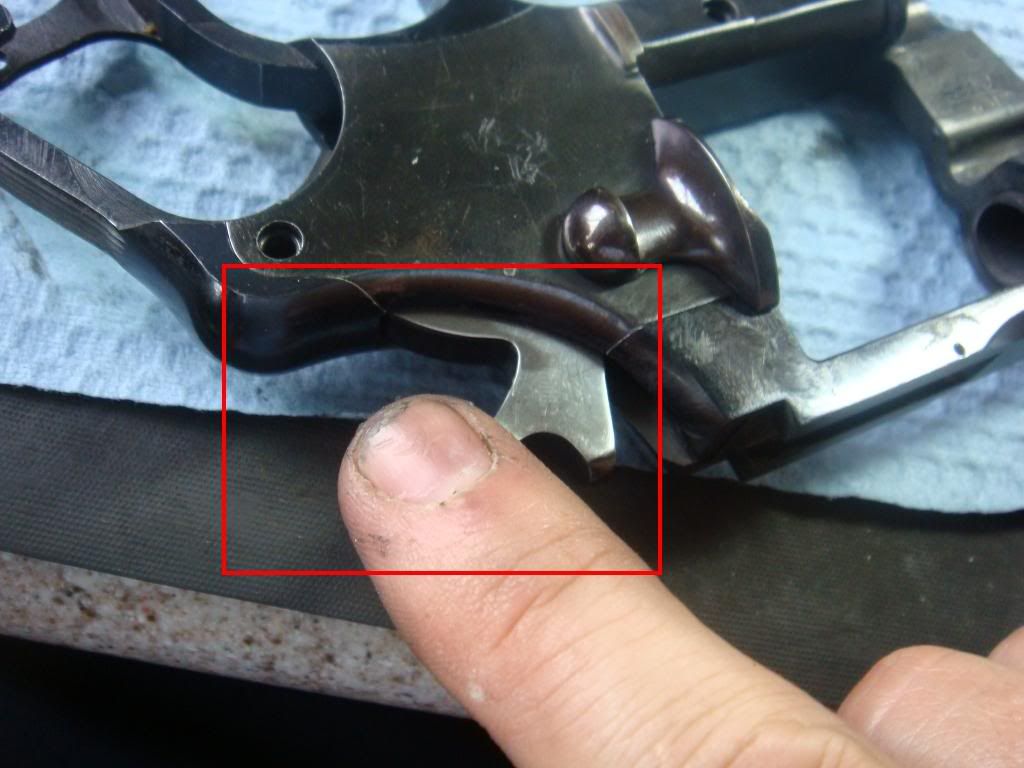
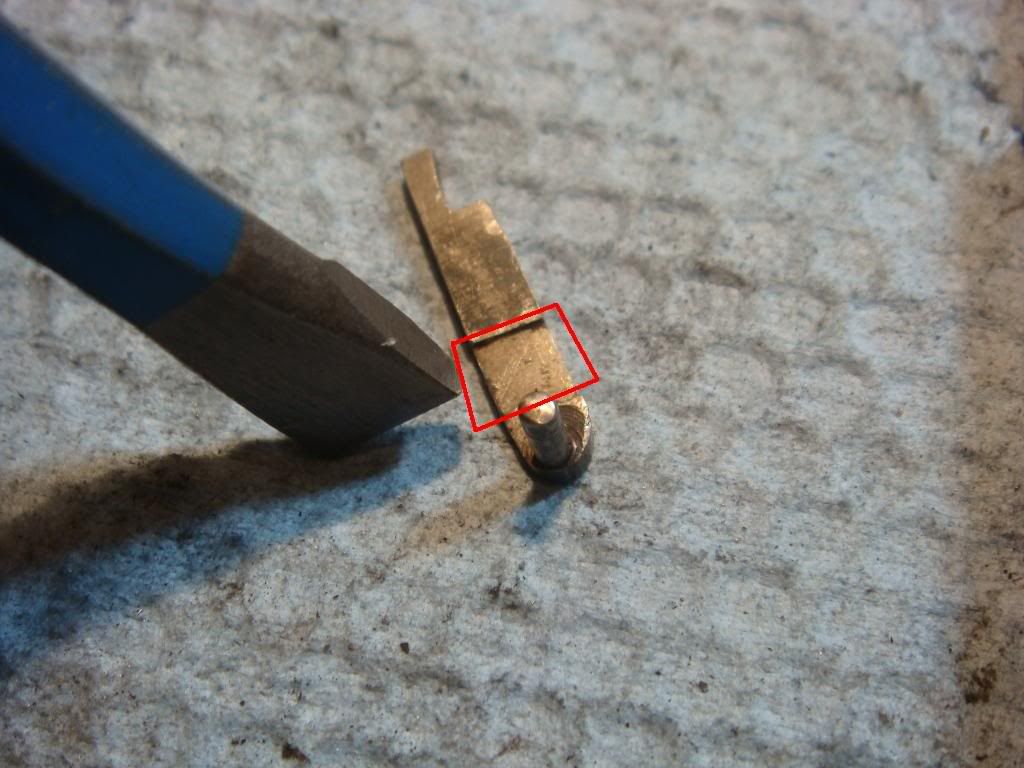
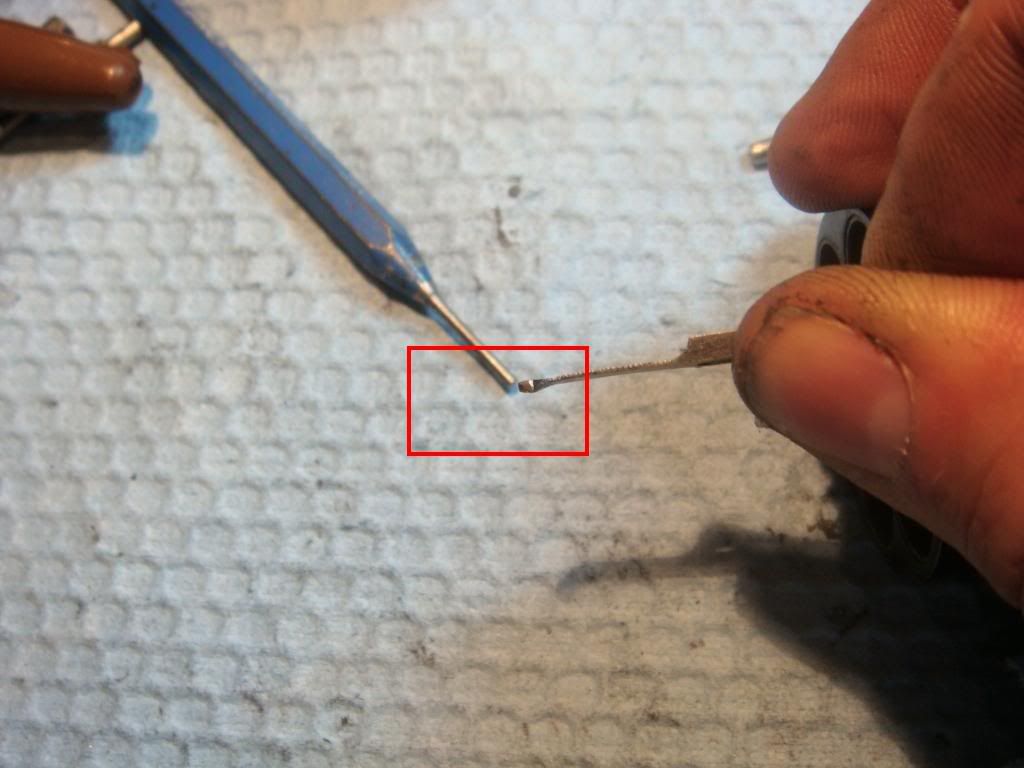
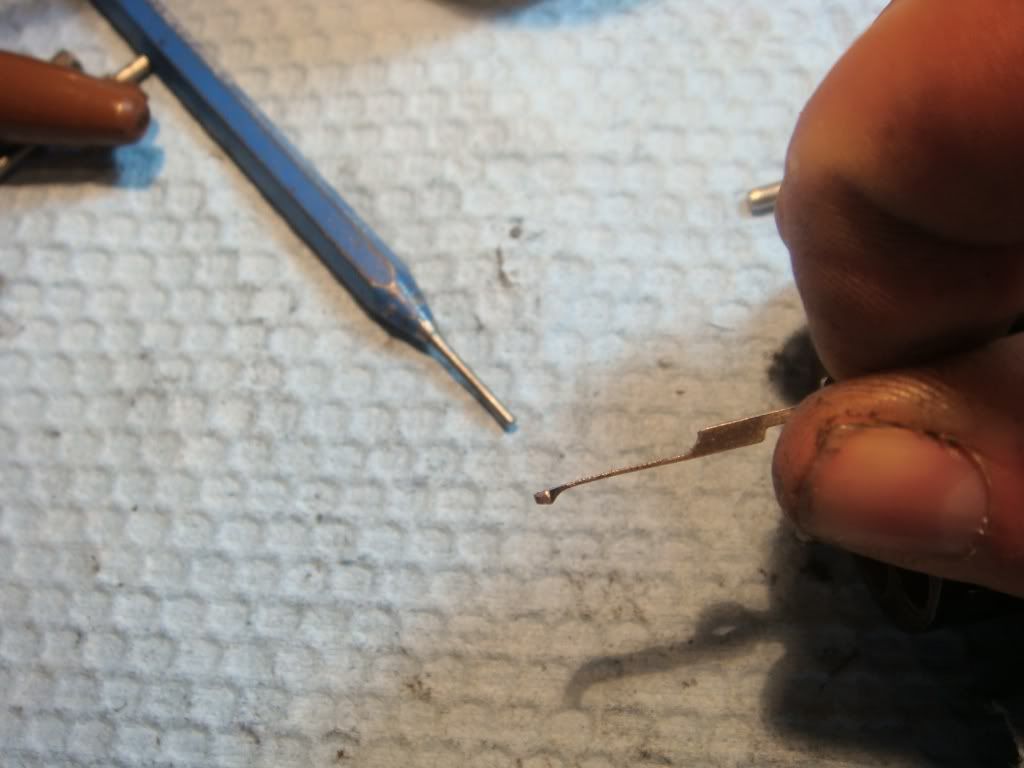
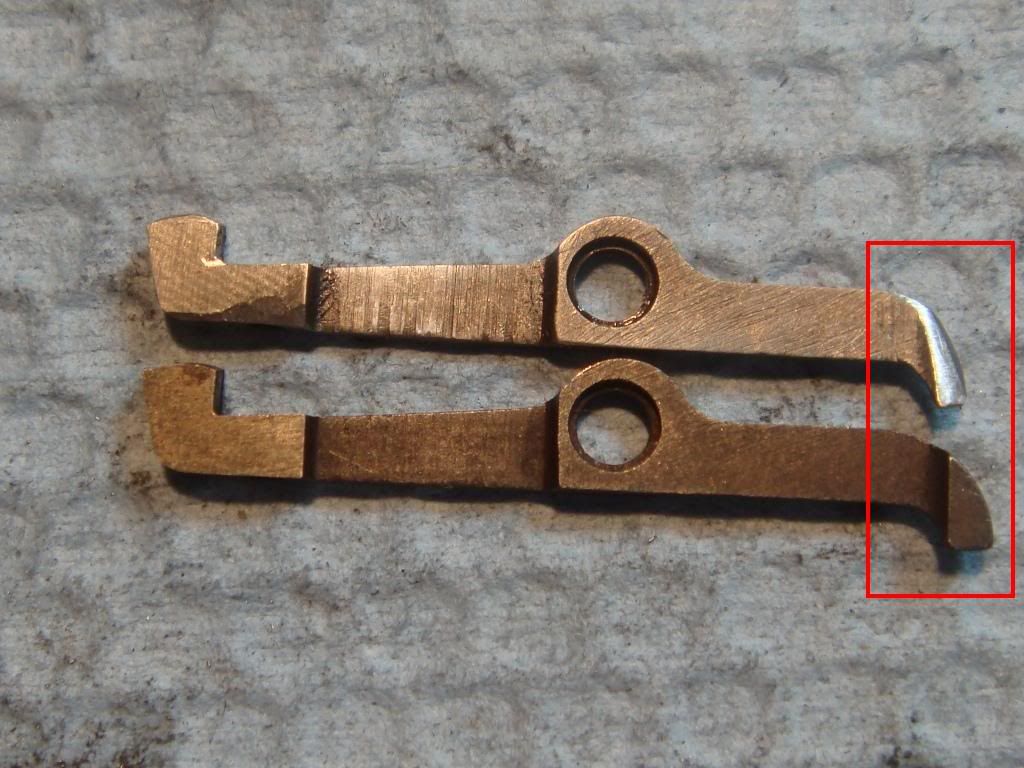
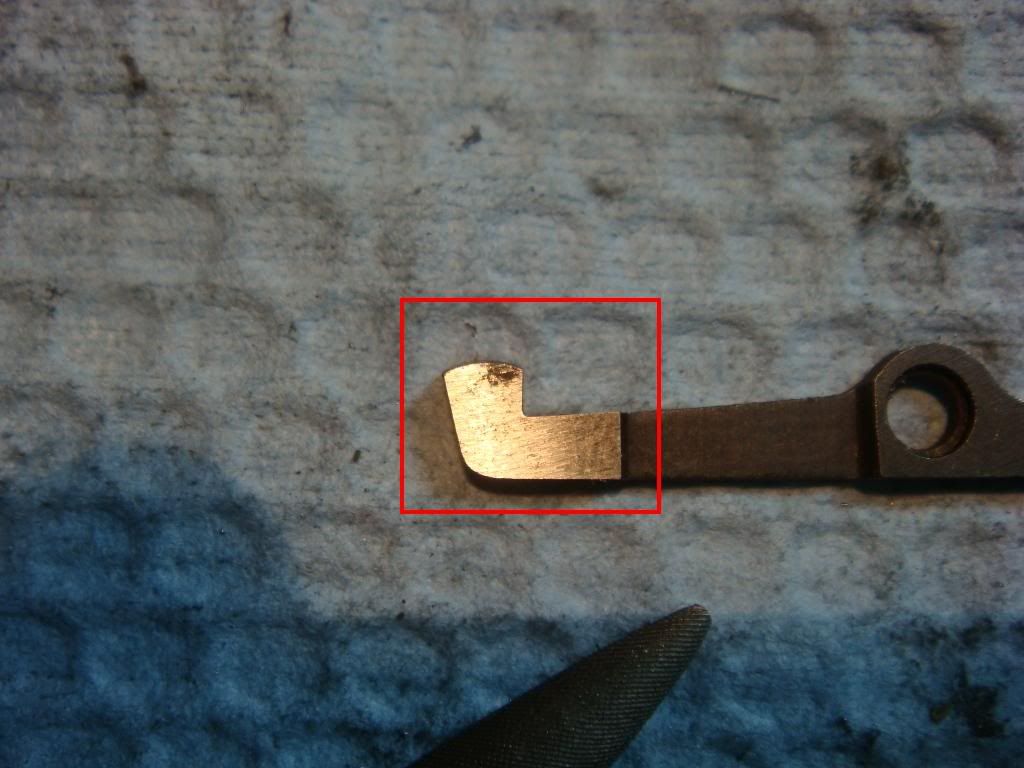
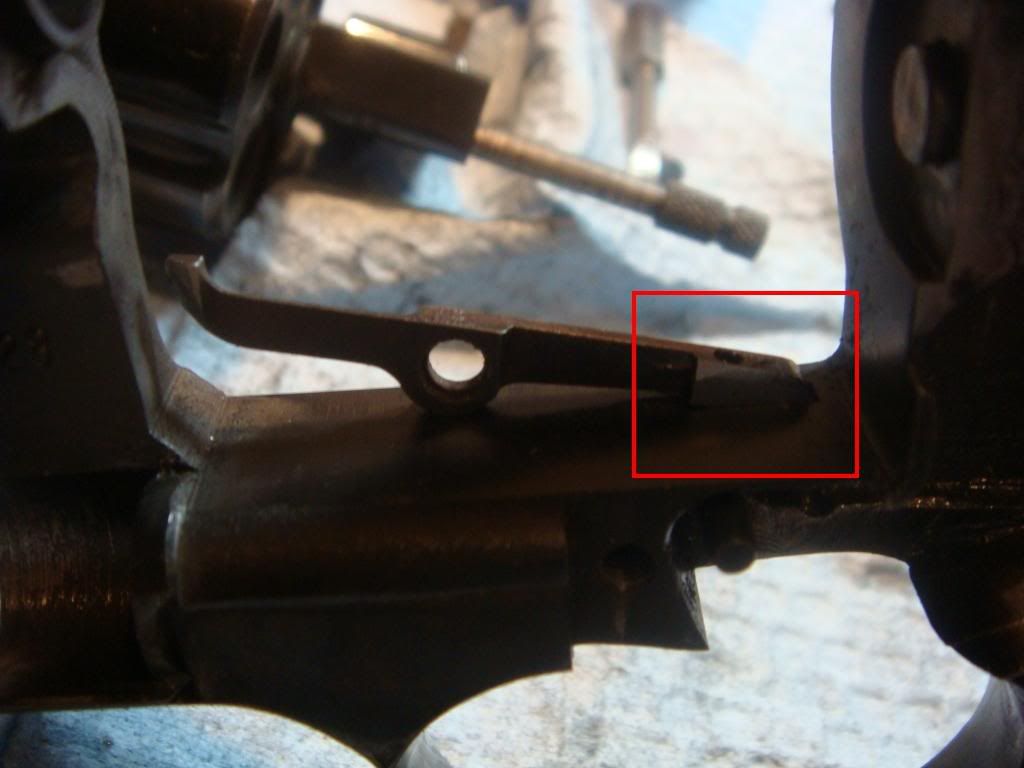
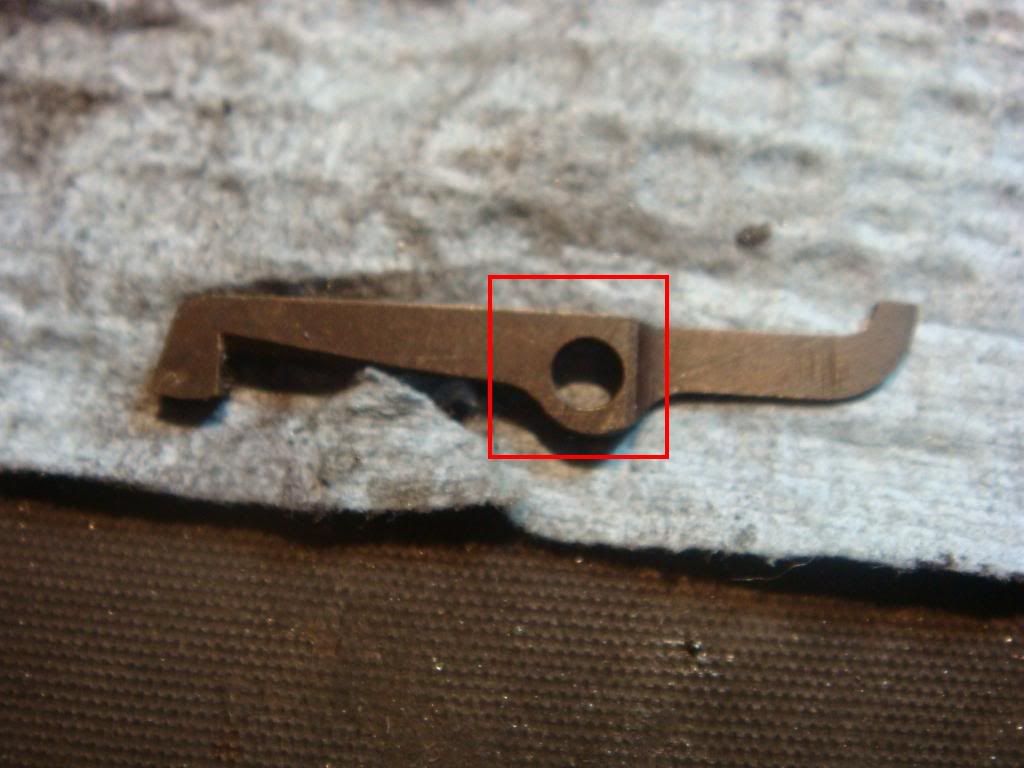
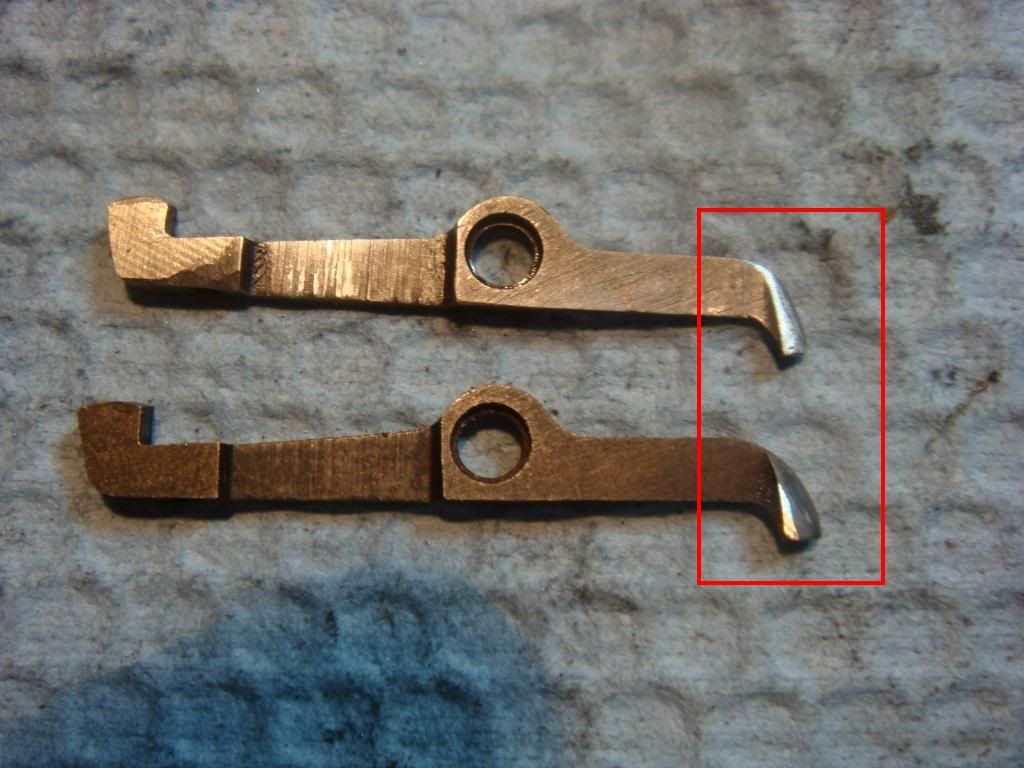
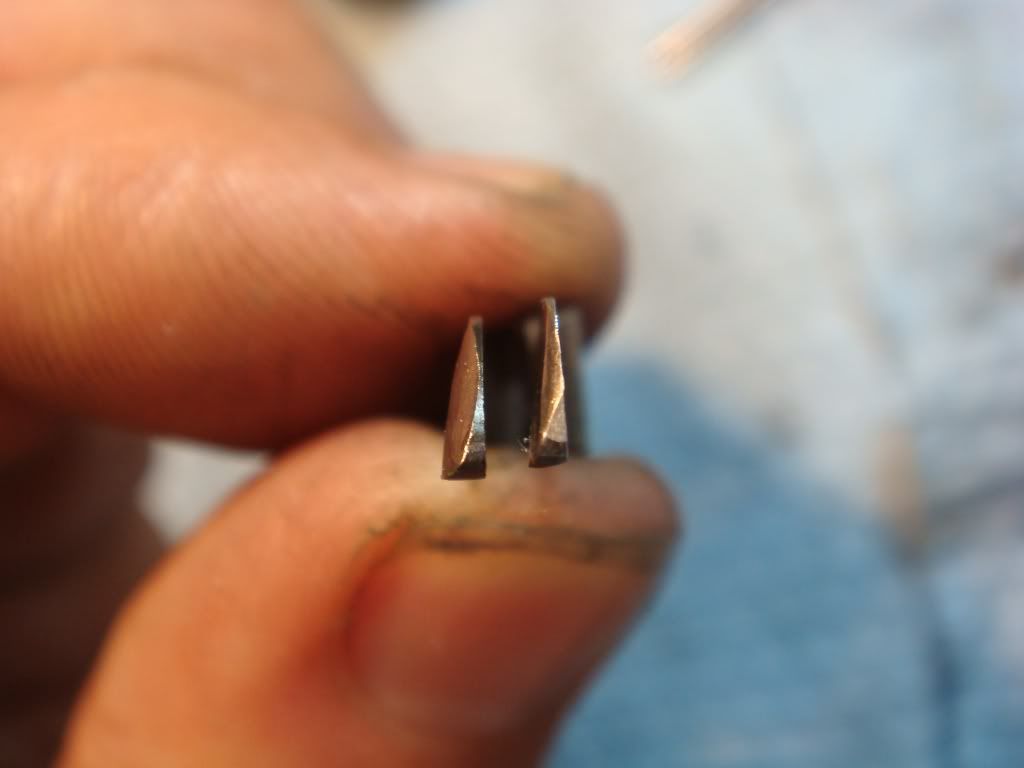
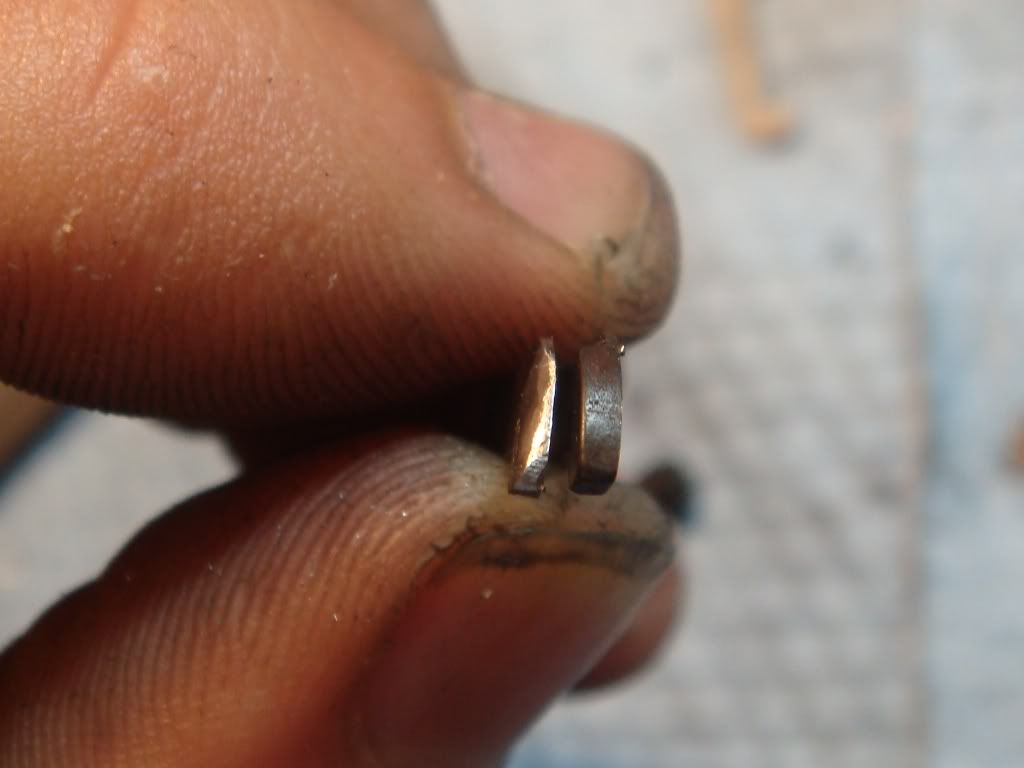
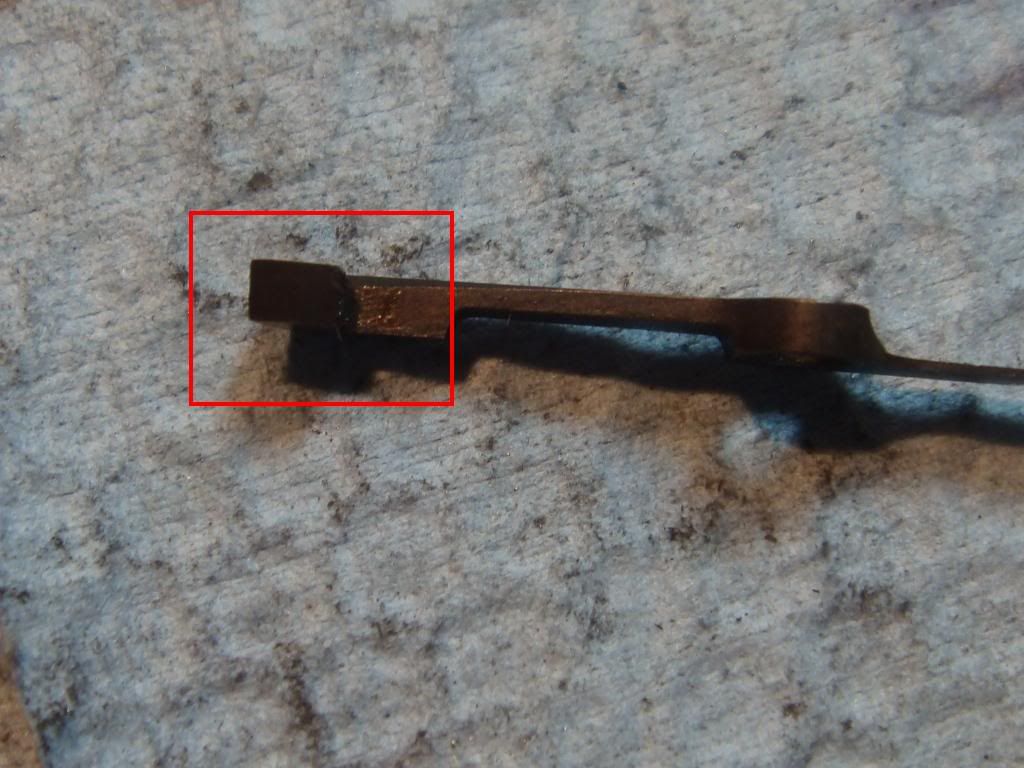
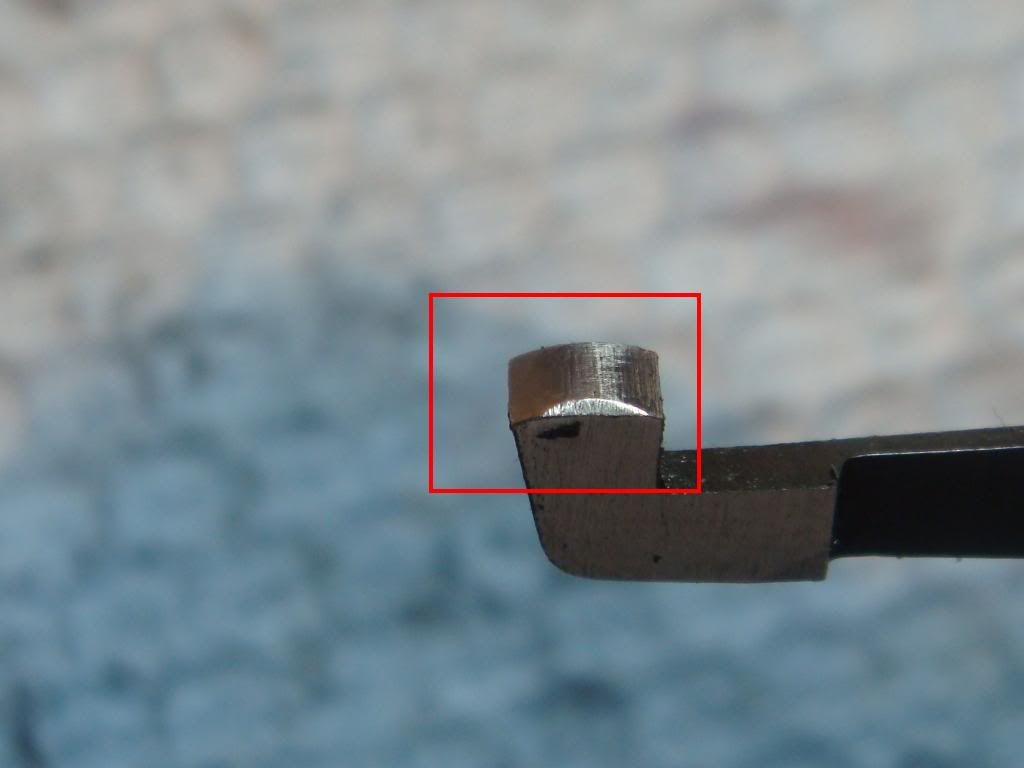
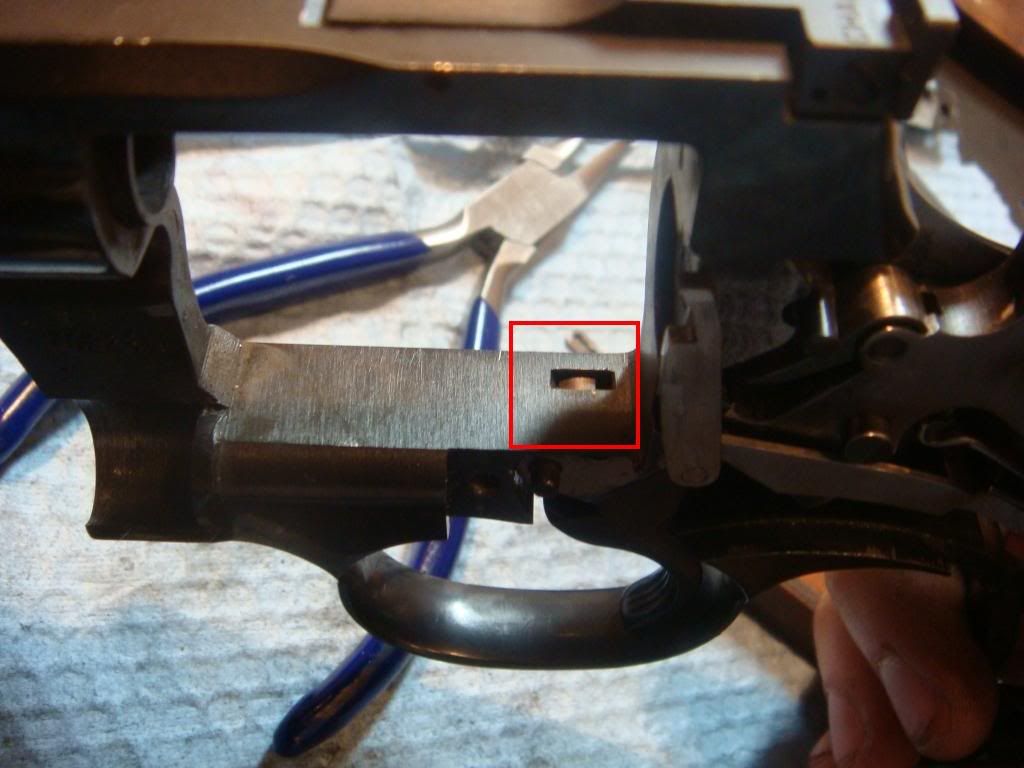
            The 41 mag python was actually a bit worse. To increase length you can often peen the hand. Which is just a polite way of saying you take a dull chisel and whack it in the red outlined region:


            In our case, the hand had already been peened previously, so doing it again is not recommended. Usually you would just replace it at this point.
            However, there is an alternative. If you tune a colt by putting in a curved sear trigger, you often have to shorten the hand. So if we start with a too short hand and put in a curved sear trigger it may turn out to be long enough.
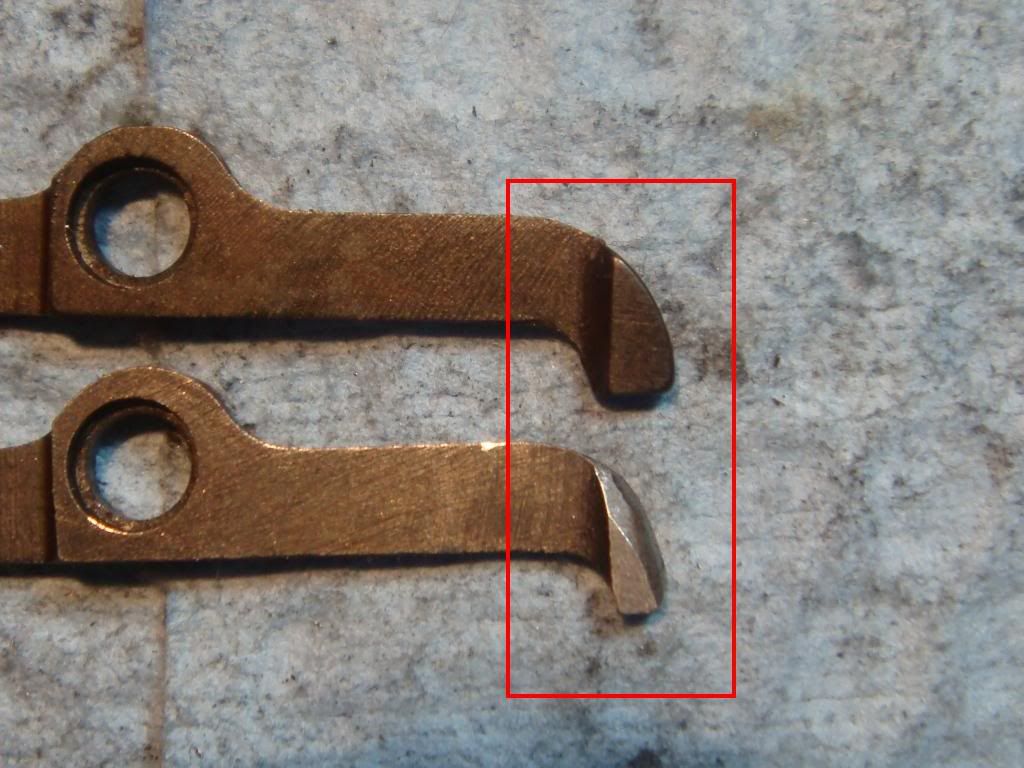
            This is kind of a sketchy, roundabout way to fix things. Especially when this python already had a curved sear trigger installed. However, it's a more shallow curve than how I was shown by Frank Glenn and I don't like it's feel as much when we swapped it in and out for a Glenn trigger). So I had been meaning to put in a Glenn trigger later. Given that I was going to do it eventually but it might fix our current problem, "later" becomes "now".


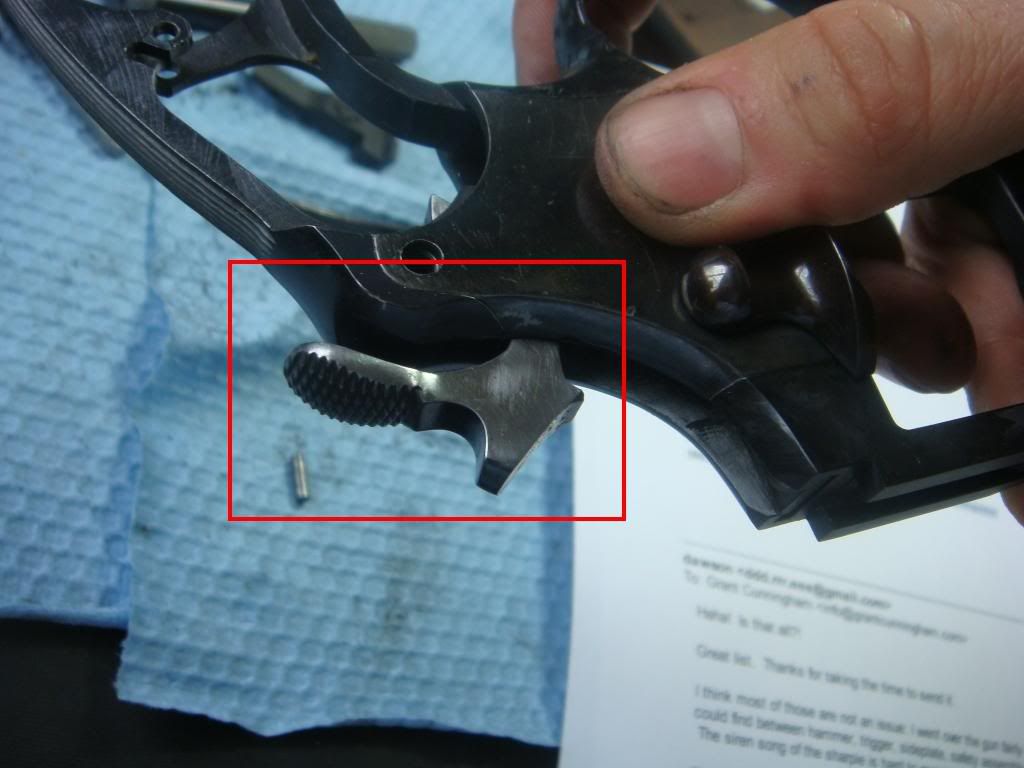
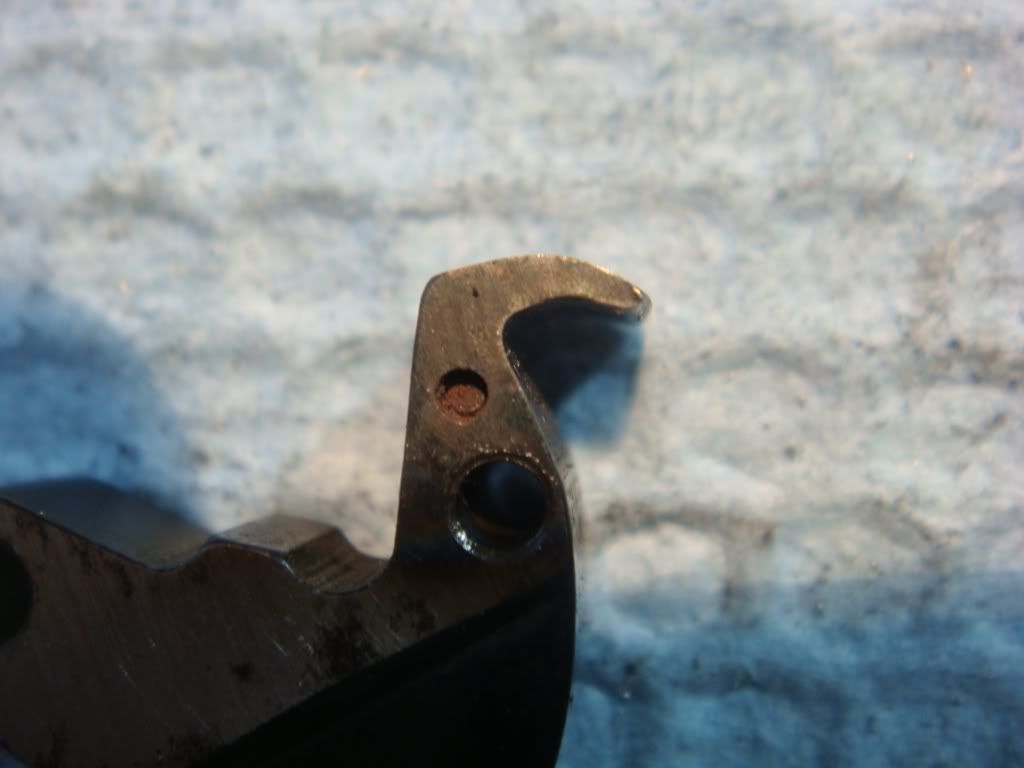
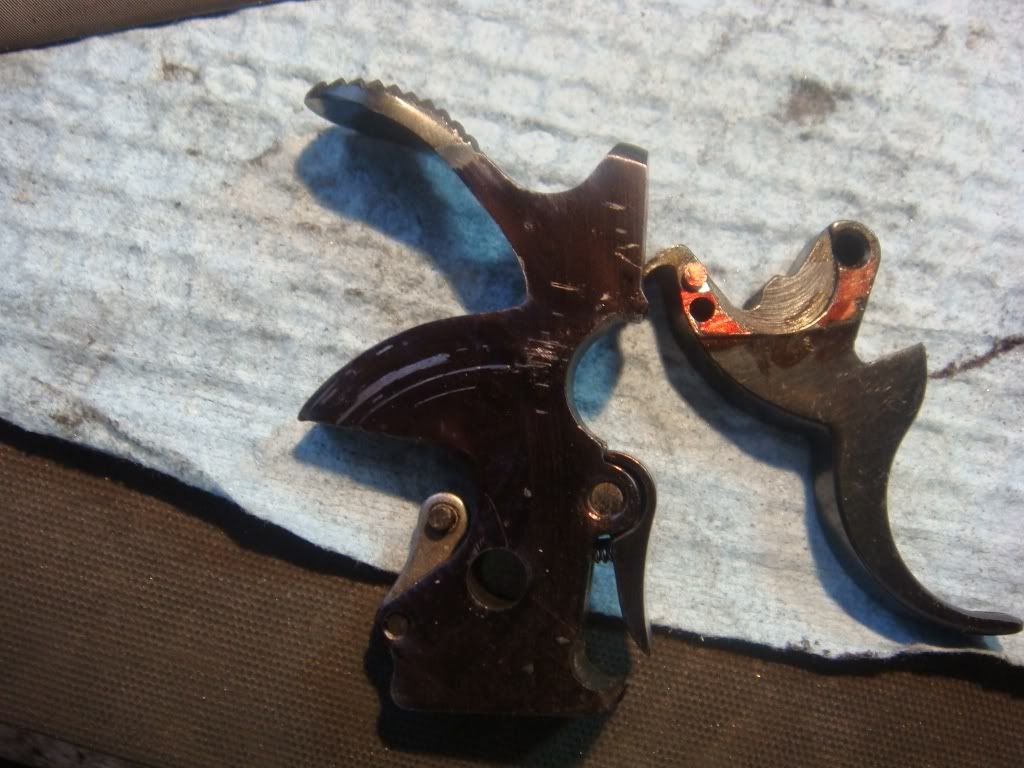
            We take out Huntington's hammer and trigger and put them in a labeled back for history. Then put in a stock hammer and curved trigger and fit them. Here's the trigger:


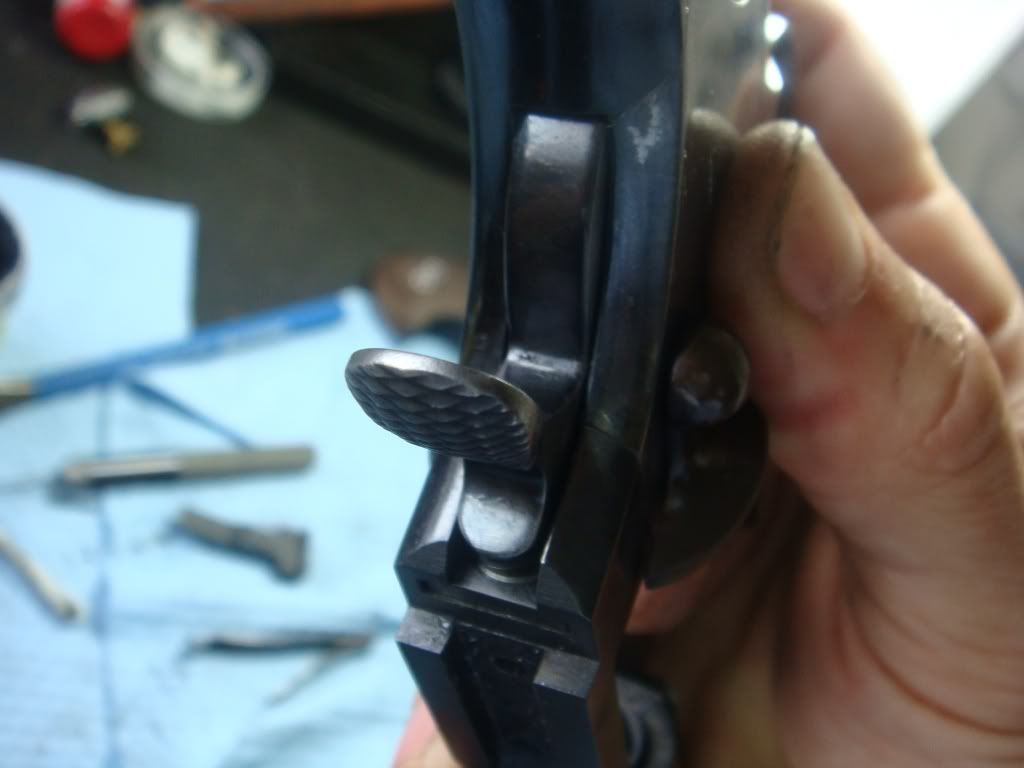
            We first cut enough of a groove out of the hammer toe so the hammer can reset. We then get single action pull where we want it (with no push off!):


            Then fit the hammer and trigger by setting the double action strut correctly, and checking for rub marks by using a sharpie, reassembling and firing and checking for removed ink:


            We then run some primed cases. Our fix, while useful for general functionality has not fixed the misfires.
            http://coltpython.blogspot.com/

            Comment

            • #7
              D.R.E.
              Senior Member
              • Jan 2008
              • 891

              The bolt: Part I: checking if it sucks.

              Another possible reason for off center hits is that the bolt head could be undersized, leading to a lot of endshake. It turns out the bolt is very under-fit.

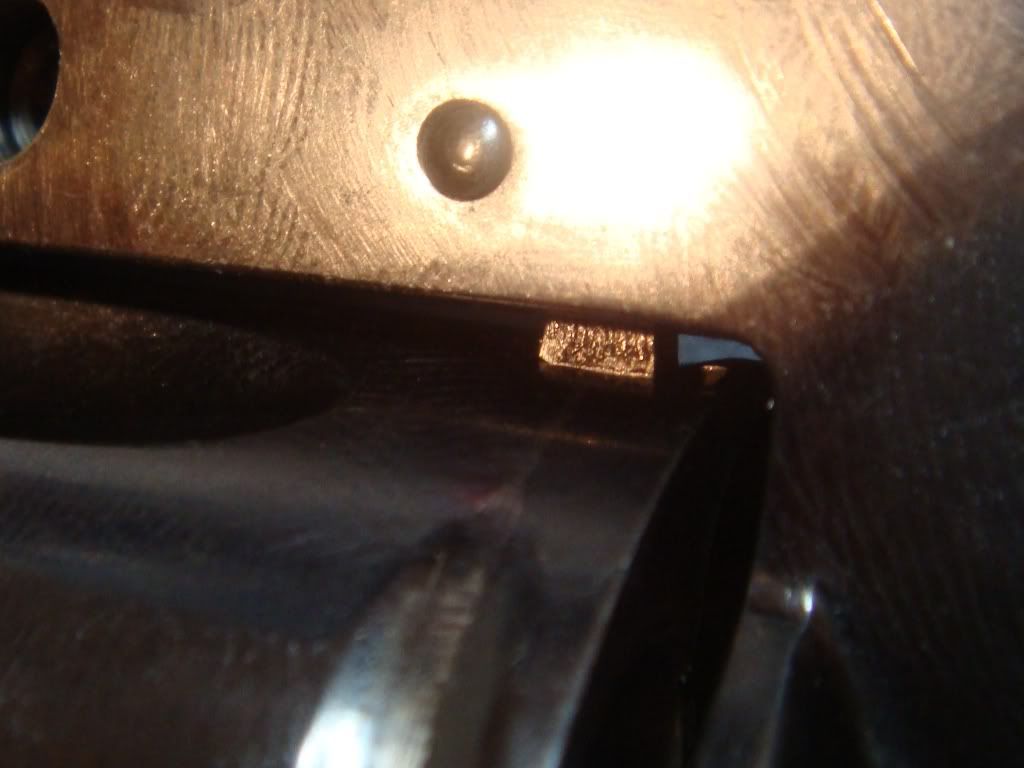
              With the trigger pulled back, looking from the side, the bolt is barely in the cylinder notch --- and in fact the front of the bolt is slightly out of it:


              Taking the bolt out we check for side play. Using the pin for reference, we put it in the cylinder notch an push up:

              Then push down:


              There's a huge amount of play. Not good. Unfortunately, once the metal is gone, you have to replace the bolt. (Or build it up, but I am not setup for welding.)


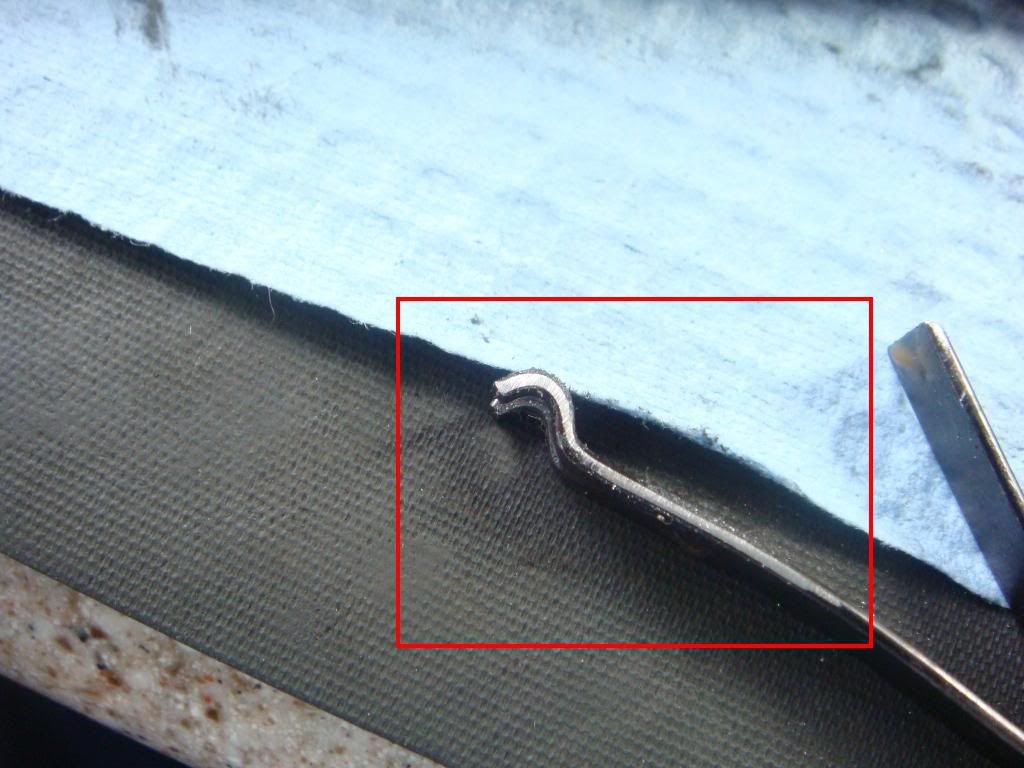
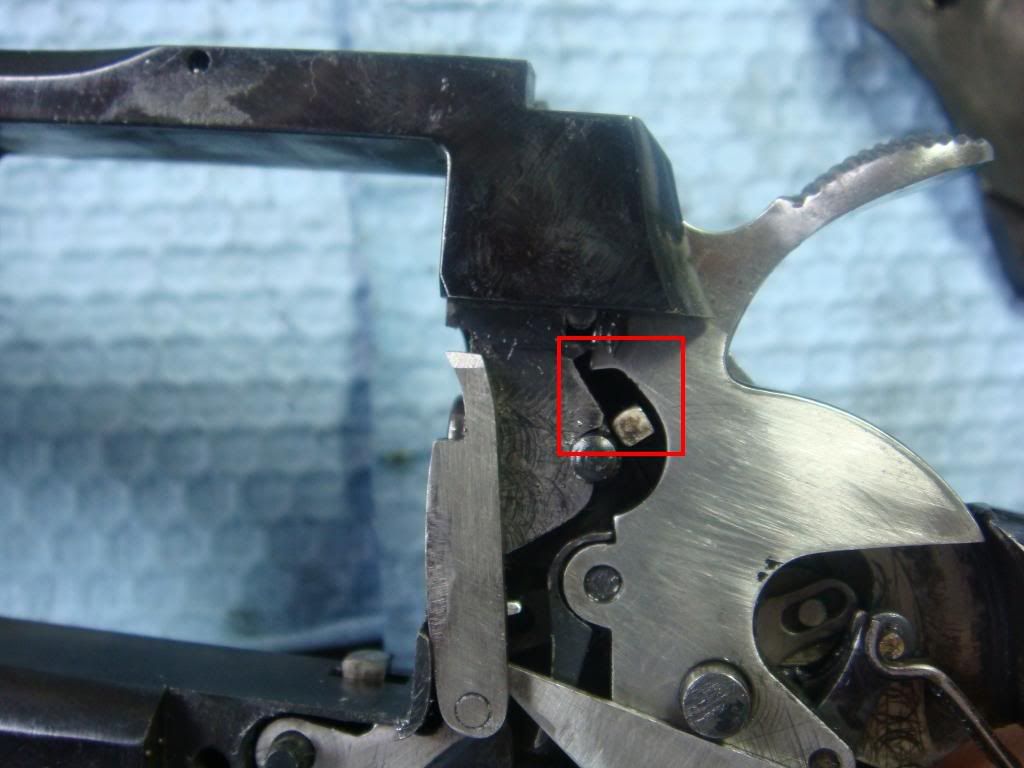
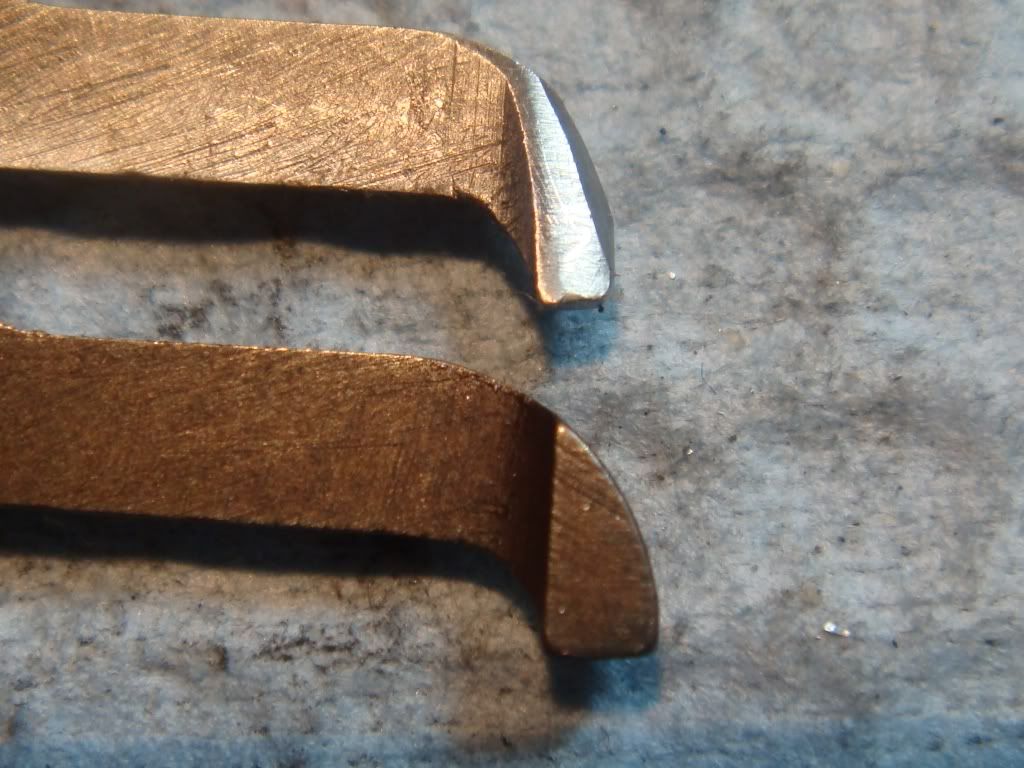
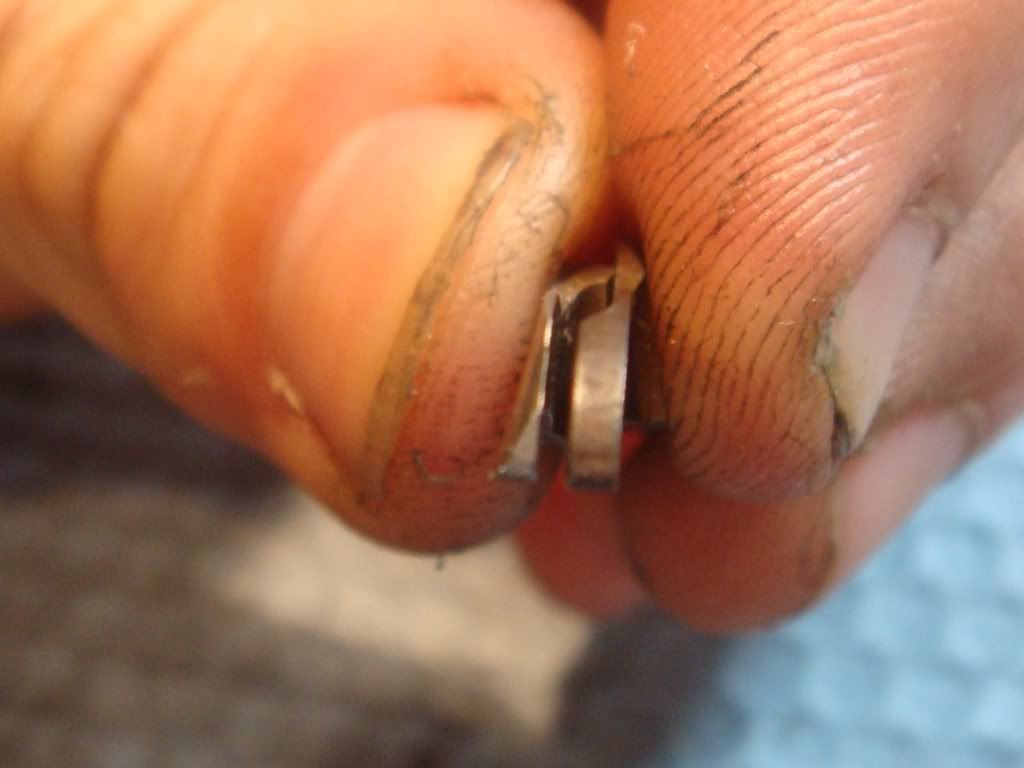
              I hate replacing bolts since all the new ones I have seem to be aftermarket and have over-sized, unformed cams. Here's the bolt from the gun (top) vs a "new" bolt I have (bottom):


              Close up:


              As you can tell, there is a (relatively) huge amount of metal on the new cam. This has to be filed off. And in a gun that cares .001s the rebound cam and the bolt cam are where things get really serious.
              Last edited by D.R.E.; 07-14-2009, 4:00 AM.
              http://coltpython.blogspot.com/

              Comment

              • #8
                D.R.E.
                Senior Member
                • Jan 2008
                • 891

                The bolt: fitting a new one

                In any case, enough whinging. Let's get to it. We first fit the bolt to the cylinder notch by filing on the left side until it fits (but is not loose!):


                We do a few strokes and check:


                Too big. So do a few more and check. Tight, but we can always remove metal so stop:


                Also check the frame window. After slight deburring it fits:


                Next is to get the width right. We put it in and check how easy it is to push. It's not moving:


                So we file a bit off the right side by the screw hole:


                It now moves fine.
                Last edited by D.R.E.; 07-14-2009, 4:02 AM.
                http://coltpython.blogspot.com/

                Comment

                • #9
                  D.R.E.
                  Senior Member
                  • Jan 2008
                  • 891

                  We then rough form the cam. Winding up with this:


                  Putting it in the colt, it turns out that it's too large to reset. With trigger pulled back, the bolt can't fall off the rebound:


                  So doesn't pop back up:


                  We remove more material from the rear of the cam until we wind up with this, which works --- our modified cam on the bottom another unmodified on the top:


                  Us (left) unmodified (right):
                  http://coltpython.blogspot.com/

                  Comment

                  • #10
                    D.R.E.
                    Senior Member
                    • Jan 2008
                    • 891

                    Final fitting of the bolt: form the bolt head to ride correctly.


                    Winding up with this (it may need slightly more of a bevel):


                    Putting it back together and checking, we still get misfires. Damn!
                    http://coltpython.blogspot.com/

                    Comment

                    • #11
                      D.R.E.
                      Senior Member
                      • Jan 2008
                      • 891

                      Increasing mainspring

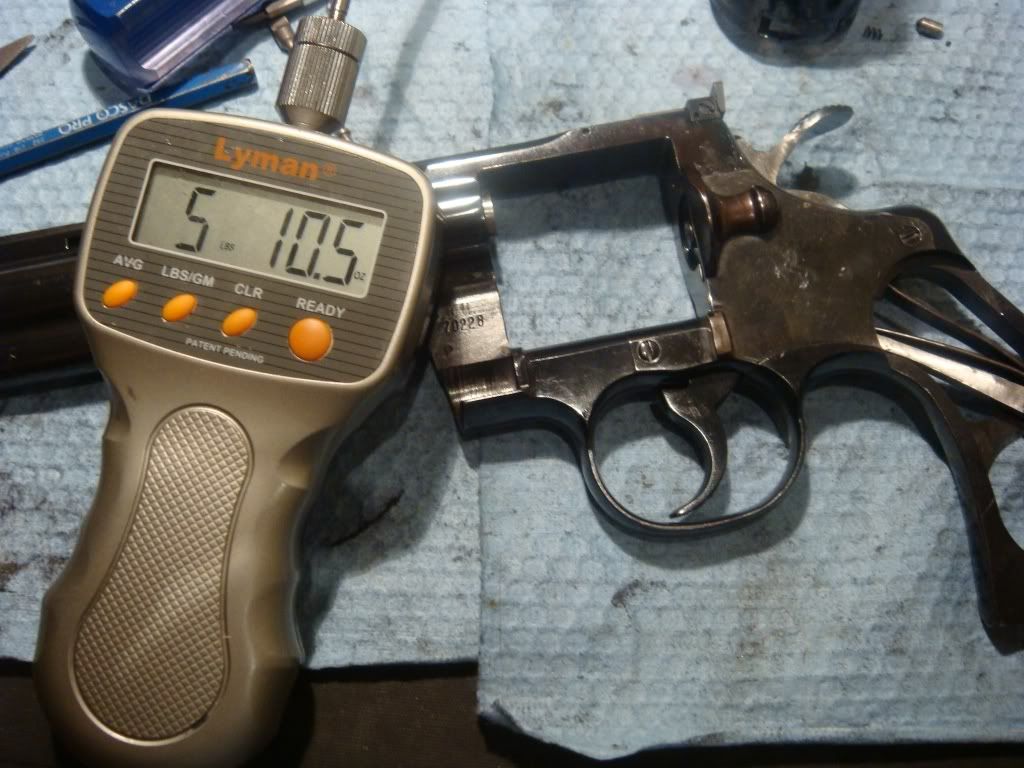
                      We finally check the pull weight resulting from swapping a Glenn style trigger in for the Huntington trigger: 5lbs 10oz!


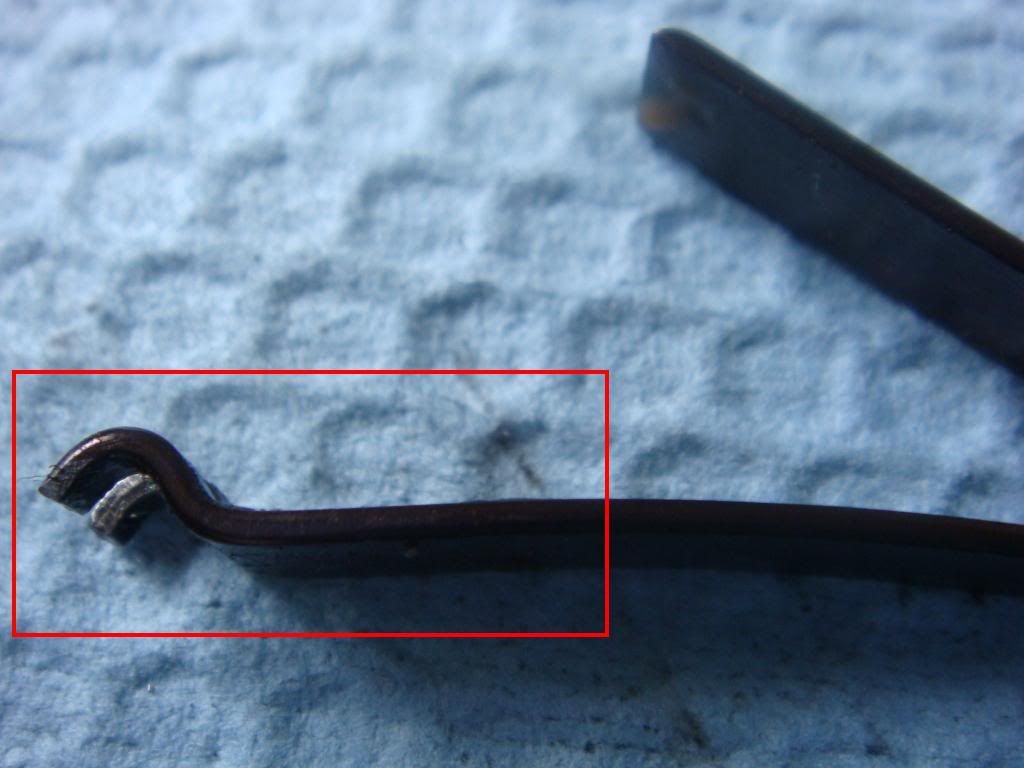
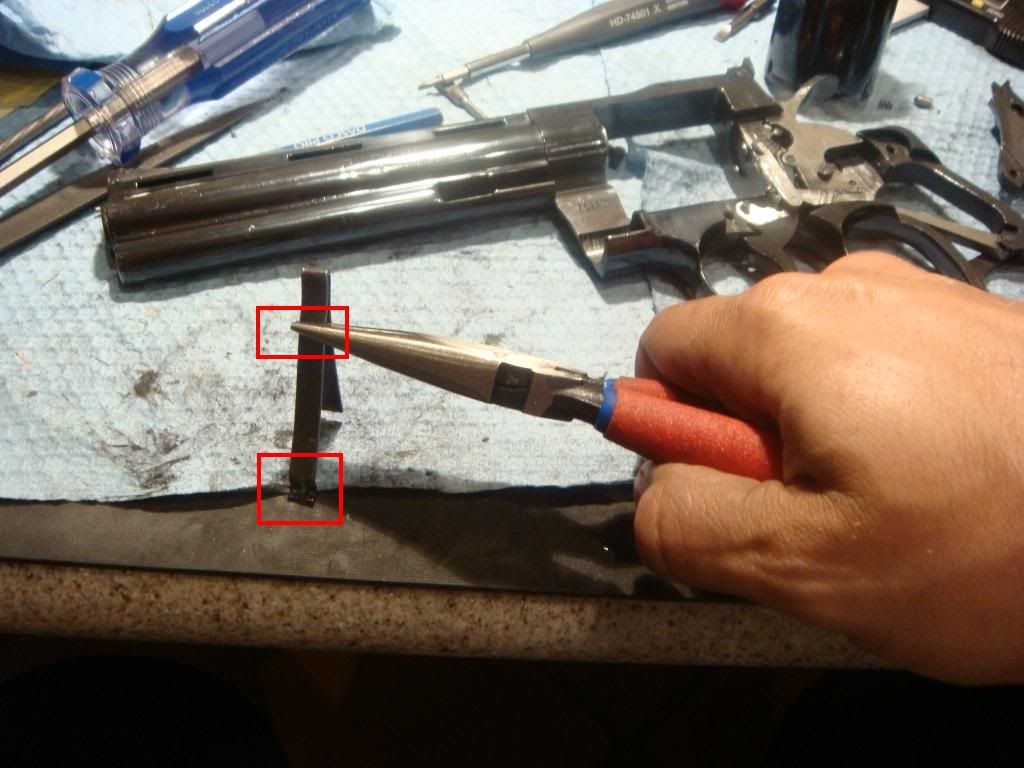
                      We didn't touch the mainspring, but putting the trigger I bent at Frank's in for Huntington's cut the pull down by about half a pound! At this point, since we want to ignite CCI primers, we make the mainspring stiffer. Grab the leg we want to bend down by the V with pliers (and both hands) and push it on the open end so it curves up more:


                      The wrong way to do this is to try to pry the two legs apart. You'll succeed, and it will break apart like a wishbone.

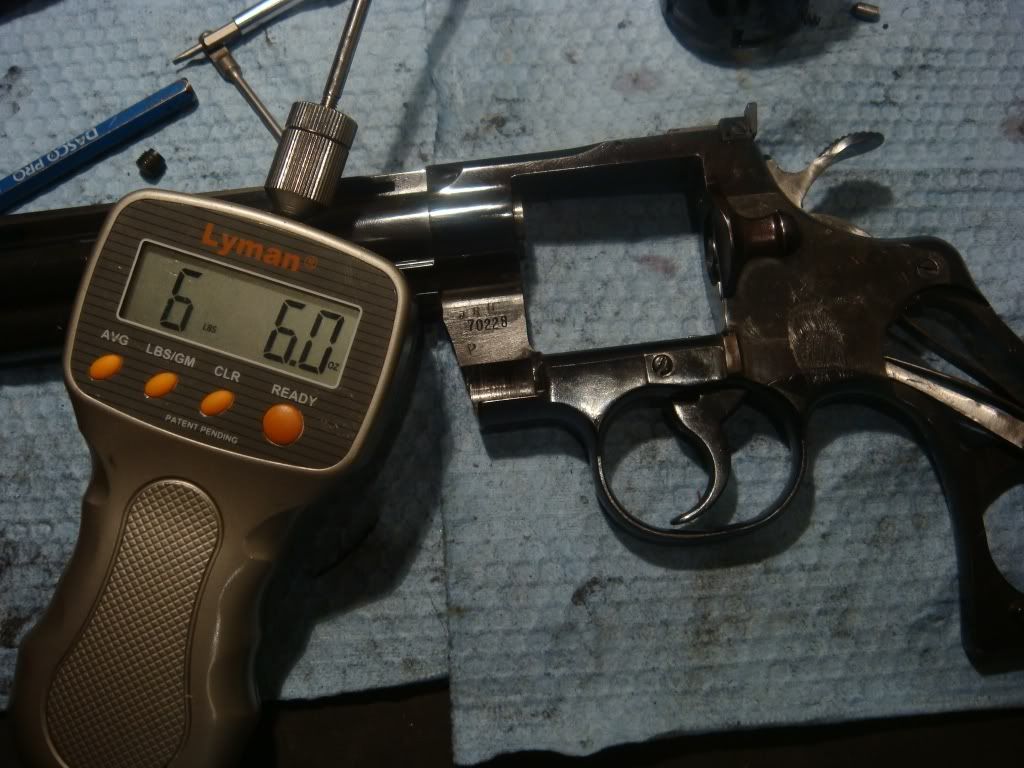
                      We now have 6lbs 6oz, a few oz more than when we started at the very beginning, which let's us fire a few cylinders of primed cases w/o misfires.

                      Last edited by D.R.E.; 07-14-2009, 4:03 AM.
                      http://coltpython.blogspot.com/

                      Comment

                      • #12
                        D.R.E.
                        Senior Member
                        • Jan 2008
                        • 891

                        Range report

                        After a 24 hour break, we took it to the range. Looks like our fixes made a significant difference. I have 3 misfires in about 200+ rounds --- nice for just a 4oz increase in spring weight. I'll bump the spring up to 7lbs and that should take care of things easily.


                        Unfortunately, the eagle grips I like do not fit that well, and would skew
                        under the recoil. I went to rubber colt grips and things worked fine.

                        The forcing cone remains unsplit after the total of about 460 41 mag rounds, for those of you with a morbid curiousity.


                        ~
                        http://coltpython.blogspot.com/

                        Comment

                        • #13
                          bak
                          Member
                          • May 2006
                          • 350

                          Wow, Thanks

                          BAK

                          Comment

                          • #14
                            5hundo
                            Banned
                            • Jun 2008
                            • 2210

                            Beautiful pistol, by the way...

                            I love .41 Mag...

                            Comment

                            • #15
                              D.R.E.
                              Senior Member
                              • Jan 2008
                              • 891

                              Originally posted by 5hundo
                              Beautiful pistol, by the way...

                              I love .41 Mag...
                              41 mag is definitely fun. Though for this I'm keeping it strictly <= 1000 fps. Where do you get your bullets from? The laser cast ones I had smoke alot. I was going to order from Penn (as usual) but they tend to not be super fast.

                              I like the pistol alot, but I do wish there was a bit more metal for the forcing cone, between the chambers and especially on the star (it's very fragile).

                              I think a 10mm conversion would be perfect for the frame.
                              http://coltpython.blogspot.com/

                              Comment

                              Working...
                              UA-8071174-1