Unconfigured Ad Widget

Collapse

Fixing endshake on 41 magnum python (*LARGE PICS*)

Collapse
X
 
  • Time
  • Show
Clear All
new posts
  • D.R.E.
    Senior Member
    • Jan 2008
    • 891

    Fixing endshake on 41 magnum python (*LARGE PICS*)

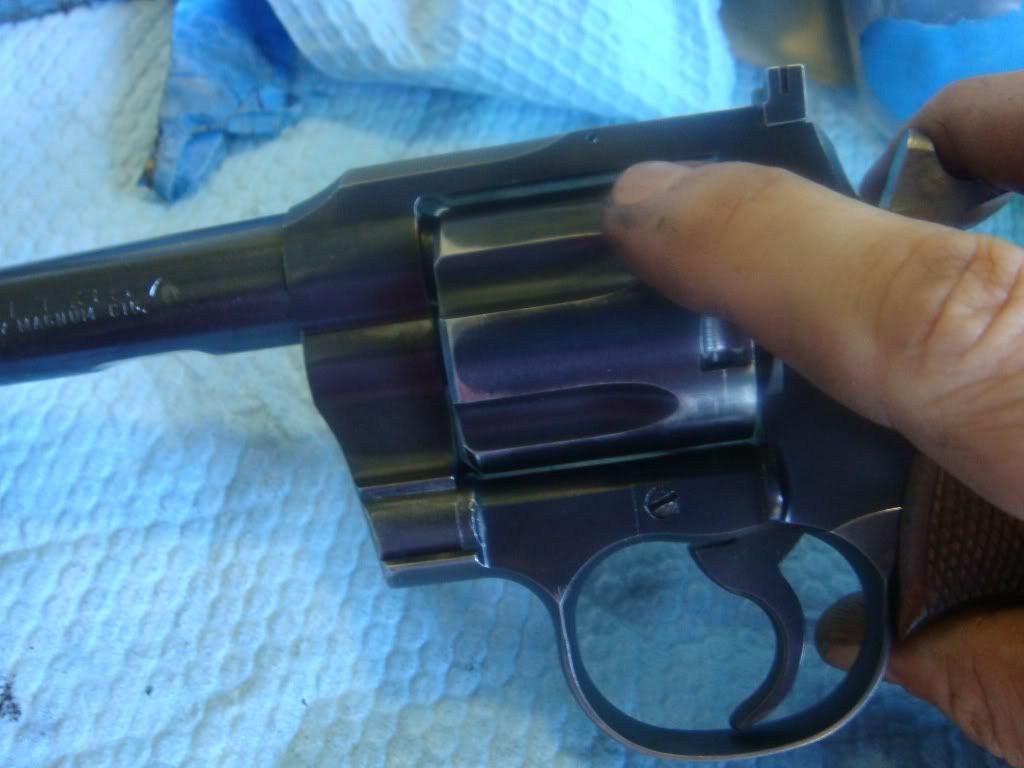
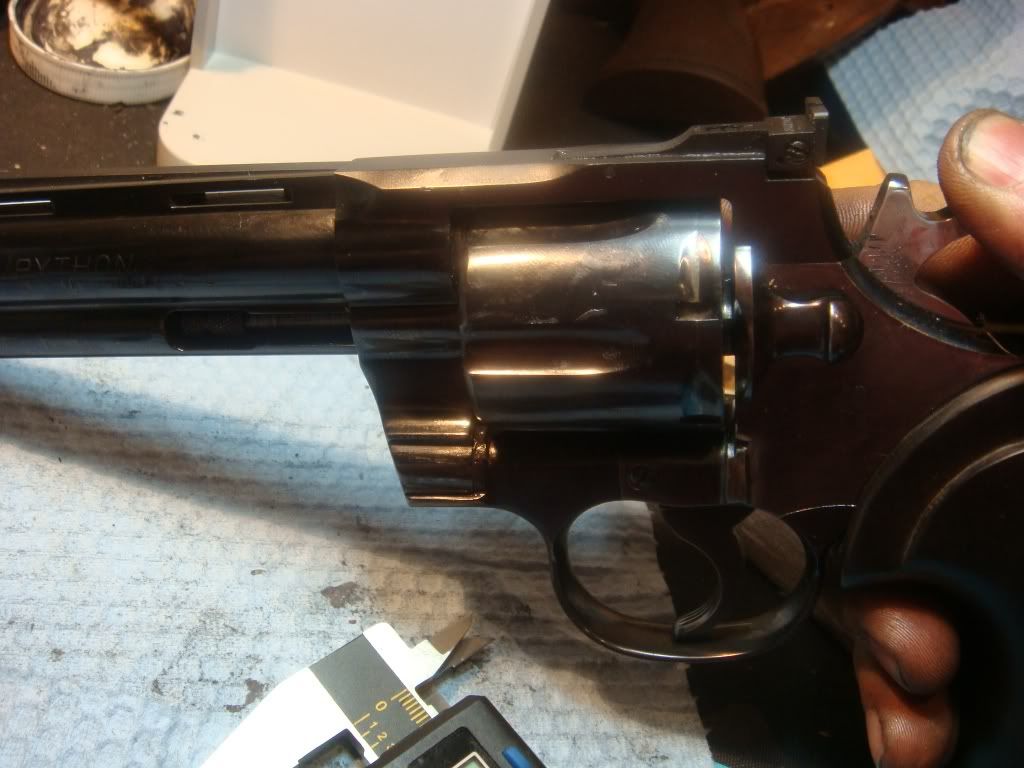
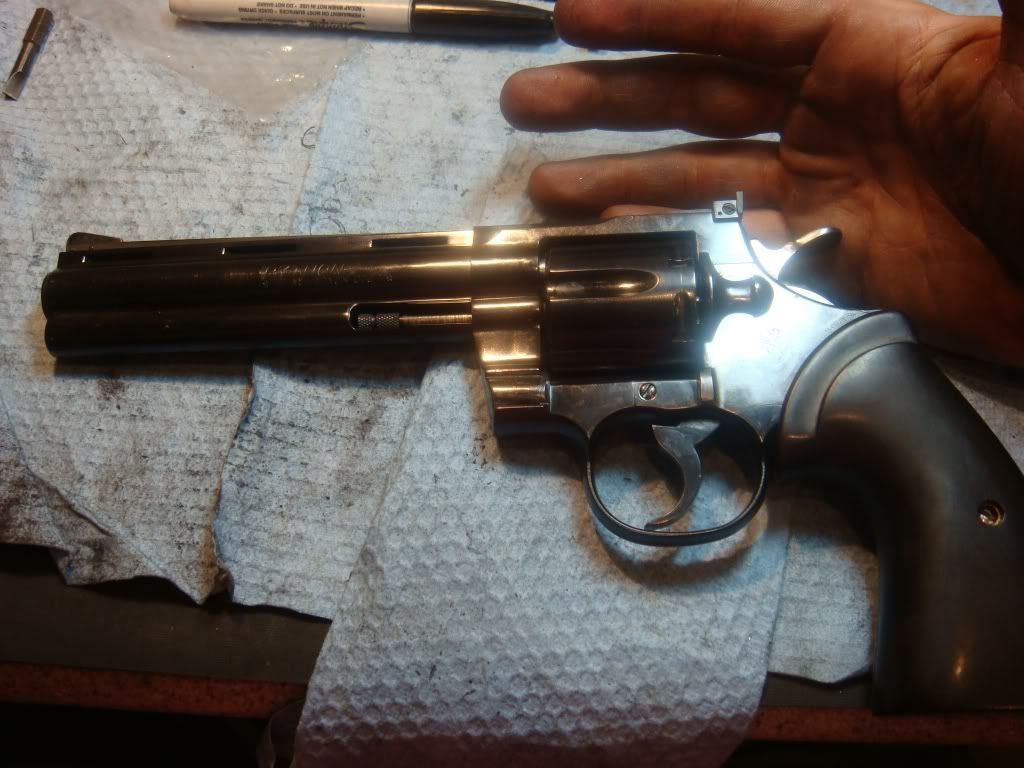
    I got a 41 magnum python conversion a while back (http://www.calguns.net/calgunforum/s...d.php?t=197384), but unfortunately hadn't been able to shoot it b/c of excessive endshake. The difference between the max and min barrel / cylinder gap was well over .005 and, even worse, the minimum barrel / cylinder gap was about .00025 which made it seem likely the cylinder would slam into the barrel.

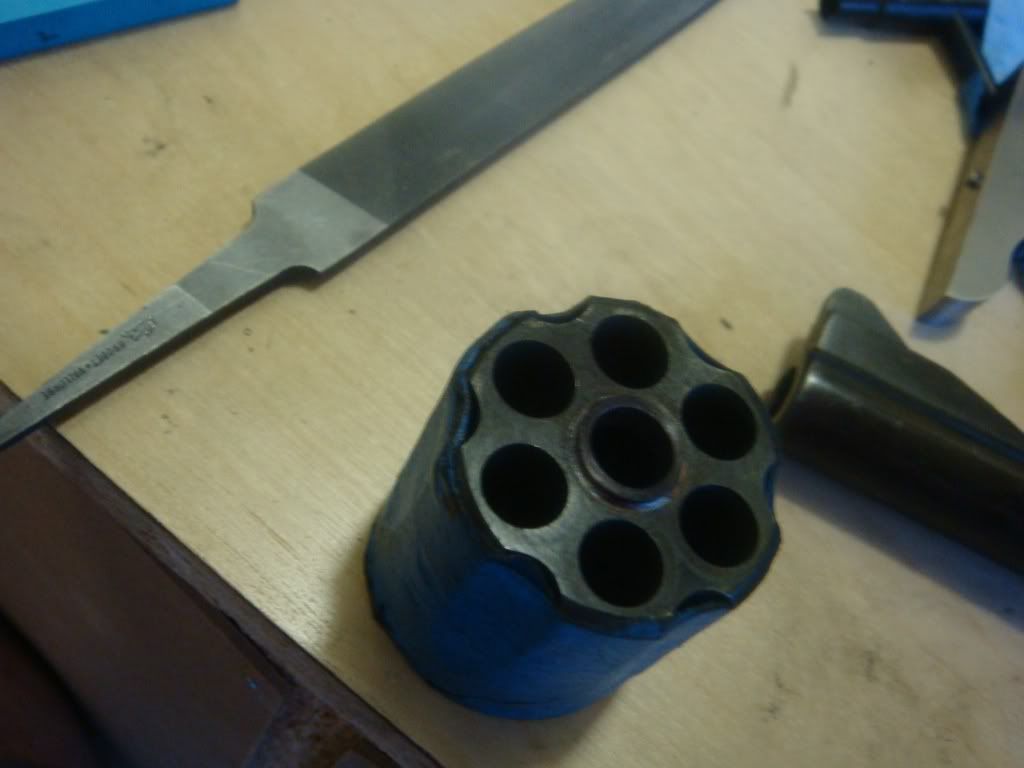
    This weekend I finally got a chance to fix the problem by cutting out the cylinder, machining a bushing and putting it all together (with a bunch of fitting). I first did two shooter model 357s for practice (it won't be an easy matter to replace a jacked up 41 mag python cylinder) and then did the 41 magnum.

    The process was not entirely smooth: I had to rip one bushing out and start over and the fitting was made excessively tedious since I did not record the minimum barrel/cylinder gap measurement before cutting out the cylinders. However, in the end all three colts now have < .001 endshake. Of course, they need to survive a bunch of rounds before declaring success. But, that's why god made next week

    In promising news I've already done the identical fix to two pythons and a trooper when I went out to visit Frank Glenn. For these three colts it seems that things were done right: when I finally did a range test last week they survived 500+ rounds between them without issue. (They seem smoother too since they started at close to .0000 endshake, which forced the cylinder to travel through any binding rather than slip around it.)

    OK. So let's get to it. We get excessive endshake when the collar on the cylinder is too short, and thus allows the cylinder to travel forward too far. You can stretch the collar using a special fixture but, unfortunately, that's a one time fix. We instead replace the collar by removing it and putting in a bushing in its place: you remove endshake by making the bushing sufficiently long, which will push the cylinder back towards the end of the frame. Basically: if the cylinder can't travel forward (b/c of the bushing) then there is no endshake.

    Our algorithm:
    • Measure headspace to make sure we are comfortably above the minimum. If not the shells will drag on the frame, preventing smooth rotation (duh), we can't do this fix (and likely will have to replace the ratchet).
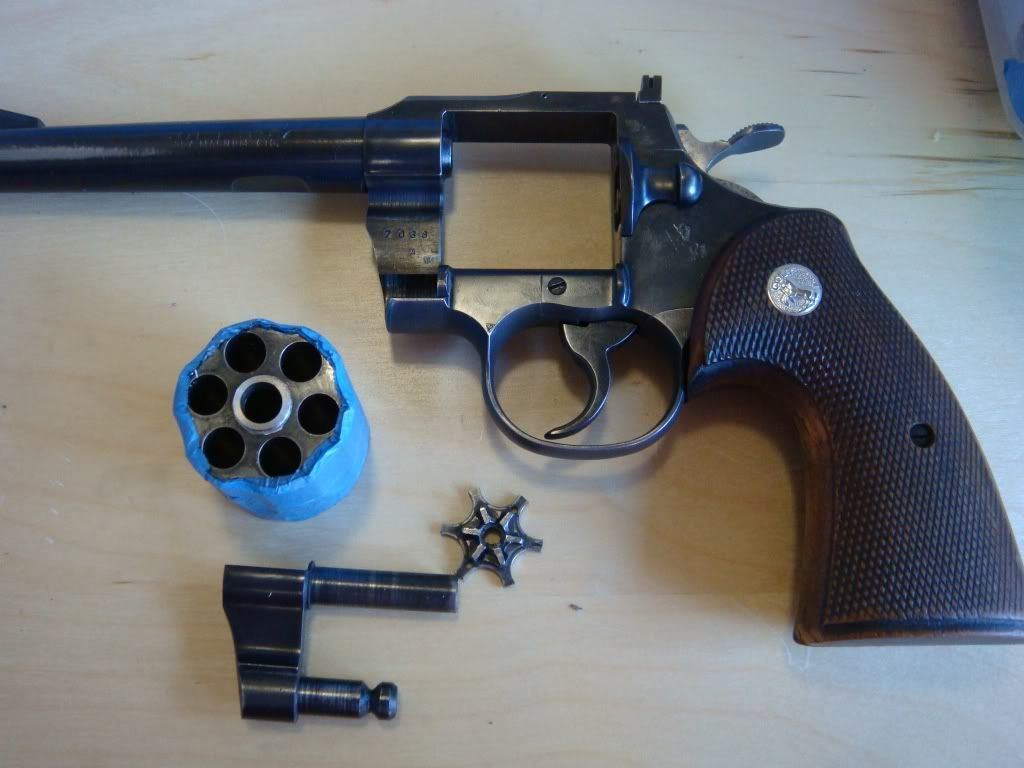
    • Take the cylinder apart completely.
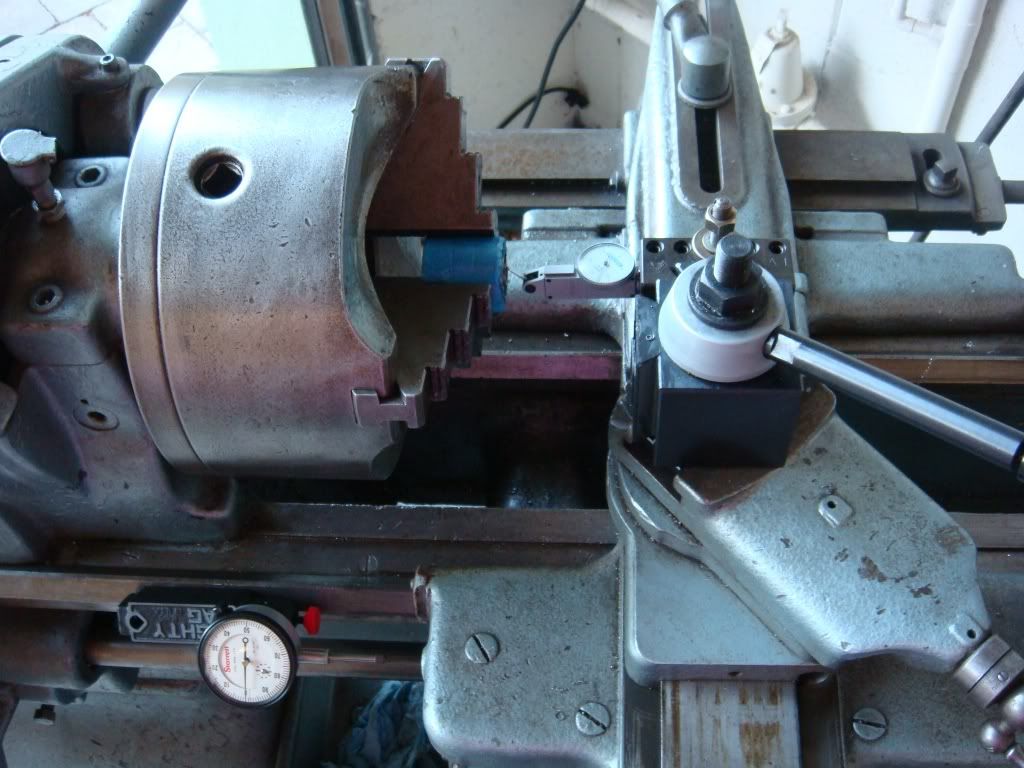
    • Put the cylinder in a 4 jaw chuck in a lathe and use an indicator to ensure that as it spins it wobbles by less than .0005".
    • Use a boring tool to cut a hole where the collar is until all (or just about all) of the collar material is removed.
    • Construct a bushing that reaches the bottom of the hole and has has a wide enough diameter so we can press fit it in the cylinder. The "collar" sticking out needs to be thinner than this part so it does not contact the barrel.
    • Press fit the bushing in.
    • Slowly remove material from the collar until the cylinder will fit in. Slowly remove more until it will turn. Be careful: just b/c the cylinder isn't turning smoothly doesn't mean the bushing is too long! It could be that 0 endshake is exposing other sources of binding.


    We'll step through each step.
    Last edited by D.R.E.; 07-07-2009, 11:13 PM.
    http://coltpython.blogspot.com/
  • #2
    D.R.E.
    Senior Member
    • Jan 2008
    • 891

    Cutting collar

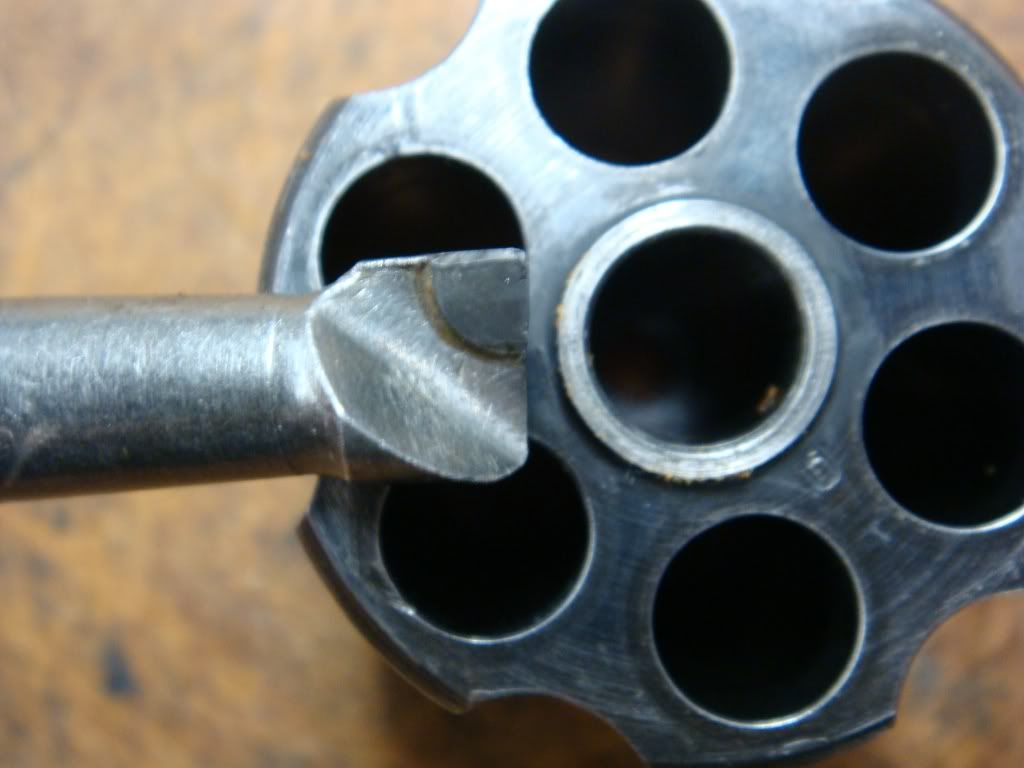
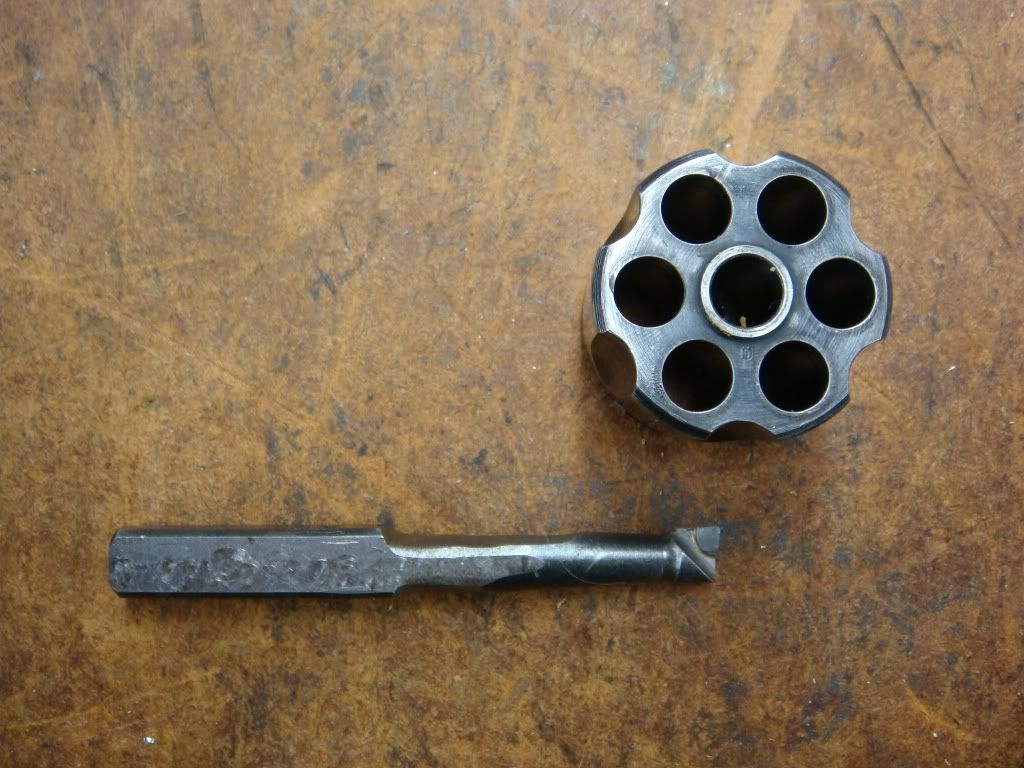
    Here's the cylinder and the carbide tipped boring tool we're going to use to cut out the collar and make a flat bottomed hole:


    Closer:


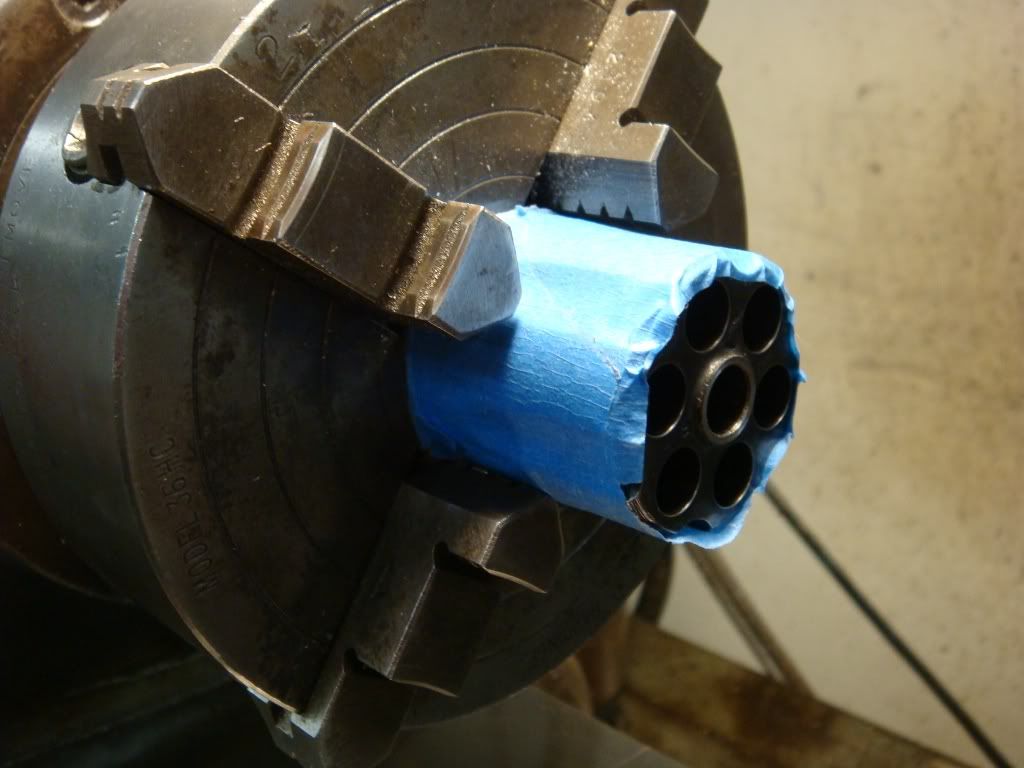
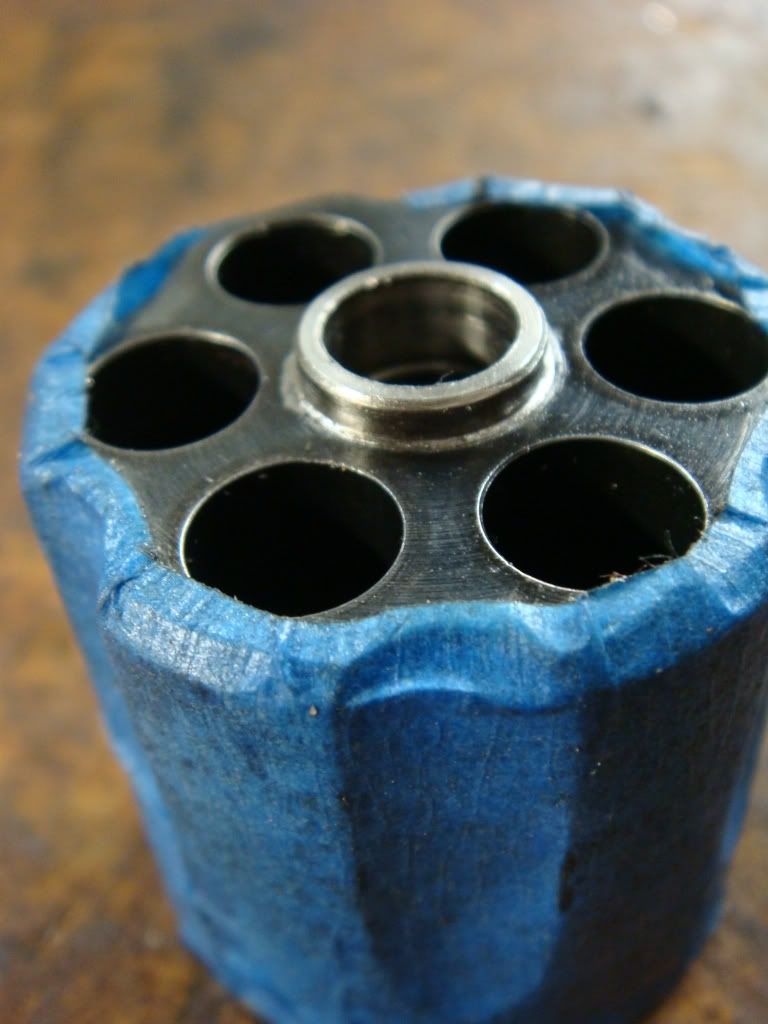
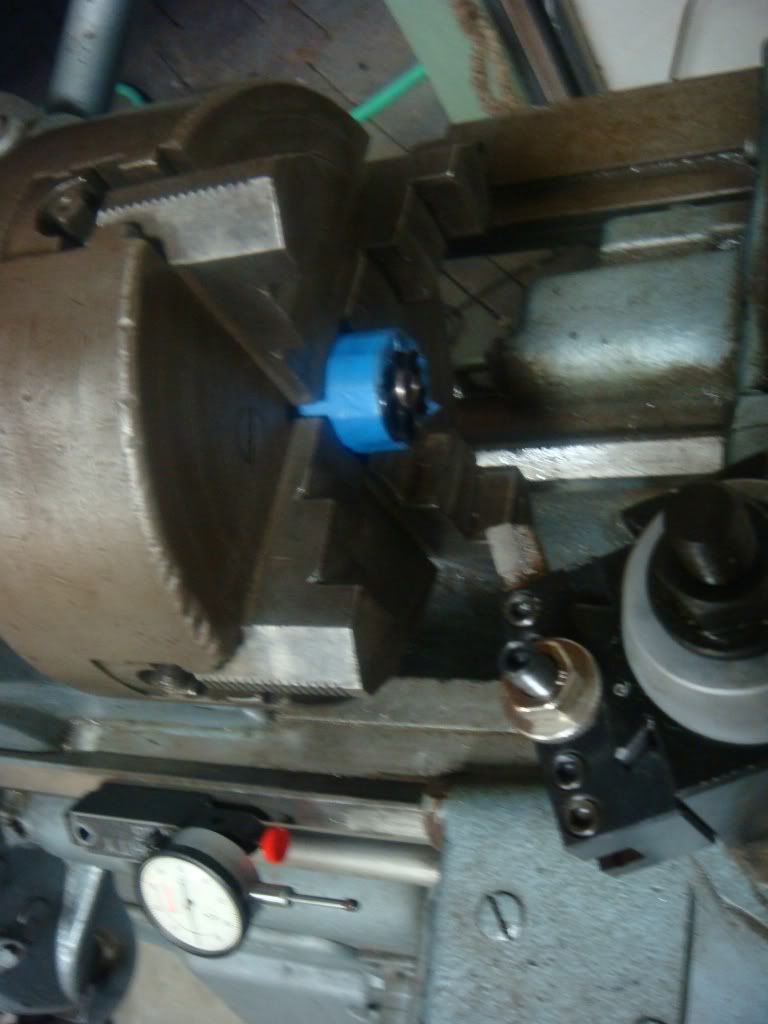
    We wrap the cylinder in painter's tape and put it in a "4 jaw" chuck in a lathe:


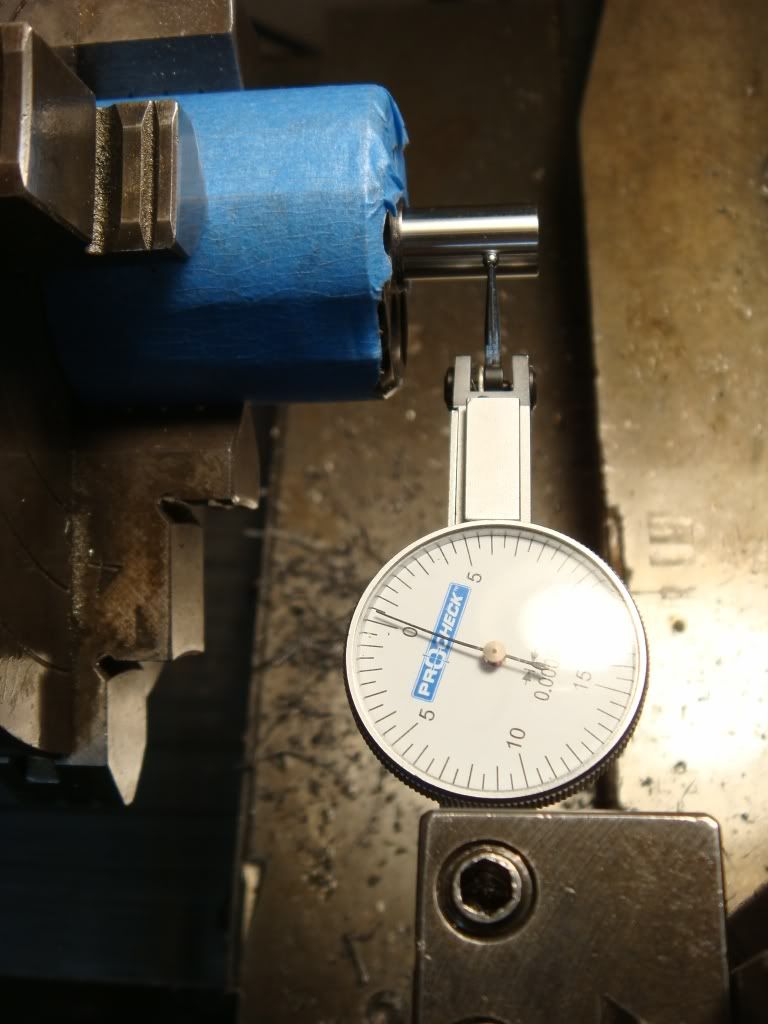
    We then adjust the jaws until the cylinder is centered to around .0005 runout. I've tried different ways, but the current method I like is to put a .360 pin gauge into the cylinder and touch it with an indicator:


    Centering is computationally simple. First, pick two opposing jaws (say "1" and "3"). Check the reading on 1 and on 3. If 1 is closer to the center than 3, then loosen the nut on 1's jaw and move it back halfway the difference between them. Then tighten 3. Do this til both put the indicator needle in the same place. Then do 2 and 4. Then slightly tighten all the jaws, aiming for 0 movement as you rotate the lathe chuck..

    It's nice if you can do a bunch of cylinders at once since you don't have to recalibrate much. Whenever you remove a cylinder just loosen two of the jaws a known amount so it's easy to reset (and put the cylinder back with the same orientation!).
    http://coltpython.blogspot.com/

    Comment

    • #3
      D.R.E.
      Senior Member
      • Jan 2008
      • 891

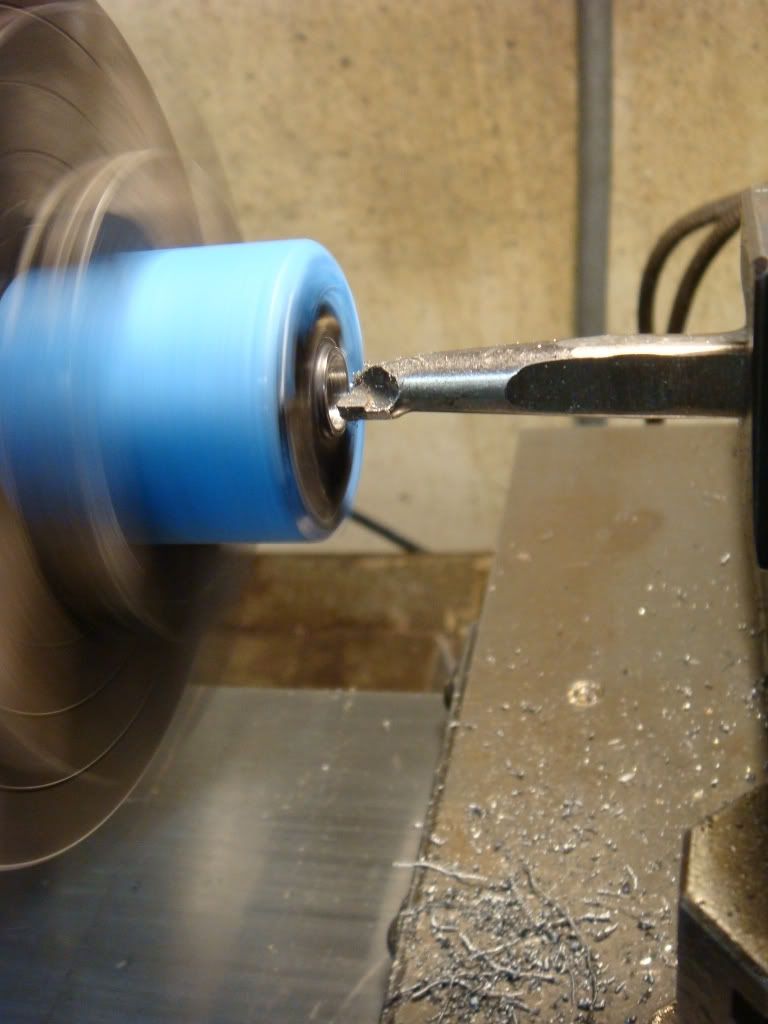
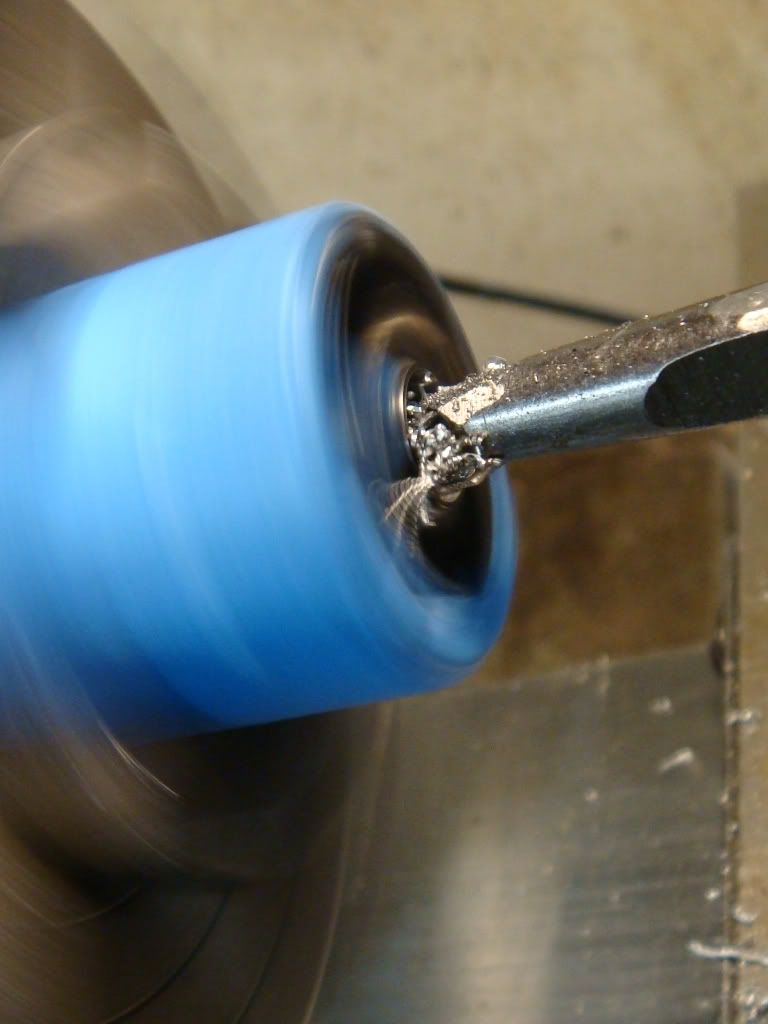
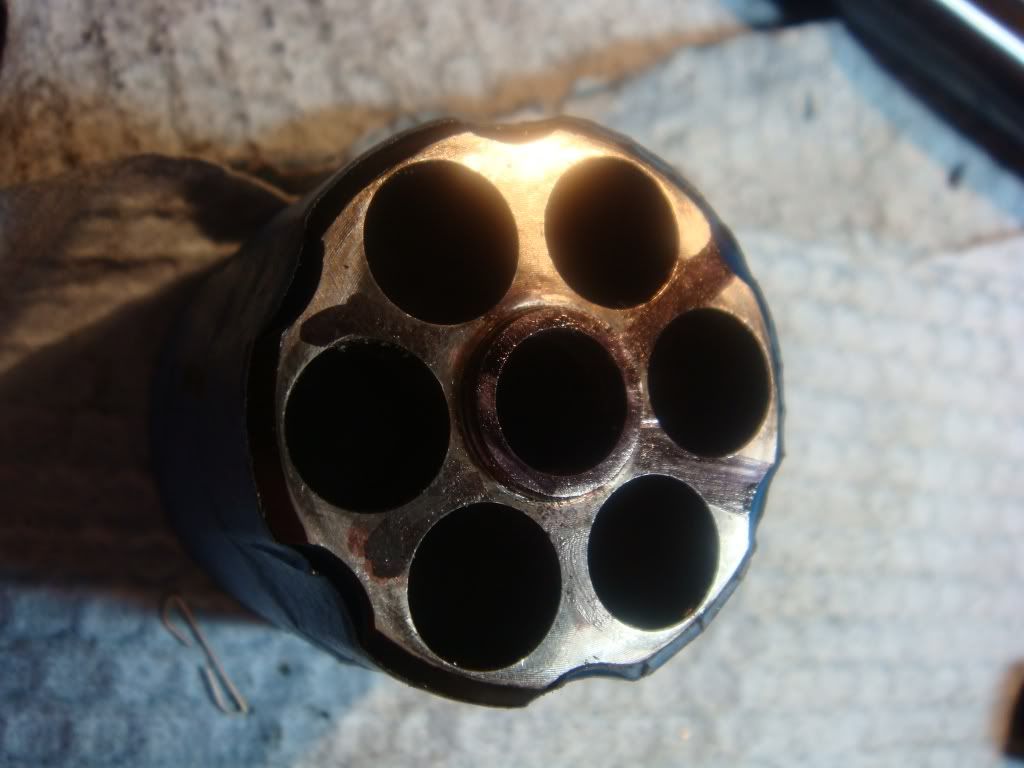
      We have things centered, so now we cut. The boring tool has to be small enough that it can travel into the cylinder hole w/o contact:


      We now start cutting by moving the boring tool towards us:


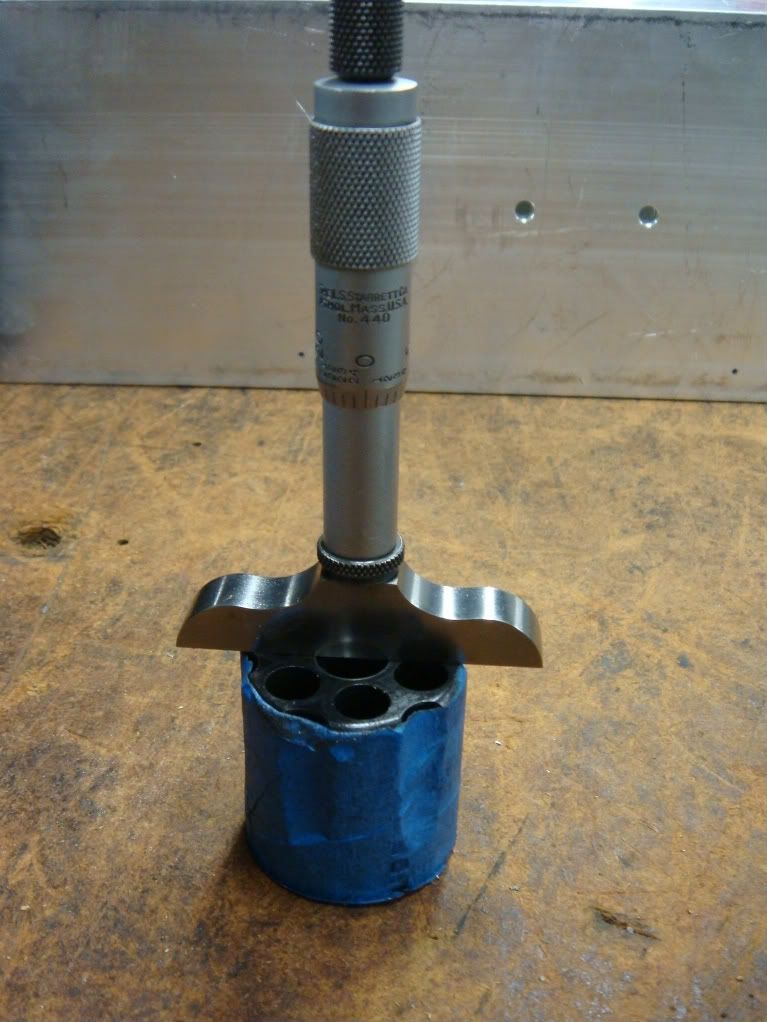
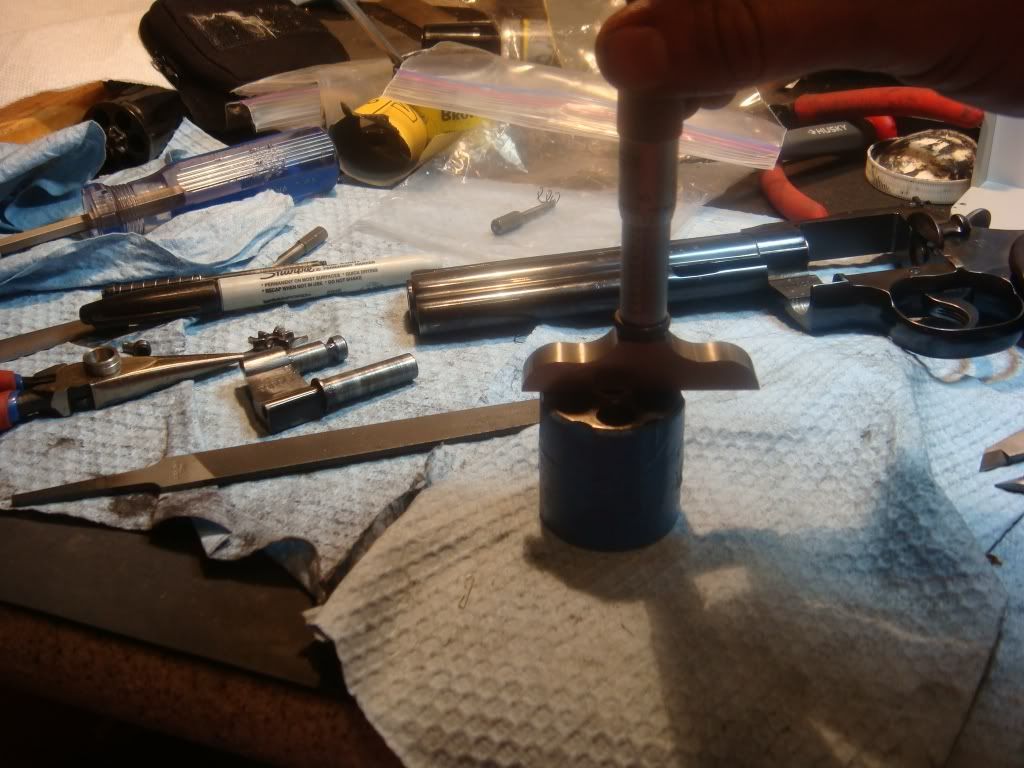
      After we're done, we double check the depth of the hole using a depth micrometer:


      We also check the width. These measurements tell us how big to make the bushing that we will press fit into the cylinder hole.
      http://coltpython.blogspot.com/

      Comment

      • #4
        D.R.E.
        Senior Member
        • Jan 2008
        • 891

        Making the bushing

        Usually people make bushings from drill rod. I didn't have any on hand so used 1/2" stainless. This doesn't *seem* to be too hard, but we shall see.

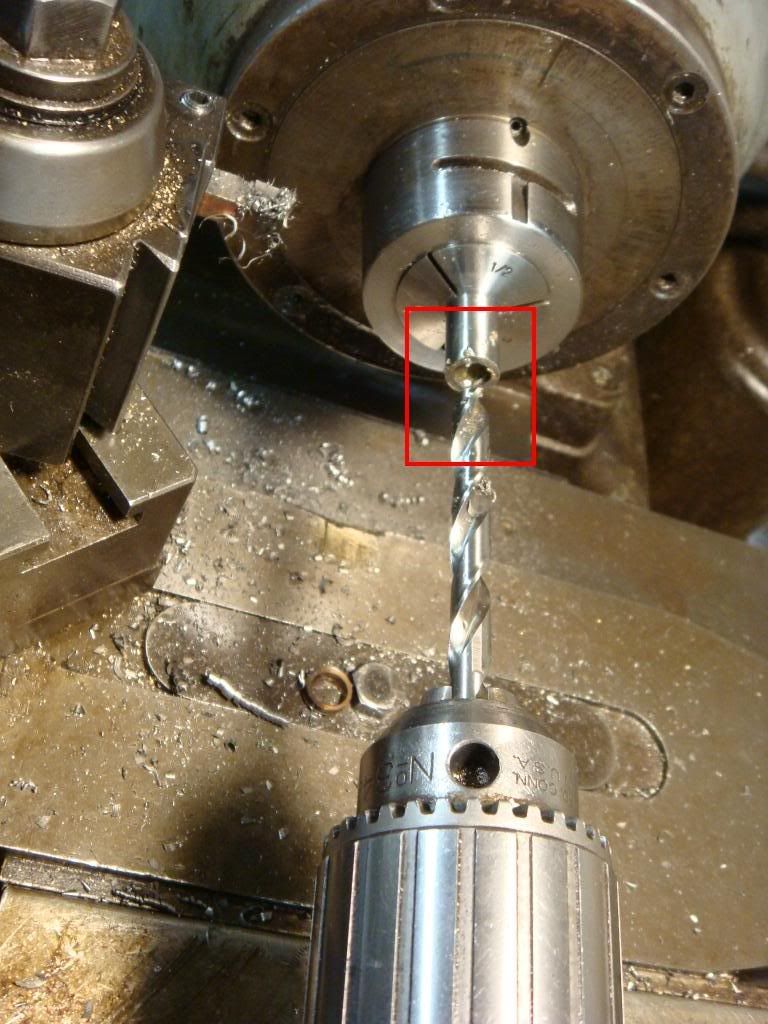
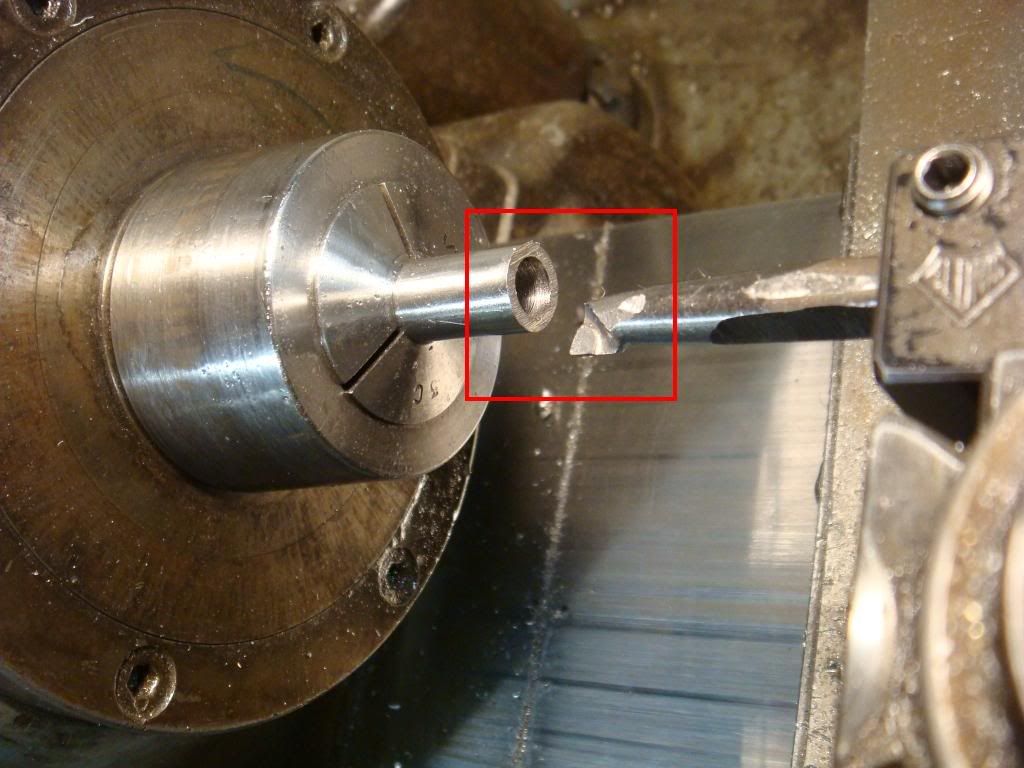
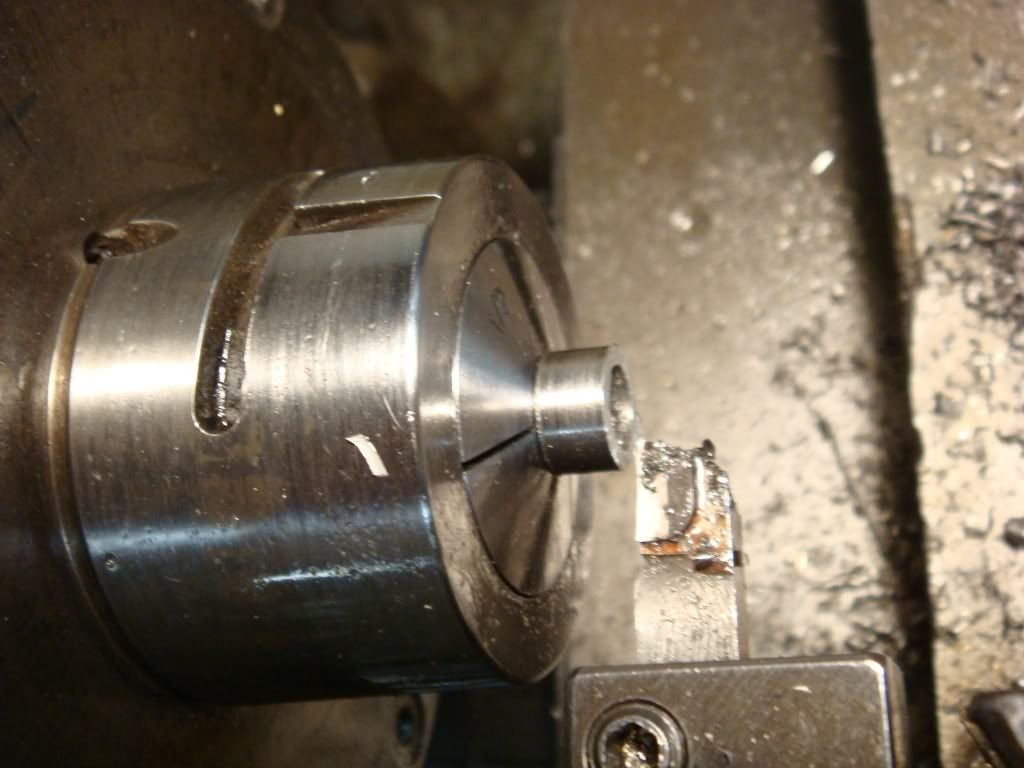
        First up, we put it through a collet and then drill a hole through it. Getting things lined up:


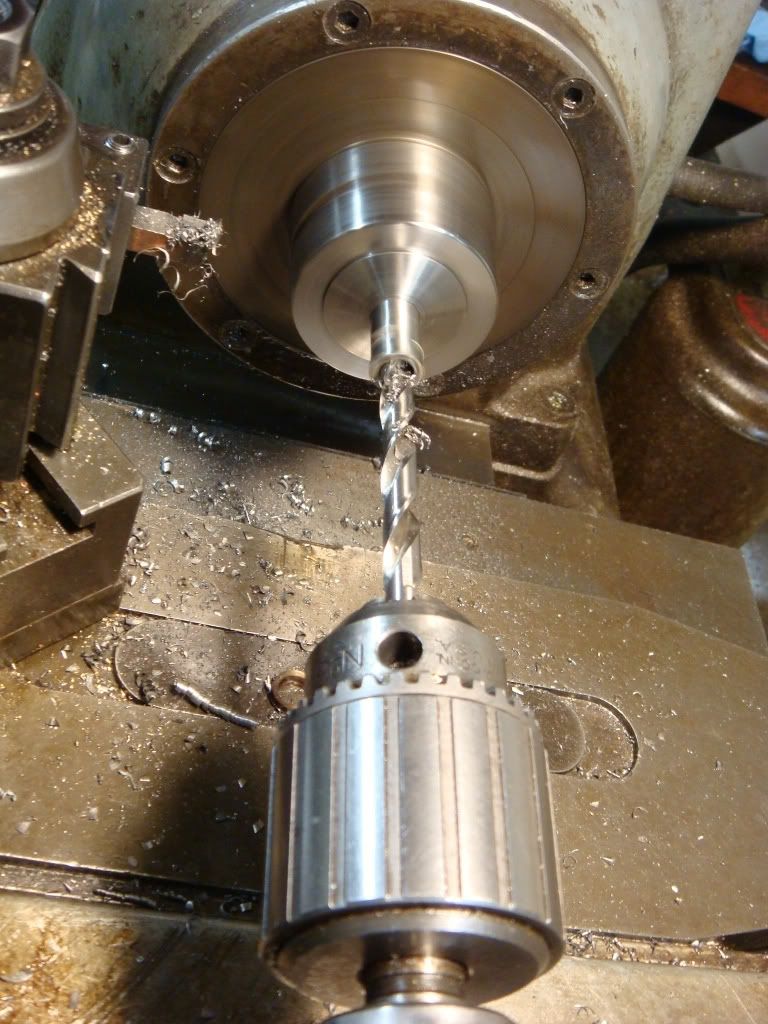
        Cutting metal:


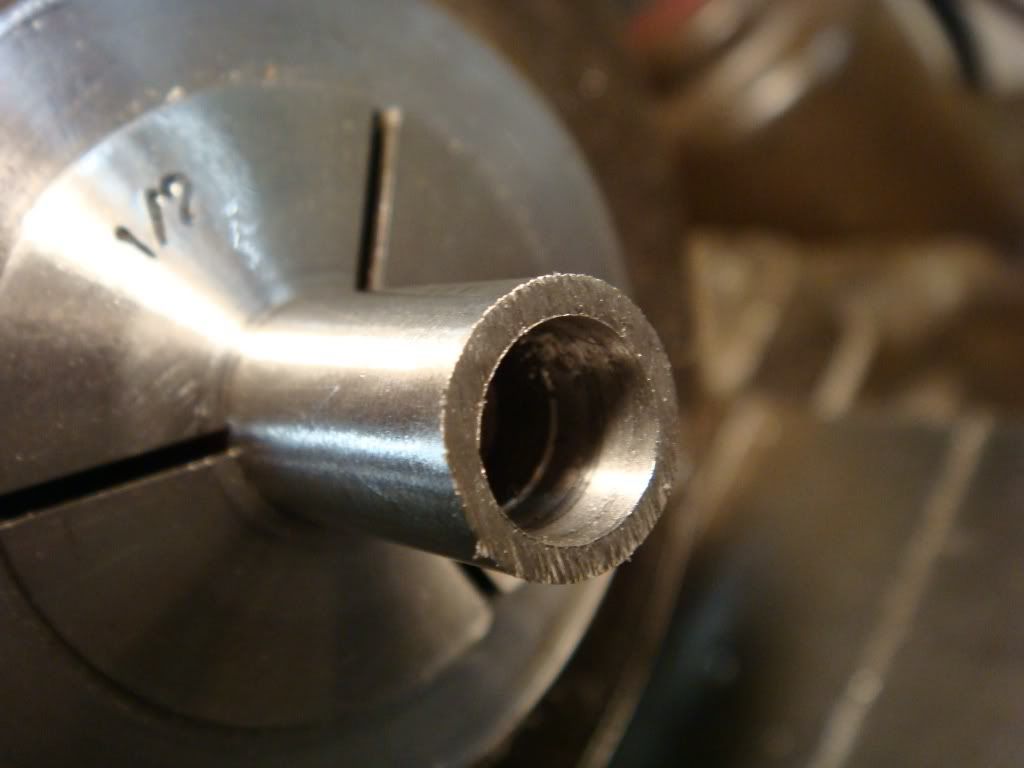
        Since (1) drilling doesn't make a circle (more an oblong) and (2) the hole isn't exactly what we wanted in any case we then use the boring tool from above to cut the hole out to the right diameter (it has to be big enough that it doesn't bind on the yoke).


        We get:


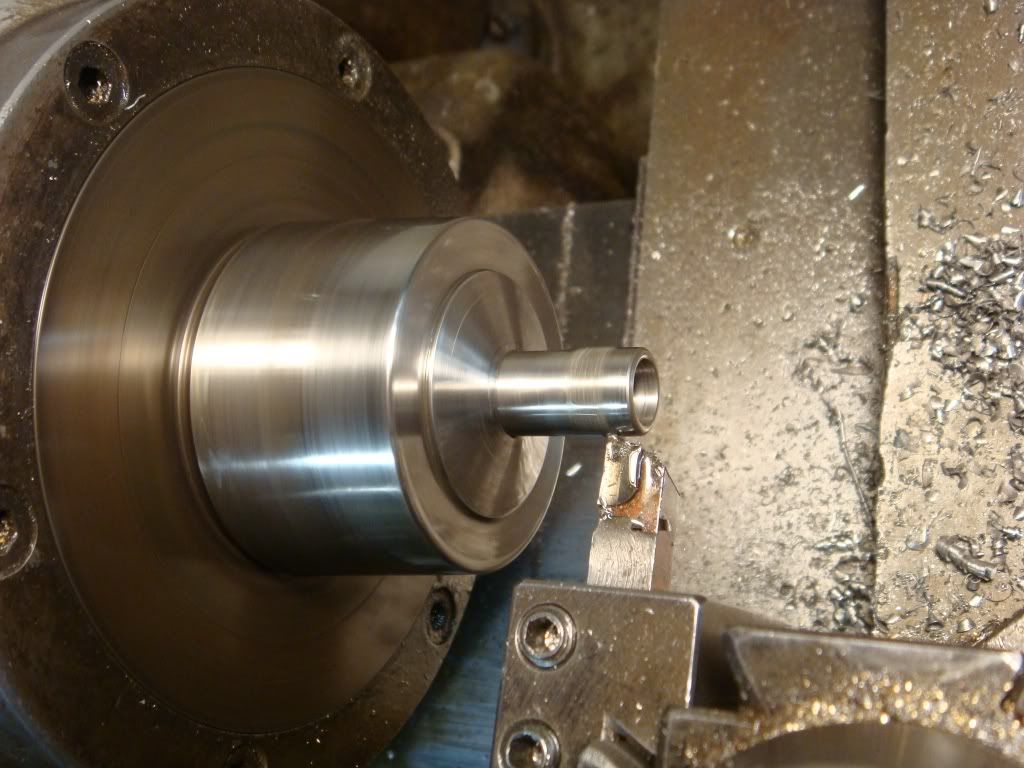
        We then cut the diameter down:


        Then cut the half done bushing off of the rod with plenty to spare:
        http://coltpython.blogspot.com/

        Comment

        • #5
          D.R.E.
          Senior Member
          • Jan 2008
          • 891

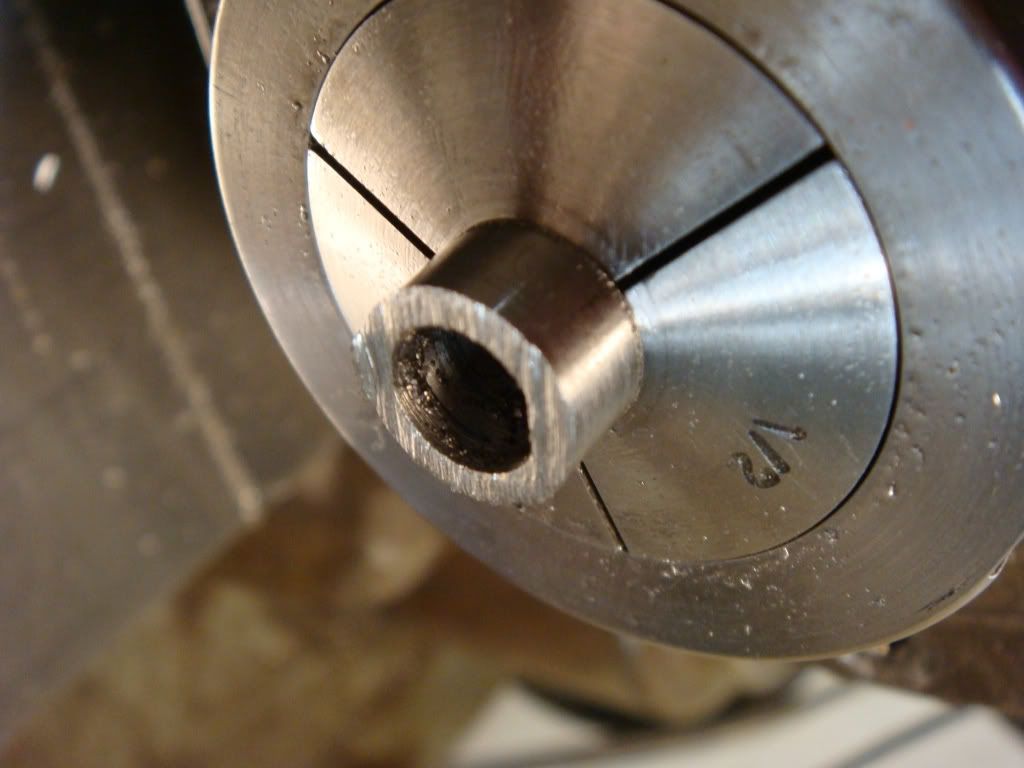
          We flip it and put it back into the collet:


          And then face it off, and cut the overall length to more than what we need:


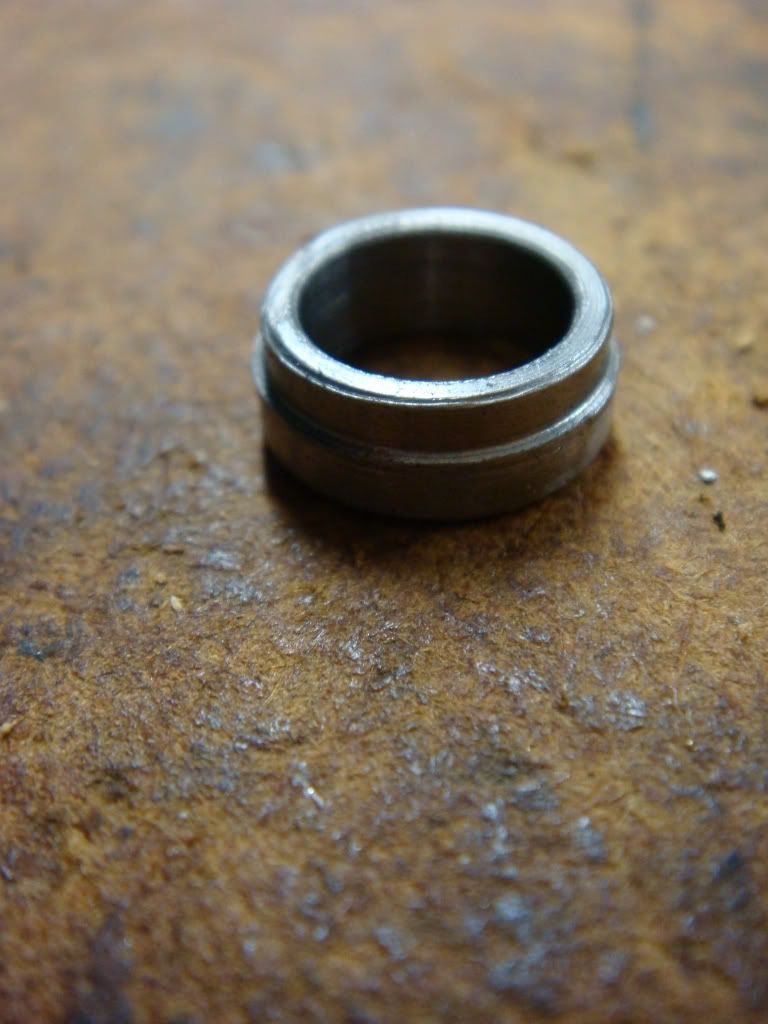
          After polishing and beveling some edges, we wind up with the bushing:


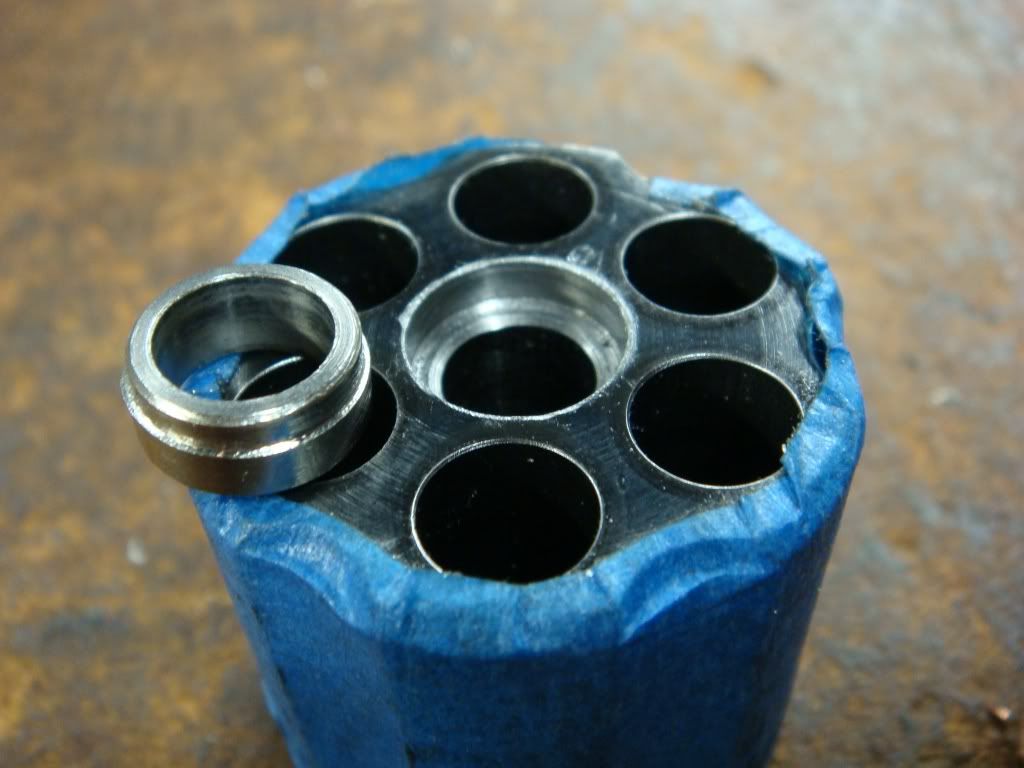
          The excitement requires combining things, so we start with:


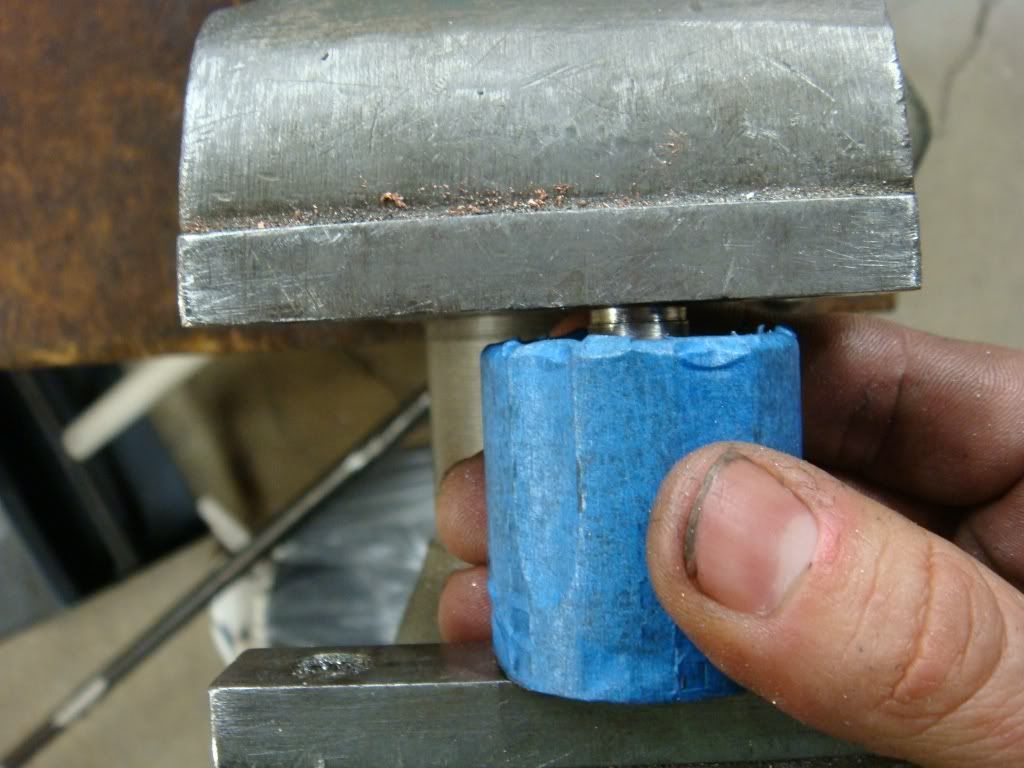
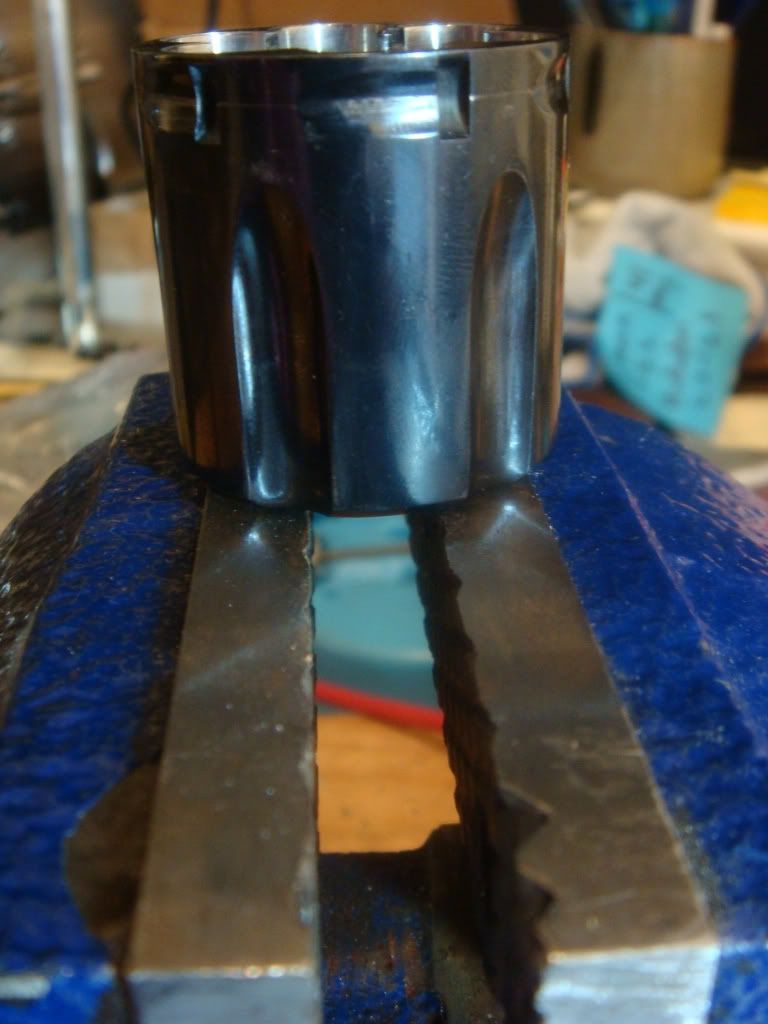
          Putting the two together in a vise:


          After press fitting:


          We go through these steps for both model 357s and finally the 41 magnum. We then hand fit each (you didn't seriously think things would drop in did you?).
          http://coltpython.blogspot.com/

          Comment

          • #6
            D.R.E.
            Senior Member
            • Jan 2008
            • 891

            Fitting

            We first start with a m357:


            To check fitting we just slide the cylinder on the yoke and hold the ratchet in place with our finger: you don't want to be screwing the ratchet off and on the ejector rod numerous times since the metal isn't strong.

            Our first attempt to push the cylinder in doesn't work:


            So now we have to cut (alot) of material off. This is perfect. Too long is what we want since removing metal is easy. Too short means we'd have to make another bushing

            The fast, "right" way to do this is to just use a mill with the right tooling. Unfortunately my mill isn't up an running (rotary converter should be here Tues!). So instead we'll use a lathe to take the bulk of the material off and then use a file (backed up by a depth micrometer) to remove the rest.

            I do *NOT* recommend using free hand filing as much as got done for these colts, ESPECIALLY for fitting a new cylinder. We ONLY do things in such a low rent way because: (1) these are my own colts and (2) the modifications we do at this point are just to the very replaceable bushing, NOT (again: NOT) to irreplaceable colt parts.

            In any case: we put the cylinder in a lathe, and use an indicator to get it straight:


            After three times (and remeasuring), the cylinder closes almost all the way:


            We switch to using file along with a sharpie and a micrometer to check that filing happens evenly:


            Take a stroke, rotate the cylinder, take a stroke, etc. After a few strokes, put in the frame and check that it closes. After a few iterations, it does:


            We do the same for the other model 357 without incident.
            http://coltpython.blogspot.com/

            Comment

            • #7
              D.R.E.
              Senior Member
              • Jan 2008
              • 891

              Fitting the 41 mag

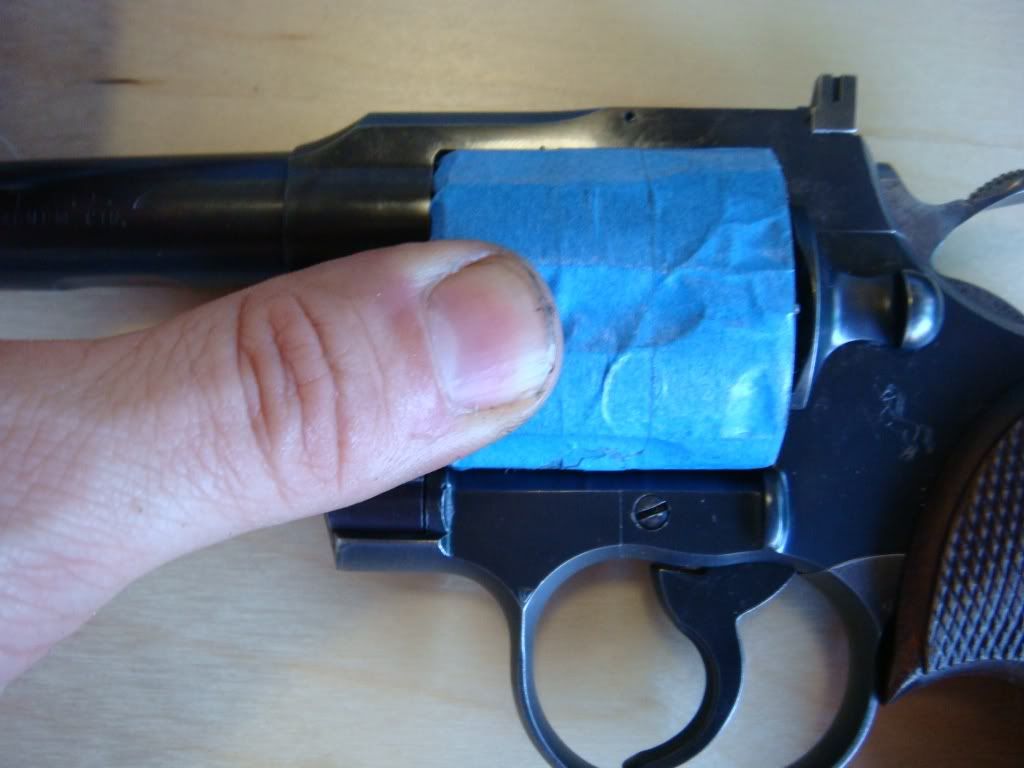
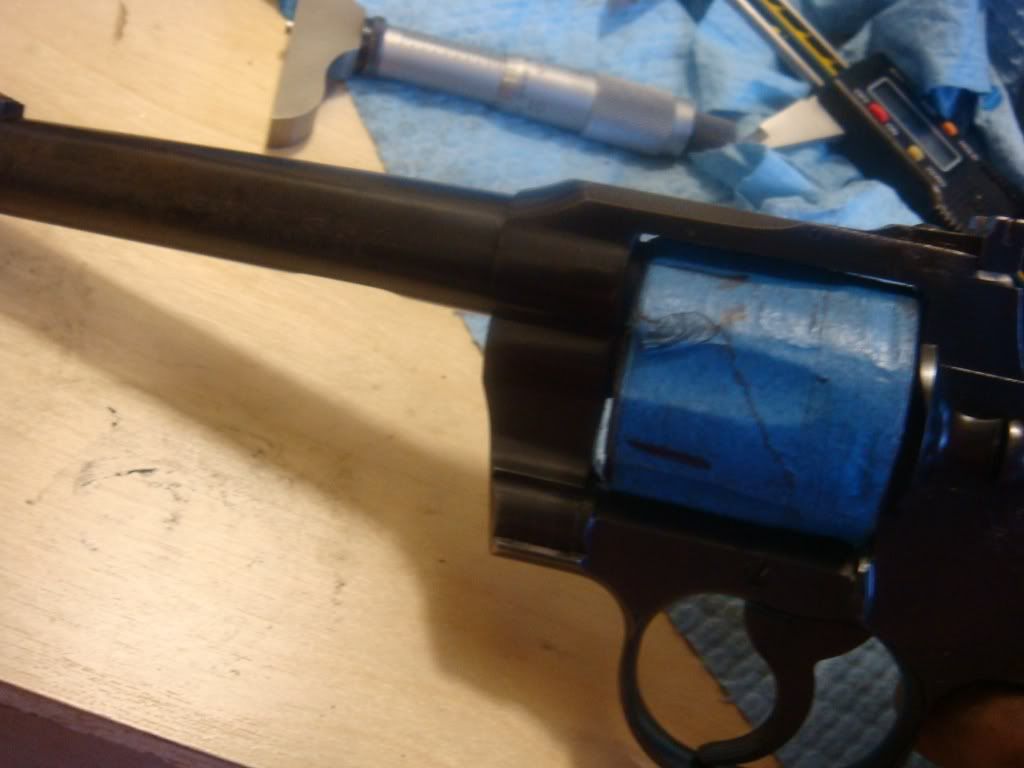
              Now, we go to prime time: the 41mag. Using extra painters tape to protect the reblue:


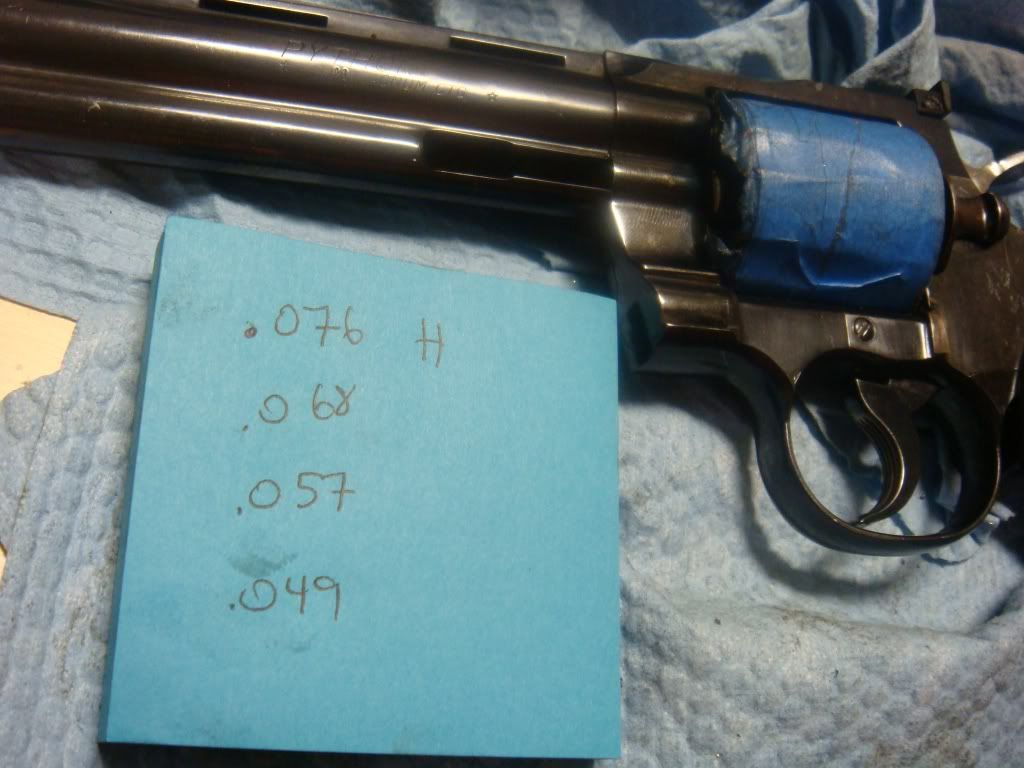
              We iteratively cut using the lathe. The figures on the sheet of paper are the height of the bushing coming out of the cylinder:


              The problem with these figures is that the difference between the third row and fourth is twice what it should be: the cylinder closes easily and the endshake is .003.

              Now, by the book, .003 endshake is within spec. However, I don't want to shoot 41 magnum through something that sloppy, at least initially. So we remove the SS bushing using a very advanced tool called a "vise" powered by a lot of loud, short, words:


              We then press fit another bushing and start the cutting process over. However, this time we are clever and stop well short of "too short" and just use a file to remove the material.

              With the exception of a few number of highly skilled people, free hand filing is not the way you get great tolerances on symmetric objects. However, there is a trick that seems to work (at least for me): use a depth micrometer to check when you get uneven by measuring the distance from the top of the bushing to the face of the cylinder between all six chambers. If we removed too much material from one part of the bushing, the depth reading there will be lower than the others (and, conversely, higher on the other side). Going slowly and checking a lot we can keep things fairly even.


              We mark each different chamber that is high and file more (or only) on that side of the bushing to even things out.


              The differences in this case are on the order of .0005" to .001" (Note that the differences are actually about half this, since low on one side makes the other side higher by the same amount).


              The final test: slightly cock the hammer so the bolt drops and then rotate the cylinder by hand to check for binding:


              For this gun there is more binding than I'd normally be happy with. However, given how much stronger 41mag is, we leave it a bit rougher than usual since shooting it is going to seat things quite firmly. We can always remove metal to smooth things later if need be.
              http://coltpython.blogspot.com/

              Comment

              • #8
                D.R.E.
                Senior Member
                • Jan 2008
                • 891

                The final, very greasy result: I never thought I'd think a mechanics hand was relatively pristine:
                http://coltpython.blogspot.com/

                Comment

                • #9
                  kurac
                  Veteran Member
                  • Dec 2005
                  • 2917

                  Thats very nice, it looks like you need another lathe, changing back and forth between a chuck and collet must be a pain in the neck.
                  www.culinagrips.com
                  "custom grips for shooters by shooters"

                  Comment

                  • #10
                    hybridatsun350
                    Calguns Addict
                    • Apr 2007
                    • 5336

                    Wow, that is a lot of very precise work! Looks good though. Tell us how she shoots!
                    Dom

                    ΜOΛΩΝ ΛΑΒΕ

                    Comment

                    • #11
                      QuarterBoreGunner
                      Administrator
                      CGN Contributor - Lifetime
                      • Oct 2005
                      • 9389

                      D.R.E., I got to admit I love your posts 'cause I get to actually *learn* things I didn't know. Perfect pictures and text; keep up the great work.
                      /Chris

                      I have a perfect Burning Man attendance record: zero.

                      You do know there are more guns in the country than there are in the city.
                      Everyone and their mums is packin' round here!
                      Like who?
                      Farmers.
                      Who else?
                      Farmers' mums.

                      Comment

                      • #12
                        D.R.E.
                        Senior Member
                        • Jan 2008
                        • 891

                        Originally posted by kurac
                        Thats very nice, it looks like you need another lathe, changing back and forth between a chuck and collet must be a pain in the neck.
                        Actually, for the small one, it's not a big deal: esp compared to the time needed for all the rest of the stuff.

                        But, for the mega lathe I have, yeah, that chuck is a *****. Damn thing must be 60 or 70lbs. One of the most impressive things I've seen is when the old guy I bought the lathe from carried the chuck + a bunch of metal out to the car while chit chatting aimlessly. Guy was 71 years old.
                        http://coltpython.blogspot.com/

                        Comment

                        • #13
                          D.R.E.
                          Senior Member
                          • Jan 2008
                          • 891

                          Originally posted by hybridatsun350
                          Wow, that is a lot of very precise work! Looks good though. Tell us how she shoots!
                          It certainly took a lot of time. I hope it was "precise" enough I am not that happy about having to manually file as much as I did. using the depth mic really seemed to help however.

                          But the most mega stupid thing I did was not calculate how much the collar needed to grow: measure max, min, subtract to get the gap and add this to the current collar height. I forgot to write down min in my excitement so literally added a couple of hours of work (cut a couple .001, check fit, cut .001, check).

                          Lesson learned...
                          http://coltpython.blogspot.com/

                          Comment

                          • #14
                            D.R.E.
                            Senior Member
                            • Jan 2008
                            • 891

                            Originally posted by QuarterBoreGunner
                            D.R.E., I got to admit I love your posts 'cause I get to actually *learn* things I didn't know. Perfect pictures and text; keep up the great work.
                            Haha! Thanks! Though, unfortunately, I'm noticing a bunch of mistakes in the pictures E.g., having the chuck touching on the grooves of the cylinder rather than the high parts and the cutter carbide bit isn't perfectly orthogonal to the bottom of the cylinder, so the hole I cut wasn't flat bottomed: good chance the bushing gets pounded flat more quickly. Good thing it's not a customer gun

                            I'm in a weird situation now where I''m hoping a bunch of my other colts have endshake issues so I can get the procedure down cleanly before I forget.
                            http://coltpython.blogspot.com/

                            Comment

                            • #15
                              emilio
                              Member
                              • Jun 2009
                              • 393

                              excellent work, sir!

                              i've been soaking up bolt gun info to rebuild an action, and after that i've been thinking of learning more about revolvers. end shake seems one of those common problems that there are a number of poor fixes for, and a few good ones that are more difficult but worth it (like this fitting bushing).

                              thank you for sharing!
                              - emilio

                              Comment

                              Working...
                              UA-8071174-1